Electrifying a dollhouse is one of my most dreaded activities, and I’m not sure why. It’s not really that difficult, and it’s not messy, and nothing beats the satisfaction of flipping a switch and seeing the lights go on. Of course, if you flip the switch and the lights don’t go on, that’s when it starts to get frustrating. But luckily that didn’t happen to me (much) as I electrified the Westville this weekend.
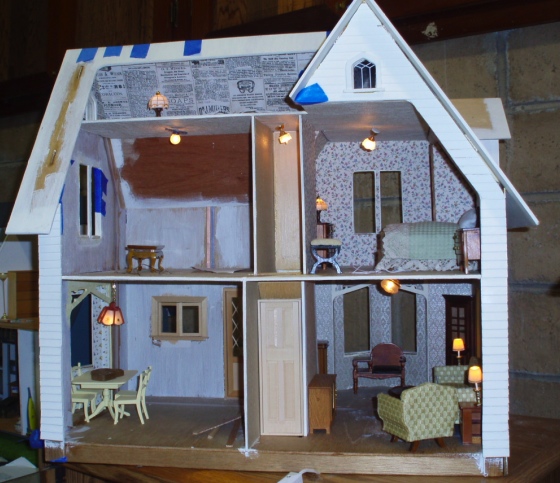
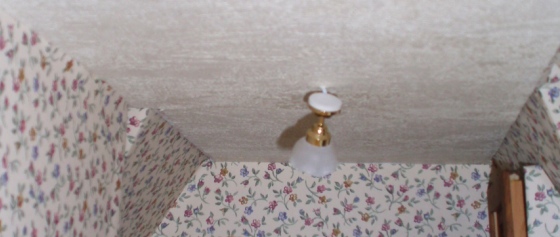
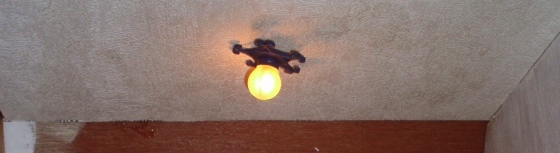
(None of the ceiling lights are glued in yet—that’s why they’re all crooked!)
I use tape wire and in most cases hard wire the lights using a technique explained to me by the people at Dollhouses, Trains, and More back when I was building the Orchid. For ceiling-mounted lights, drill a hole in the ceiling and run the wires up to the floor above. (Same concept applies for wall-mounted lights, although the Westville didn’t end up having any.)
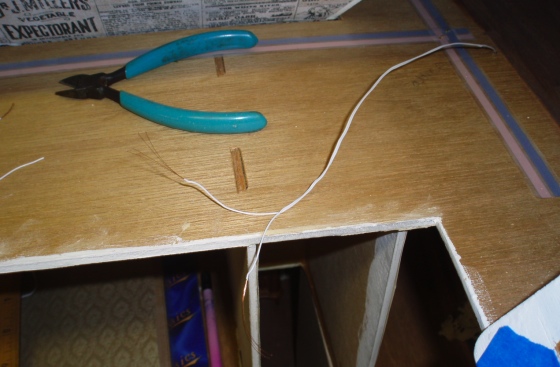
Next, strip the ends of the wires and wrap these around the pointy part of a pilot hole punch to create a loop. Wrap the wire around several times so there will be plenty of contact points. Then slip a brad into the loop and push the brad into the blue side of the tape wire. Repeat for the second set of wires, this time pushing the brad into the pink side. (Sorry I didn’t take any pictures of this part. Hopefully you can visualize it!)
I generally poke a hole in the tape for the brad to go in first (again using the pilot hole punch), and once it’s inserted into the hole, I push it in using the back end of the punch. Once I’ve confirmed that the lights work I put a piece of Scotch tape over the brads to keep them from wiggling around.
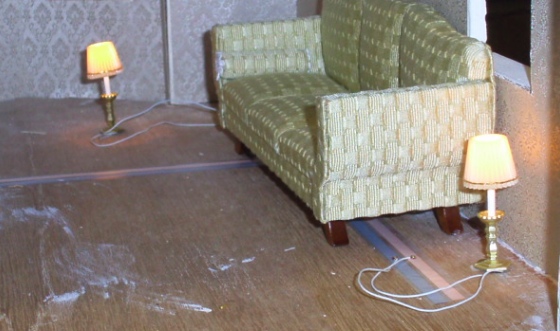

For the table lamps, I either hardwired them into the floor (eventually the wire will emerge from behind the baseboard, as if it’s plugged in), or used an outlet. The outlets are bulky so I only put them where they can be easily hidden. For now, there’s one in the bedroom under the dresser… but I may change my mind and hide it in the closet instead. I also put an outlet in the attic and will hide it behind a box or something.
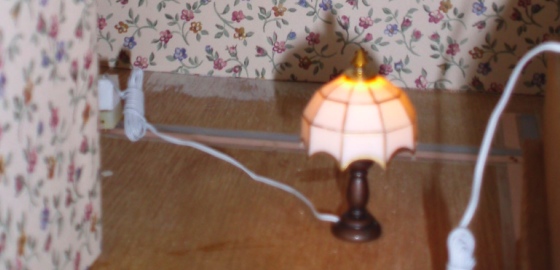

I bought several of the Westville’s lights this weekend, but some I’ve been holding onto for a while. The kitchen lamp is one I bought back when I built the Orchid, and decided not to use then. The arms holding in the shade are very delicate and have snapped off several times over the years, but thanks to Super Glue I *think* they’re going to hold. The bulb in this lamp (and many of the others) can be unscrewed and replaced if needed.
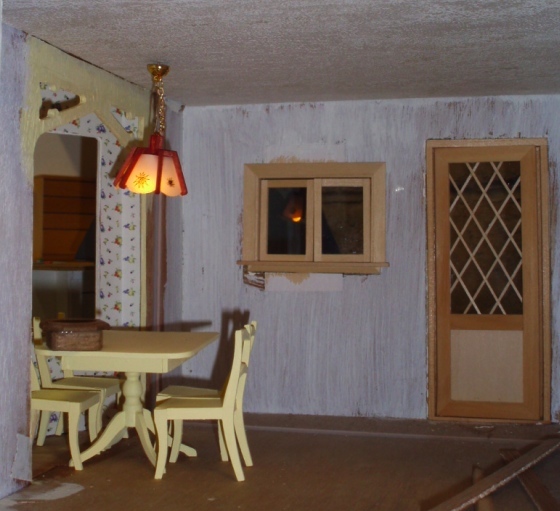
The fixture for the second bedroom, which will be a girl’s room, has a neat ornate metal base but it was originally white, which would have been impossible to see against the ceiling. Before installing it I painted it blue, which I think will go nicely with the wallpaper I’ve picked out for this room.
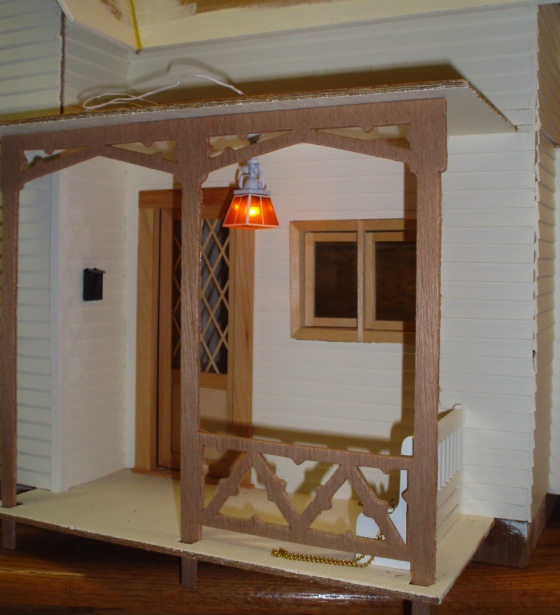
The porch light is another one I’ve had stashed for a while. It originally hung from a chain but I removed the chain so it wouldn’t hang too low in the space. I’ve always thought the orange shade was kind of funky for indoors, but it works well outdoors. I think I’ll cover the porch roof with a thin piece of wood or cardstock to hide the wires. The porch trim isn’t glued in yet; I just put it in there temporarily to see how it would look.
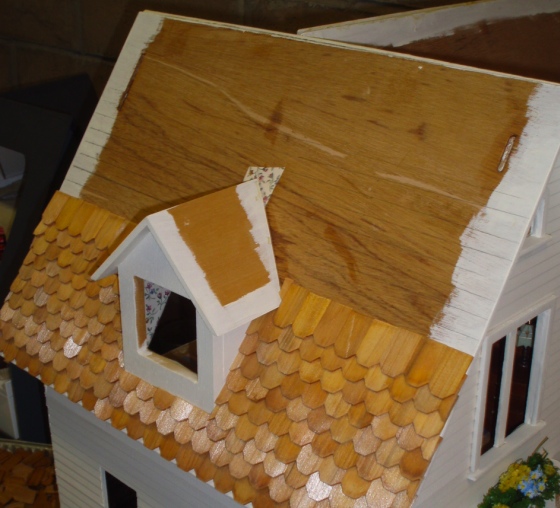
With electricity out of the way, I’ve started shingling. I wanted octagon shingles rather than the fishscales that came with the kit, so I bought these cedar shingles. So far I’m pretty underwhelmed by them, which is disappointing considering the hefty price. They’re thick, which makes them awkward to overlap, and for some reason my stain job came out shiny. (That could be my fault—I remember making a bit of a mess with the stain and being lazy about wiping it off as the shingles dried—but whoever’s to blame, I’m not thrilled about it.) I’m sure the house will look fine in the end but I probably won’t use these again.
Here’s what I’ve done so far, in about an hour and a half of work. I’m using Quick Grip this time instead of hot glue and it seems to be working out fine, but I think I’ll go through the tube pretty quickly…
Now that I’m thinking about it… why are these called octagon shingles? They don’t have eight sides. But I guess they would if they were symmetrical. Just one of those mysteries of the universe…


 Emily is a freelance writer, miniaturist, and adventure game enthusiast.

