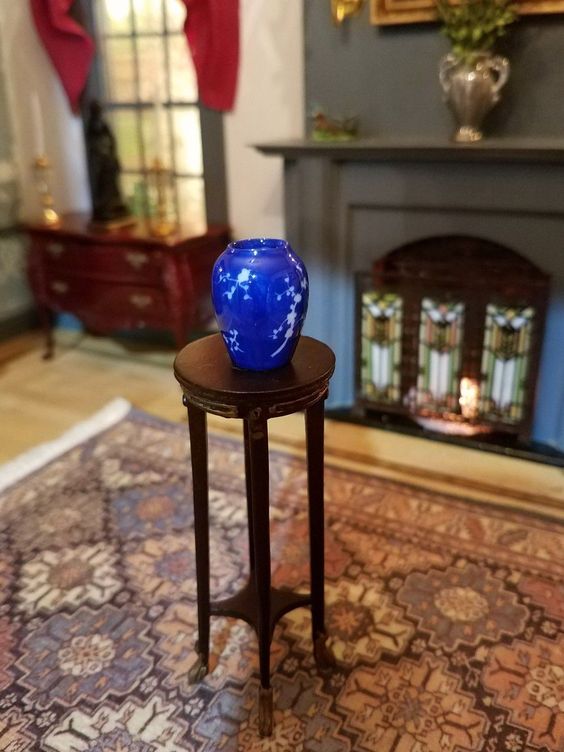
I guess I didn’t do good job of sleuthing before my last post, because the firescreen mystery has already been solved thanks to a few reader tips and Google. Here’s one in the background of a photo of a Ginger Wyatt vase from eBay (from Pinterest):
Interesting coincidence, but it doesn’t prove that Ginger Wyatt made the firescreen, and the eBay auction this came from is long gone.
But guess what turns up with a search for “Kummerow fire screen”?
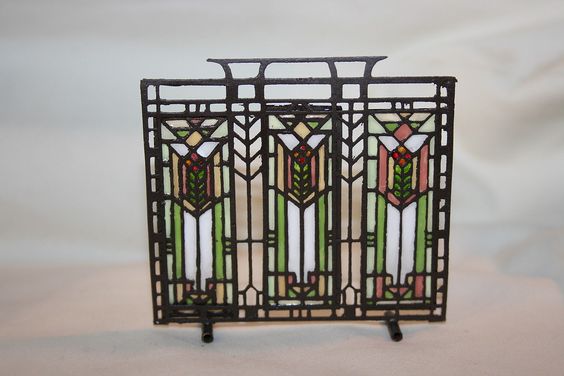
From the Pinterest description:
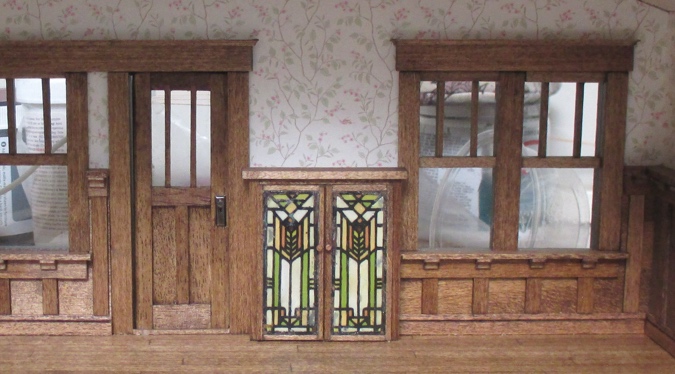
Lew and Barbara Kummerow – “stained glass” firescreen, prairie/craftsman style in colors of green, pink, yellow and white. metal frame. sold on ebay for $91.13.
This one isn’t mine — I can tell because it has a pink panel on the right, and on mine that panel was in the center (also it was orange, not pink). The legs are also a different style. It’s possible the one from the first photo is the one I ended up acquiring, but now that I know there were several of these floating around, I suspect not.
Still, I destroyed a Lew and Barbara Kummerow firescreen that could have sold for ninety-one dollars. (ARGGGHHH!!)
On the bright side, I’m confident I didn’t pay more than a few dollars for it. Whoever sold it to me must not have known its origins either. If I had known what it was, I would have kept it intact and used it in one of my 1:12 Guys from Texas roomboxes instead.
Now that I know it was an artisan piece (before I destroyed it), I want to figure out a better paint to use than the Gallery Glass, so I can try to touch up those bare spots. Even though the panels are glued in now, I think I could carefully reach into the house to do it.
 Emily is a freelance writer, miniaturist, and adventure game enthusiast.

