The Den of Slack

emilymorganti.com

Page 35 of 239

Craftsman bungalow floor

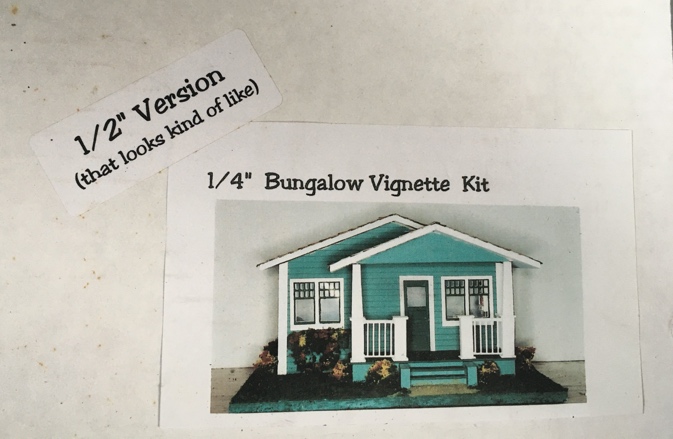
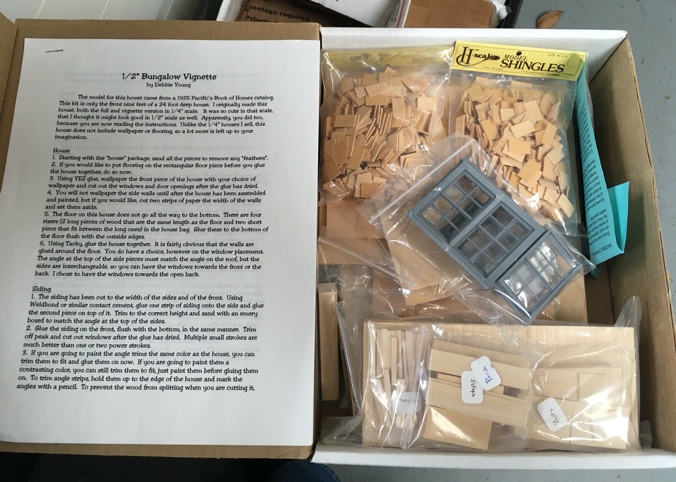
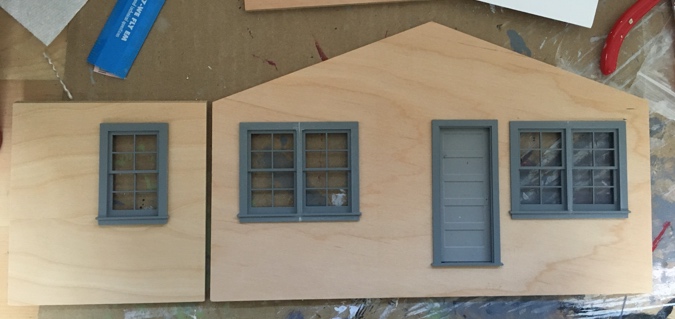
One of the first steps in Debbie Young’s bungalow vignette instructions is to complete the flooring before gluing the house together. Initially I ignored that, because I’m used to adding flooring once the house is assembled. But then I dry fit the pieces and discovered there’s a gap below the bottom of the door.

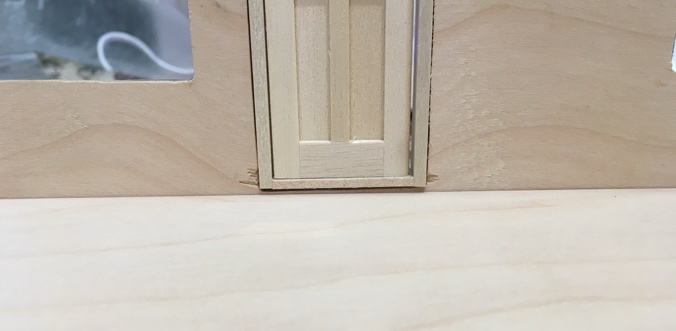
I didn’t touch the door hole when I enlarged the window holes, so this is by design. A little odd, but nothing some tall floorboards can’t fix.

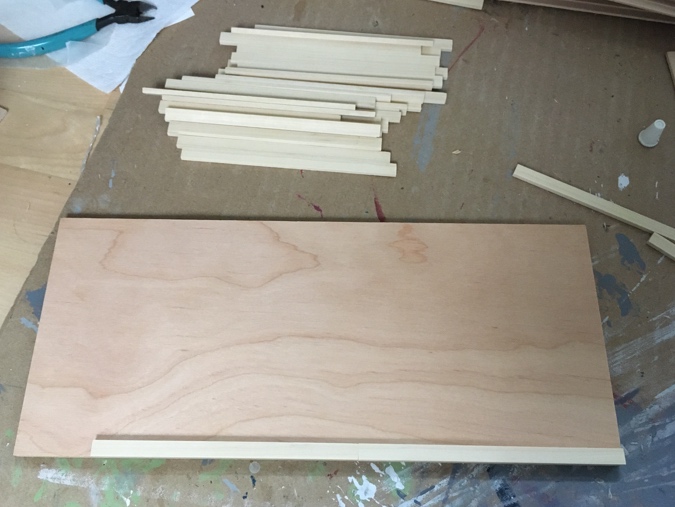
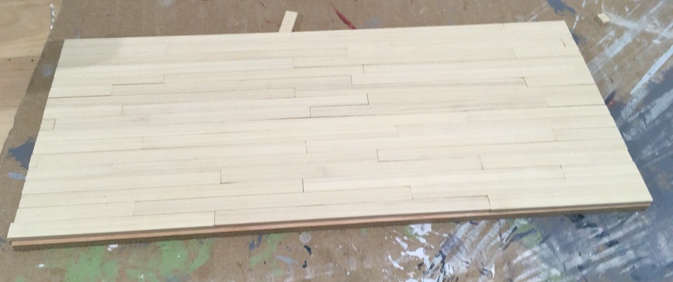
These are 1/4″ by 1/8″ sticks of some kind of wood that’s nicer than basswood, that I acquired a while back from a miniaturist who was clearing out her stash. I’ve pilfered a few pieces for other uses, and I actually used two of these to form sides of the new door frame. I pulled out the rest of what I had and it wasn’t quite enough to cover the floor.

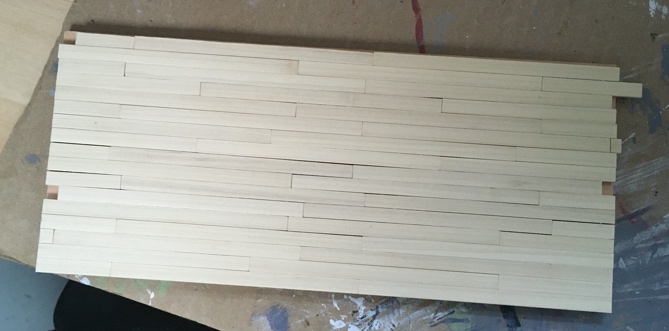
I dug through my scrap drawer and found a few more pieces, and it seemed like I would have *just* enough to cover the floor. I’d already glued boards to about 2/3 of the floor when I laid out the rest, and this is how it ended up. The piece hanging off the edge is not quite big enough to fill the remaining gaps. Argh!

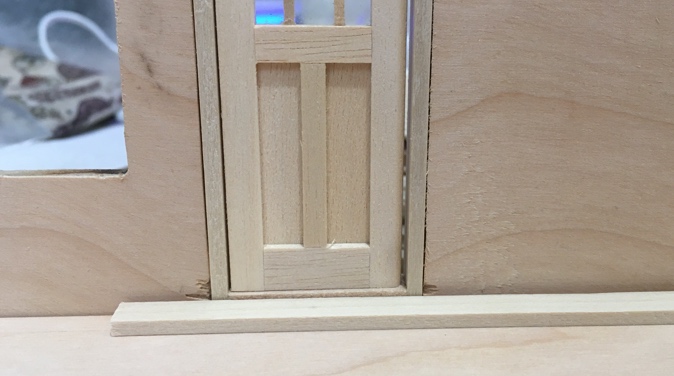
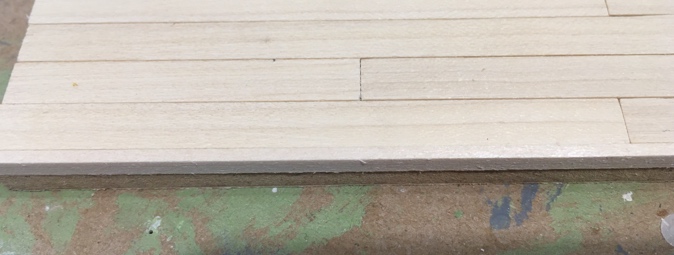
Since the gaps were small, I knew I could fill them up with regular basswood and they would more or less blend in. But first I tore through my workshop just in case there was a stray board lying around… and I found one!

I used a skinny piece of basswood for the final strip. This edge will be inside the house and will have a baseboard over it, so it shouldn’t be noticeable if it takes the stain differently than the rest.

Like I mentioned, I usually lay floors once the house is already assembled, using veneer or, when I can find it, LittleWonders Lumber. But a while ago (ten years, yikes!) I took a class with the Guys from Texas and learned a great technique for finishing hardwood floors outside of the house.

Continue reading

Craftsman bungalow vignette in 1:24 scale

For the past few months I have been working on a bookcase for my office. I bought three of these unfinished bookcases and stained them with Minwax Aged Oak gel stain. This took a lot longer than staining dollhouse furniture! I dragged it out over a month and a half, doing a few pieces each weekend.

Then Geoff helped me cut down the tops so the three bookcases could fit right next to each other, and we assembled them and bolted them together.

There are some empty spots on the shelves that are perfect for displaying minis. The Infinite Possibilities Porch and four seasons roombox have already found a home here, and I’ll put the screened-in back porch here when it’s finished. (I hit a snag with that and haven’t worked on it in a while — more details to come in a future post.)

This weekend I started another small project that will fit on the bookshelf when it’s finished, a Craftsman bungalow vignette kit by Debbie Young.

I bought this kit from the same seller as screened-in porch. It was originally a quarter scale kit that Debbie released a batch of in half scale (I think it was for a club project, but I might be misremembering).

The kit came with instructions and everything else required — components, shingles, siding, etc. The only picture is the one on the front of the box.

The window and doors are plastic Grandt Line components. I’m not a fan of these. I hate painting plastic and I want to stain the front door.

I dug through my stash and found these, which I bought on eBay several years ago. They look like components off a Real Good Toys East Side Townhouse, which is now discontinued. I really like the mullions, but was never a fan of the pediments. (And yet I still bought them, because I have an addiction.) The windows come with pre-assembled interior trim.

Continue reading

Mr. Spatula’s water cooler (finally!)

Almost a year ago, I started planning one of the most complicated elements of the Freelance Police office: Mr. Spatula’s water cooler.

I made the aquarium out of a glass dome with a cork base. The castle is a painted charm. After a failed attempt with resin for the water, I made this version with glycerin.

This didn’t have quite enough liquid in it, and it also seemed to have a small leak — sometimes I’d pick it up and it felt greasy, like glycerin was seeping out. I had used waterproof silicone adhesive around the inside of the dome where the cork stuck in, and this prevented a tight fit.

I made another attempt over the summer. This time I pushed the cork in tight first, and then used the silicone around the bottom edge. What I didn’t do this time, that I had done last time, was smear silicone over the bottom of the cork. I’m not sure why I didn’t do that… laziness, I guess. It didn’t seem necessary.

Turns out I was wrong! The aquarium seemed fine for a couple of months, but recently I placed it on the floor of the roombox, and when I moved it later I noticed a small wet spot underneath it. I wiped this up (luckily it didn’t damage the flooring) and set the dome on a tissue to see what would happen.

A week or so later I checked the tissue it was saturated with glycerin that had leaked out through the bottom of the cork. Could a temperature change in my workshop be the culprit? It was in the 90s when I made it, and now it’s getting down into the 40s at night. I glopped silicone all over the base of the cork and that seems to have stopped the leak, but enough glycerin has now leaked out that the water level is once again too low. Sigh.

So, I have to make *another* aquarium. I’m okay with this, because I didn’t like how this one turned out. I forgot to use gesso on the metal castle before painting it, so it has a metallic sheen, plus a few rogue pieces of gravel got stuck to Mr. Spatula’s belly when I turned the base upside down to insert it into the dome.

For now I’ve moved on to the base. This is the best picture I have of the full water cooler. In Telltale’s Sam & Max games you rarely see this corner of the office due to the camera position.

I started with four pieces of wood — the side pieces are 1″ basswood and the front and back are cut from basswood that’s scored at 1/16″ intervals. The score lines made it easy to cut down to the size I need it and to cut a hole into the front piece. (I also used this wood for the file cabinet.)

Continue reading

« Older posts Newer posts »

© 2025 The Den of Slack

Theme by Anders NorenUp ↑