After last week’s post, a couple of people tipped me off to a project in Nutshell News that looked suspiciously like the screened porch kit I’m building. I tracked it down in the August 1988 issue. The article is called Grandma’s Back Porch, and it’s a 1:12 project based on a class Ron Clanton used to teach in his shop.
Here’s a photo from the article:
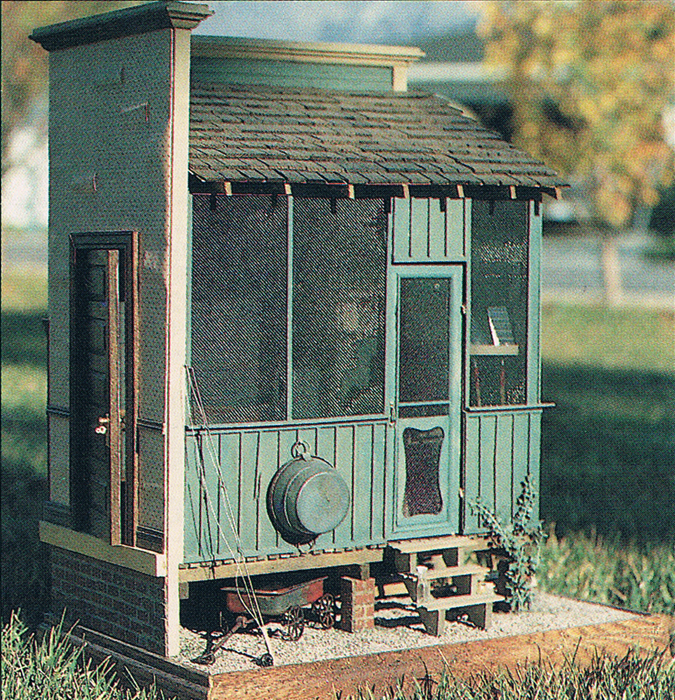
Ron Clanton was based in Salt Lake City, so I assume my kit from Daffodil Miniatures & Gifts, also in Salt Lake City, was made in collaboration with him. It’s strange, though, that he isn’t credited in the instructions.
(As an aside, Ron Clanton was also at one point the owner of Victorian Times, the company started by Clell Boyce and known for impressive Victorian dollhouses like the Joseph Angel house and the Lacamas Lake House. Both of those were available in half scale [but are very rare!] and I would love to find them someday. I didn’t bid on a half scale Joseph Angel house on eBay several years ago and regretted it afterward. For more info on Victorian Times, check out their catalogue and this post on the Greenleaf forum.)
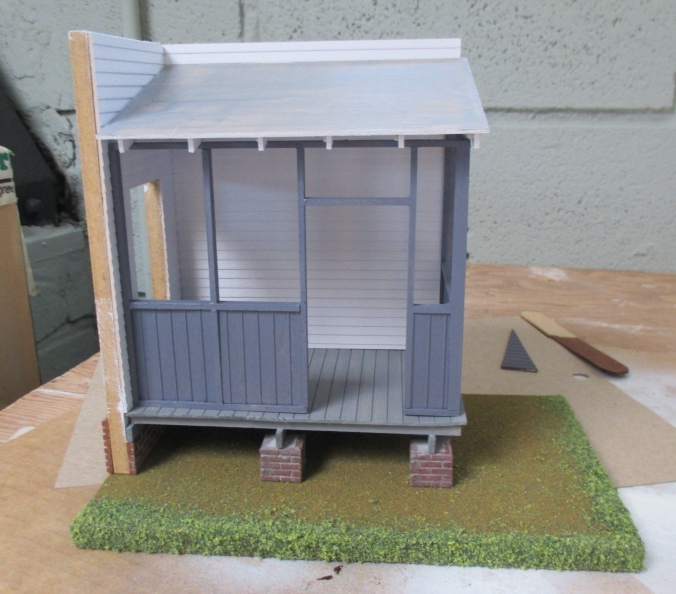
Back to my screened-in porch. I’m matching the colors of my Infinite Possibilities Porch so the two vignettes will look like they belong to the same house. I painted the front porch with Glidden paint samples. The house color is Pearl Gray, the front door and shutters are Antique Purple, and the dark blue trim is Stormy Night.
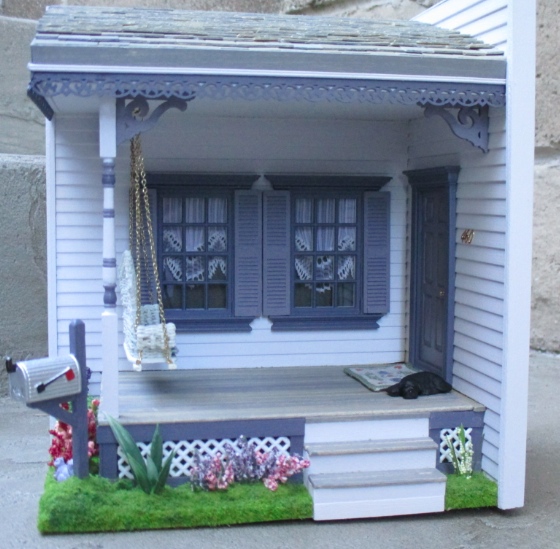
Since the dark blue was the dominant trim color on the front porch, I decided to use this for the walls of the screen porch, and save the purple for the doors.
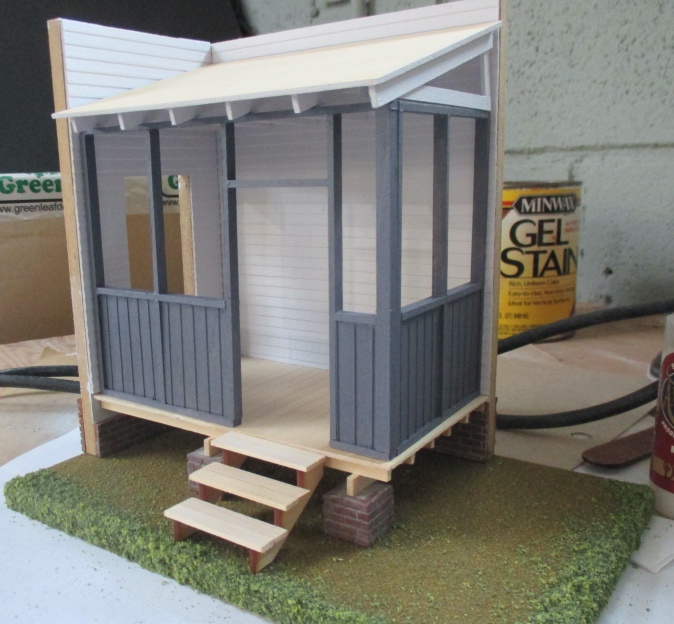
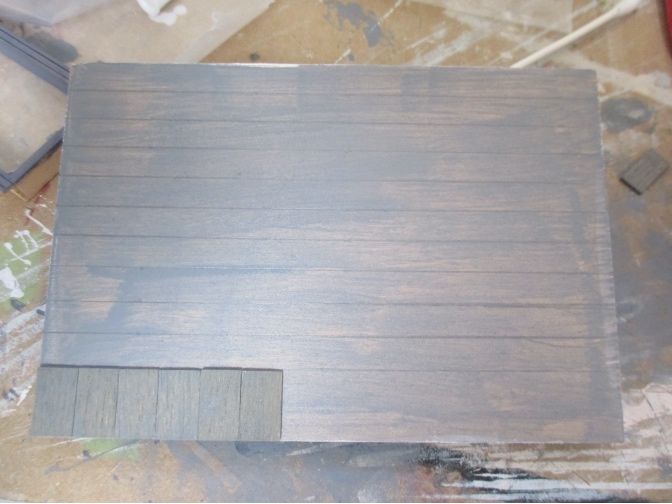
The porch floor and shingles are stained with Minwax water based gray that I bought for $1 off the oops cart at Home Depot and have used for numerous projects (most recently, the Victorianna’s shingles).
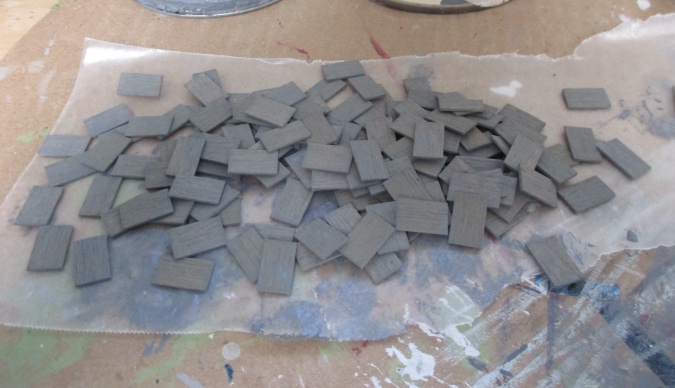
The kit came with a small bag of shingles. Since there weren’t that many of them, I started out painting each one. When that got too tedious (it didn’t take long!), I ended up dumping them all in a cup of stain.
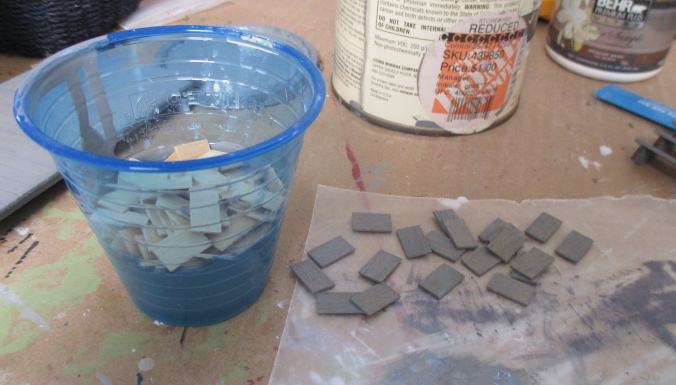
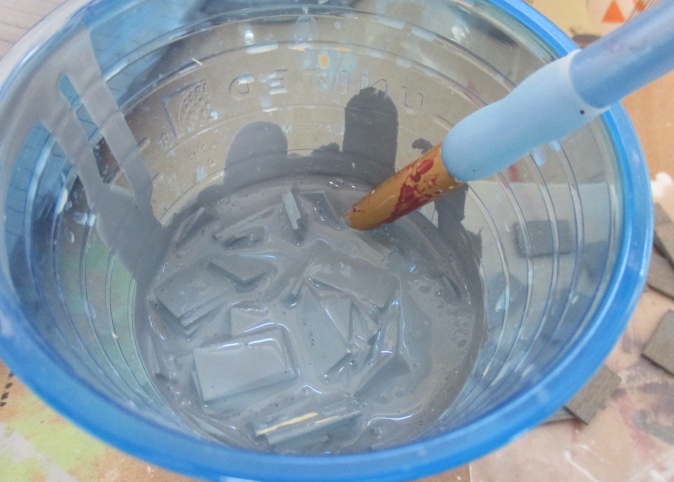
I put on gloves, fished the shingles out of the stain cup, and blotted them off on a paper towel.
I also stained the porch floor, the steps, and the roof. (I stained the roof just in case any of it showed through under the shingles. It never does, but the one time I don’t do this will be the time I wish I had!)
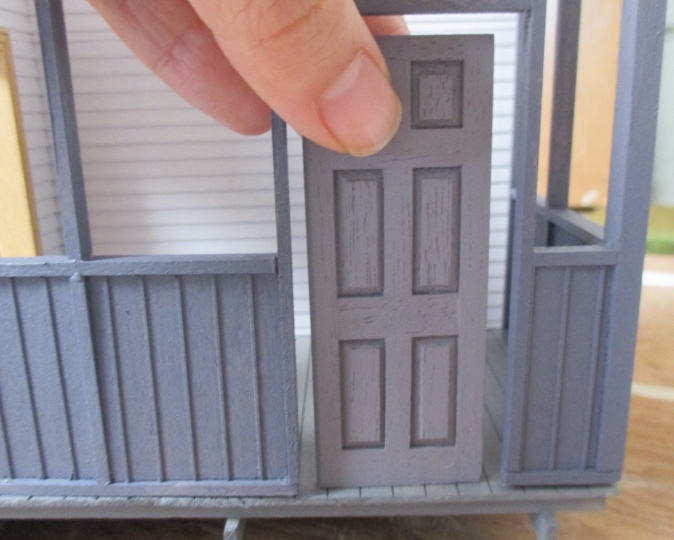
I painted the back door purple with dark blue trim, like on the front porch.
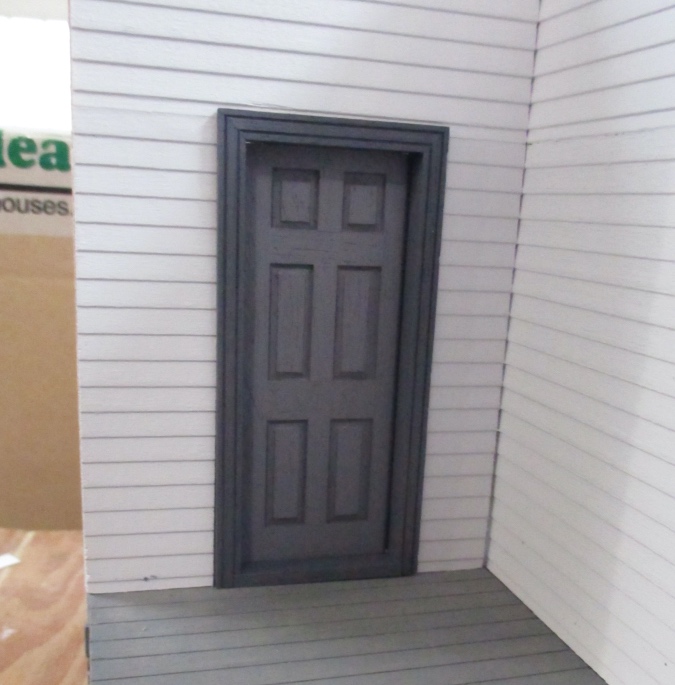
Then I held the purple door up against the screen porch walls to decide whether I should paint the screen door purple as well. Seeing this, I decided against it — these seem like they should match.
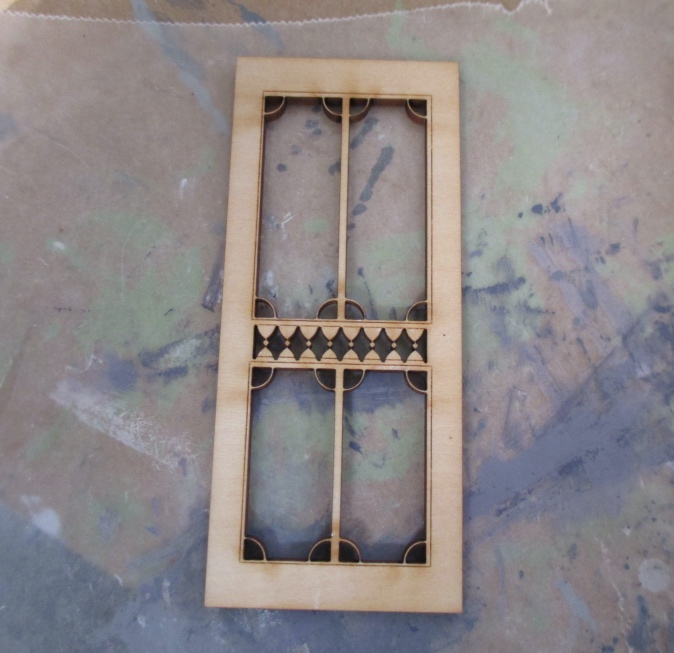
The instructions said to spray the screen door with “sealer or lacquer” to prevent warping. I wasn’t sure what that meant, but I tried spraying it with Krylon matte finish since that’s what I had.
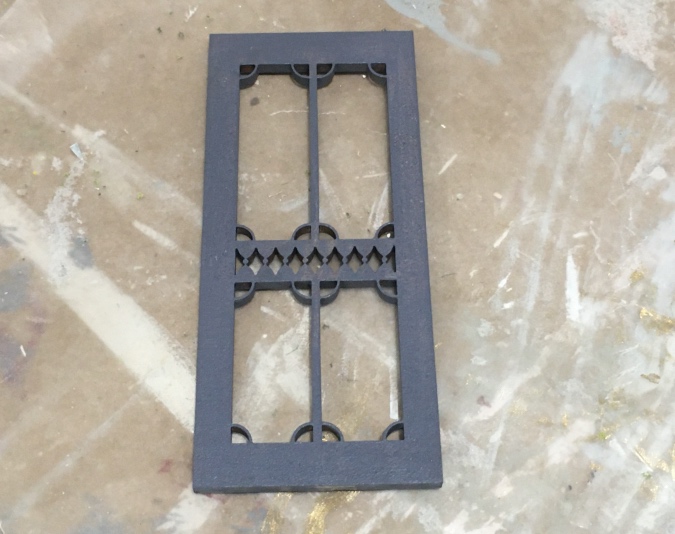
It seems to have done the trick. The door did curl slightly when I painted the first side, but then I painted the other side and it flattened out again.
Once the shingles were dry, I drew lines 5/16″ apart on the roof and started shingling. I counted the shingles beforehand and thought I would have just enough.
A few rows in, I realized my shingles weren’t flush with the sides of the roof — each row was ending slightly farther out, creating a bowed look. It happened on the other side of the roof too. I guess I just wasn’t being careful.
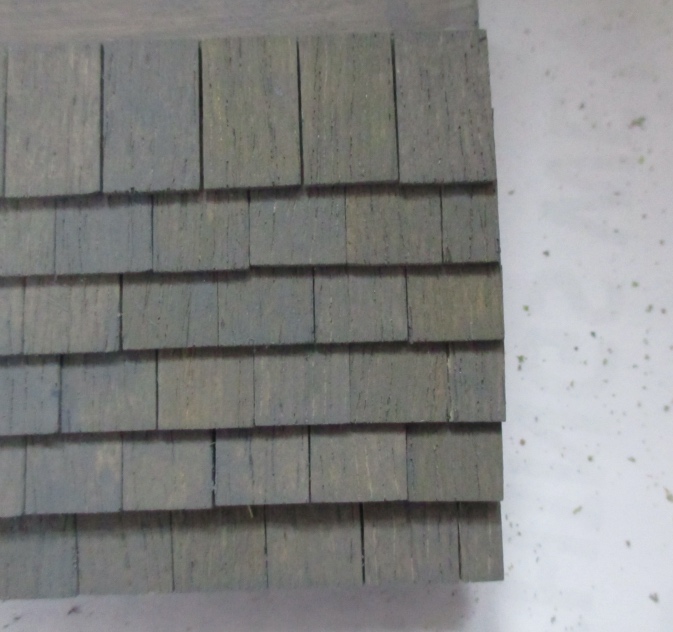
I put a sharp blade on my utility knife, flipped over the roof, and sliced off the edges of shingles that were sticking out until the shingles were flush with the side of the roof. I’ll have to go over these edges with stain, but at least they edges look nice and straight now.

This is how far I got with the shingles that came in the kit. Looking at the instructions, I now see that they say to draw the shingle lines 1/2″ apart. That explains why I ran out of shingles, but it seems like an awfully big gap between rows for 1:24 scale. Luckily I have plenty more shingles like these, so I just have to stain a few more.
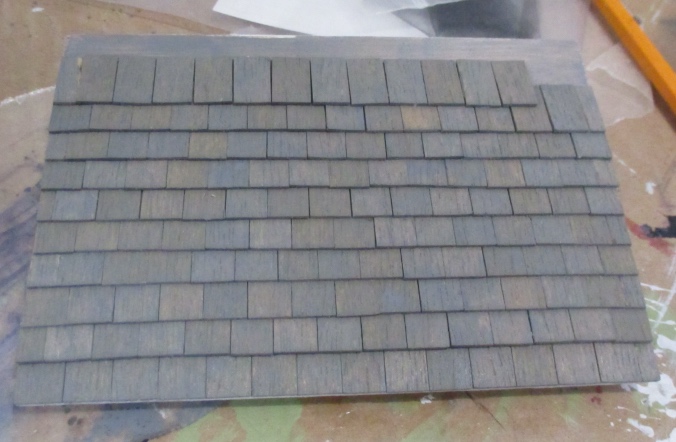
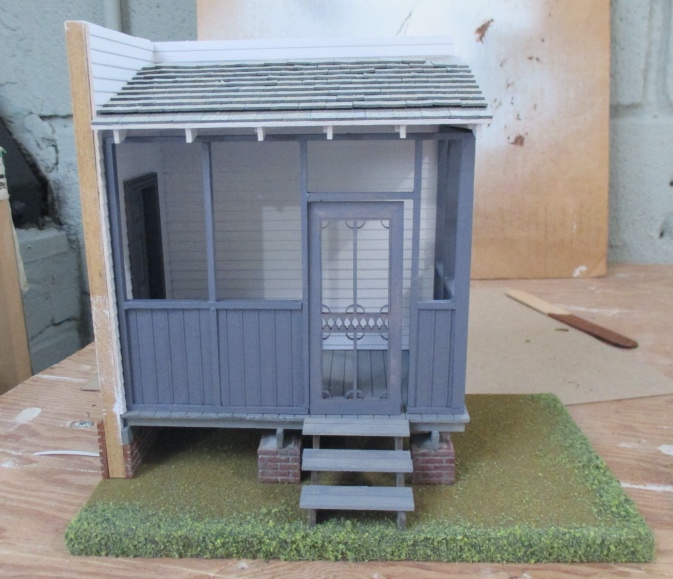
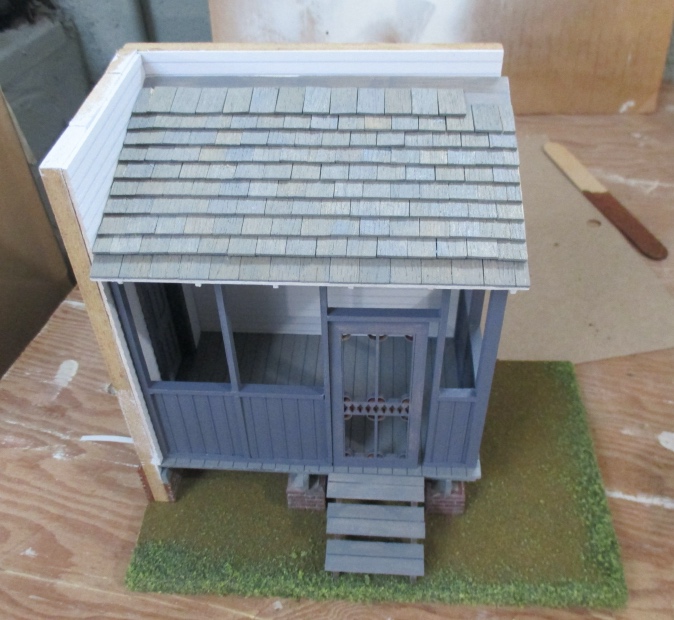
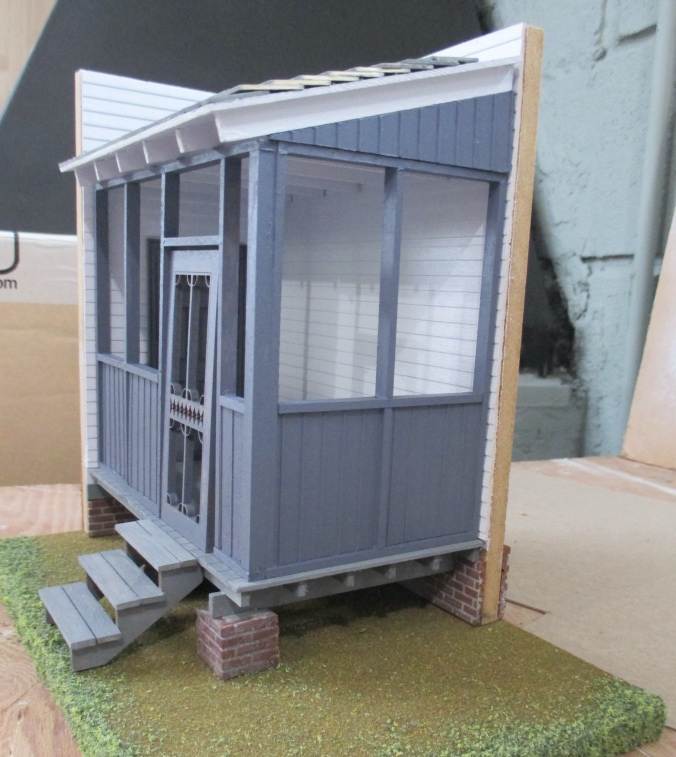
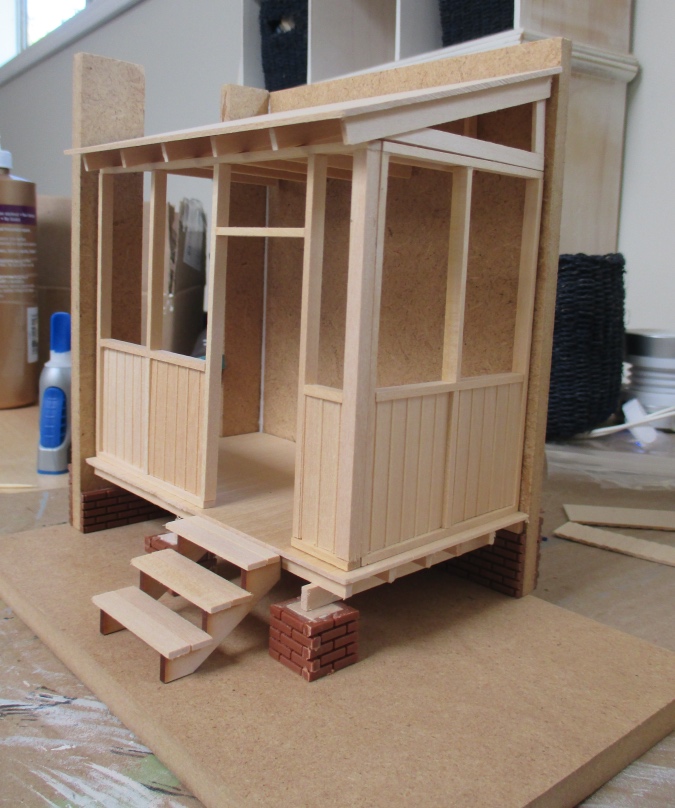
Here’s how it’s looking. My next tasks will be to add the screen material and hinge the screen door.
 Emily is a freelance writer, miniaturist, and adventure game enthusiast.

