The theme for this year’s half scale swap (through the Halfscale Minis group on Groups.io) was Arts & Crafts. I made skeins of yarn, matte finish spray cans, and paintbrushes. And now I’ll show you how I made them, so you can make some too!

Download the labels here and read on for the instructions. The labels are 600dpi, sized for 1:24 scale. If you want to make 1:12 versions you can change the resolution to 300dpi before printing. (No idea what I’m talking about? This article will help!)
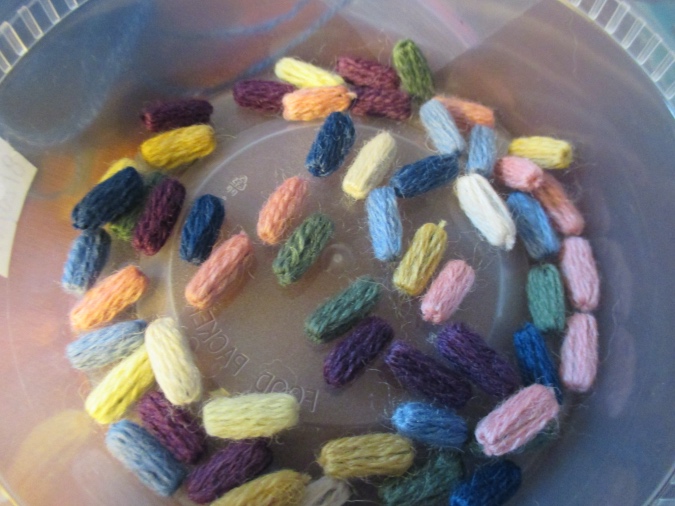
Skeins of Yarn
The yarn skeins are made out of thin plastic straws and fine wool that I had left over from cross stitch kits I stitched many years ago (I think it’s “crewel weight” wool). You could also separate thicker wool into individual strands, or use DMC floss.
I cut a straw to about 7/8″.
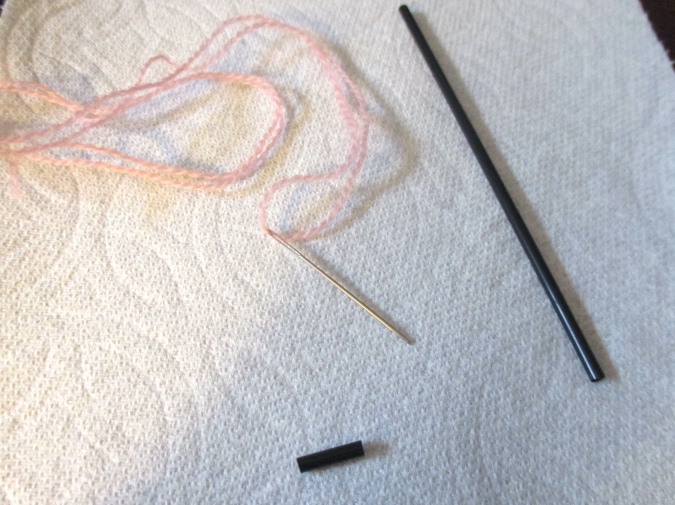
With the wool threaded on a number 18 tapestry needle, I pulled it through the straw and left a long tail.
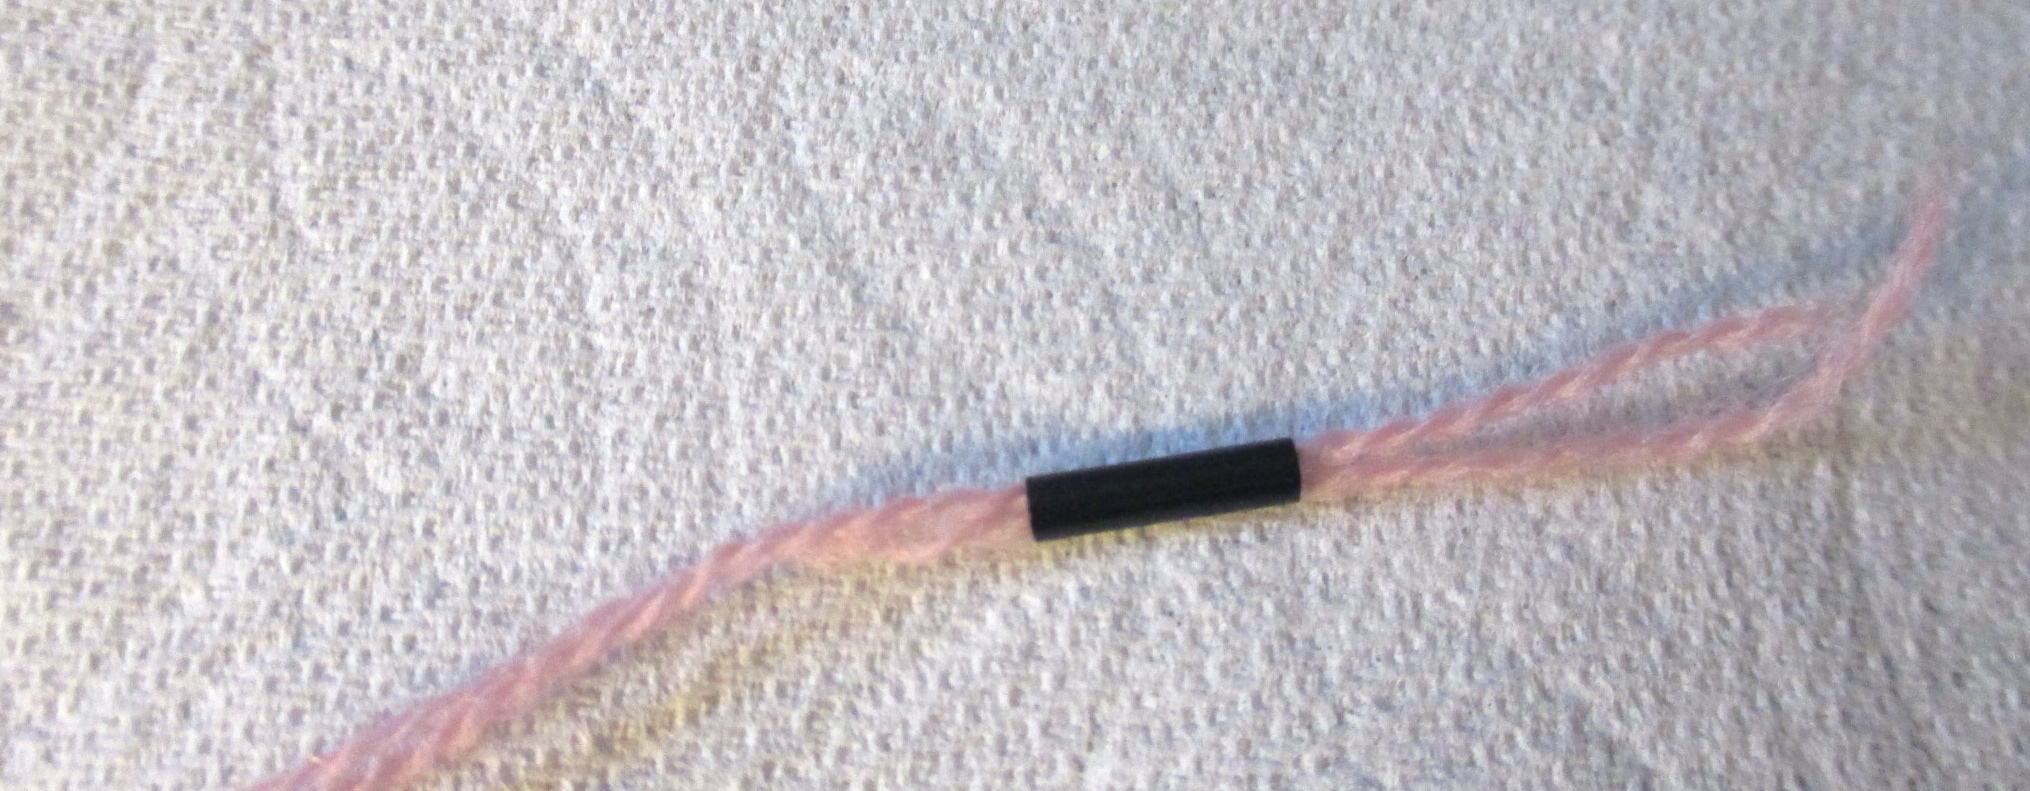
Then I looped the yarn through the straw and pulled it tight, holding on to the tail to keep the wool from pulling out.
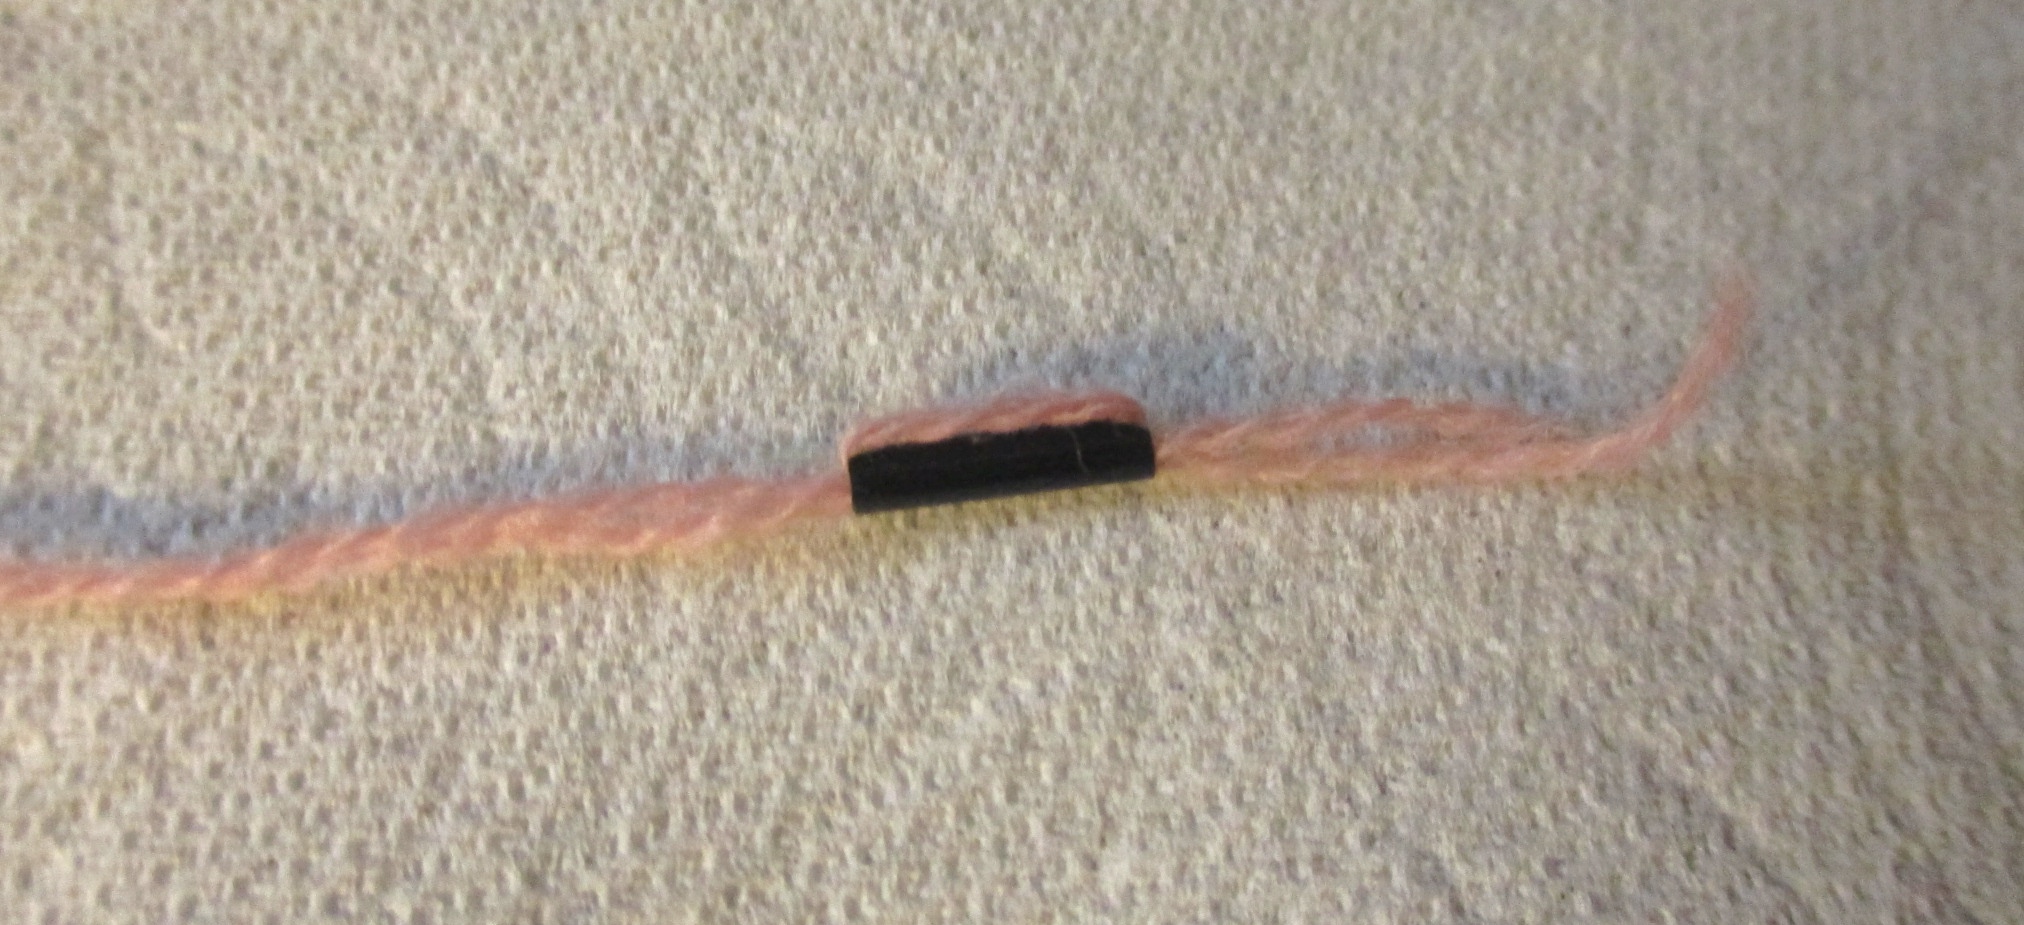
I continued this as many times as I could to completely cover the straw. It started to get bulky and difficult to pull the needle through, but I was able to loop it as many times as necessary to completely cover the straw.
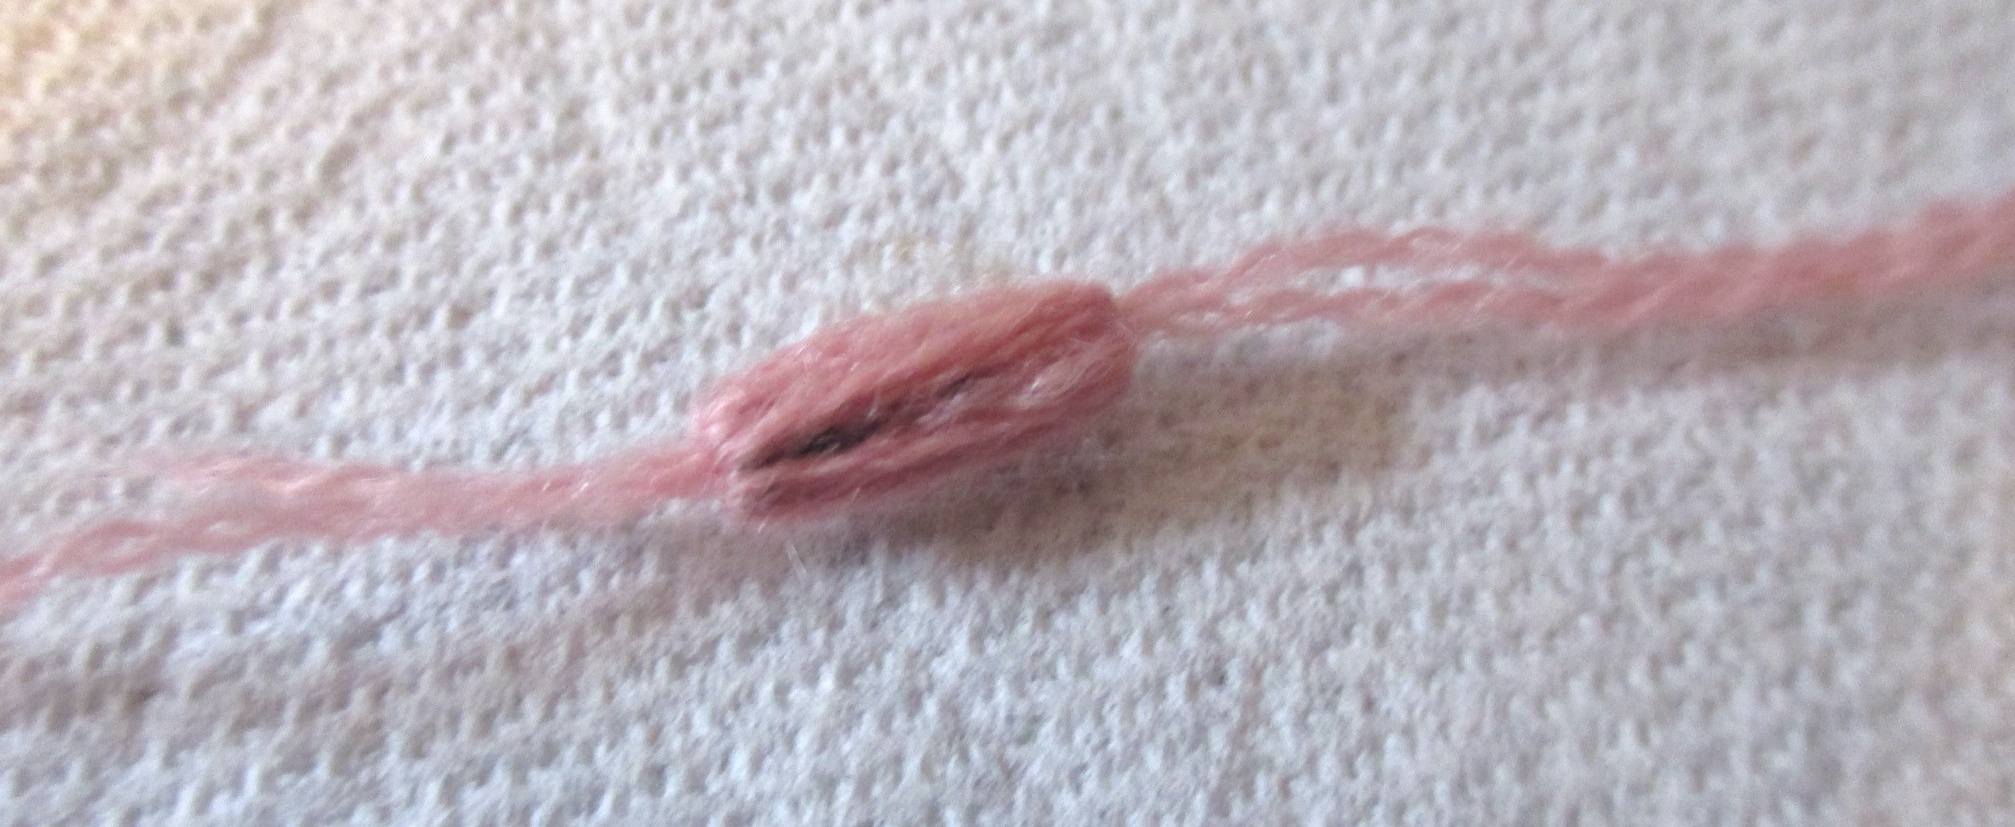
With the straw fully covered, I used sewing scissors to snip off both tails.

I made a bunch of these while binge watching The Wonder Years on Hulu. That was a great show!
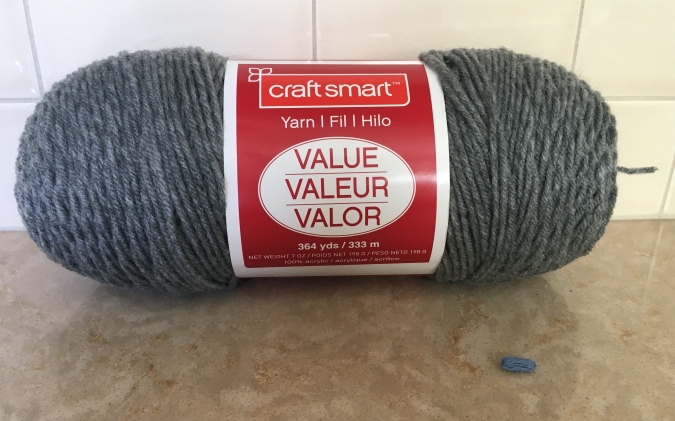
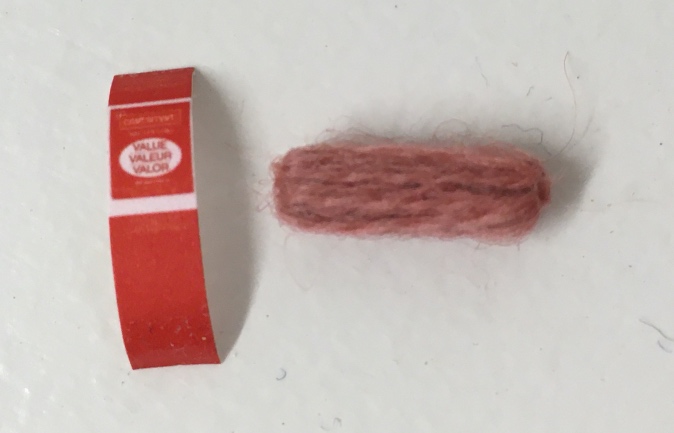
I looked online for label graphics but didn’t find anything I liked, so I made a trip to Michaels. (This was back when people were allowed to leave the house…) I bought a skein of yarn that had a relatively simple label, so it would still be legible when it was reduced down. Here’s the full-sized skein next to one of my half scale skeins.
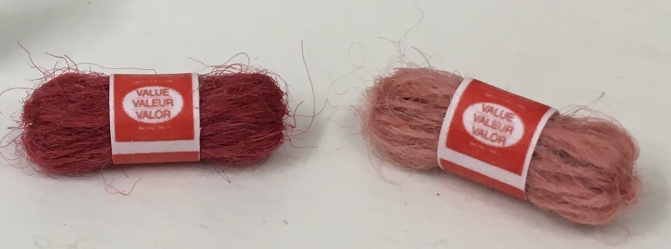
I scanned the label, resized it in Photoshop, and printed out a bunch of them. Before cutting them out, I sprayed the labels with UV-resistant coating, let them dry for 24 hours, and then painted on a coat of gloss varnish to make the label more durable.
The coat of varnish might have been a mistake, because the ends of the paper really didn’t want to stick together! After I glued on all the labels I had to go back and do a second round because many of them had come unglued. I tried some with double stick tape instead of glue but those also came apart. The labels stayed glued on the skeins I got back in my swap package, so I hope that’s the case for other recipients too.
(Wow, the little hairs on the wool are very visible in that picture! They’re not so bad in real life, but if you can’t live with them, they should be easy enough to trim off with sewing scissors or nail scissors.)

 Emily is a freelance writer, miniaturist, and adventure game enthusiast.

