After completing the kitchen cabinets, I turned my attention to the backsplash. It’s not easy to find realistic tile to scale in 1:24. I was really tempted to print something out, but after the problems I’ve had with printies fading, I didn’t want to tempt fate. So I started thinking about how I could use scrapbook paper to simulate tiles.
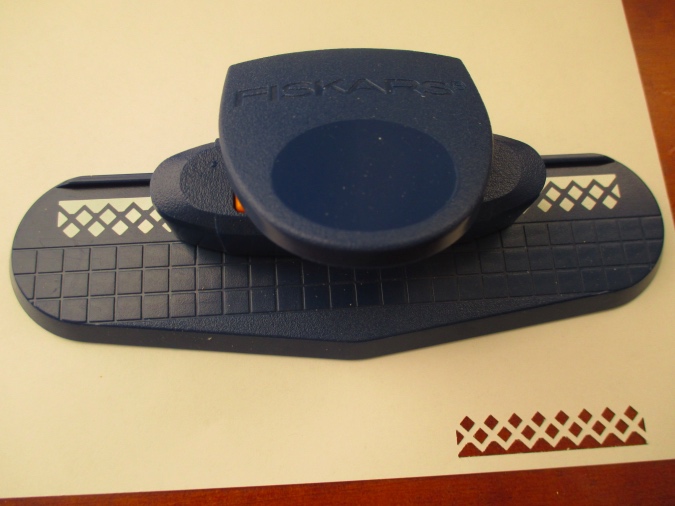
I wanted subway tile, but a post from 1 Inch Minis got me thinking about doing a mosaic tile instead. I bought a Fiskars border punch off eBay that punches out 1/8″ x 1/8″ squares.
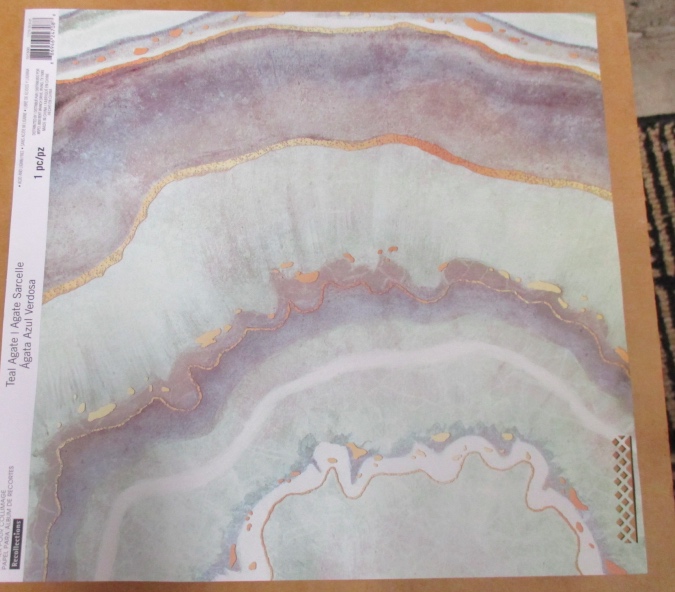
I got a piece of Teal Agate scrapbook paper from Michaels. The colors seem very blue/green on the website, but in reality it’s more like an alternation between green and purple. I concentrated the punch on the green areas.
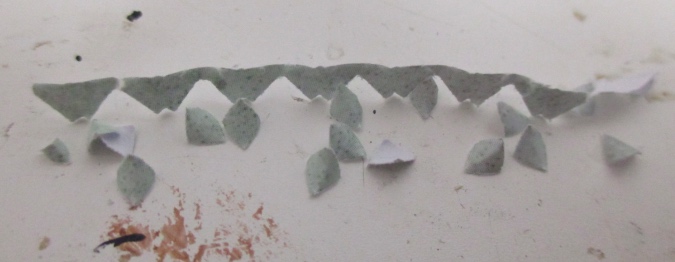
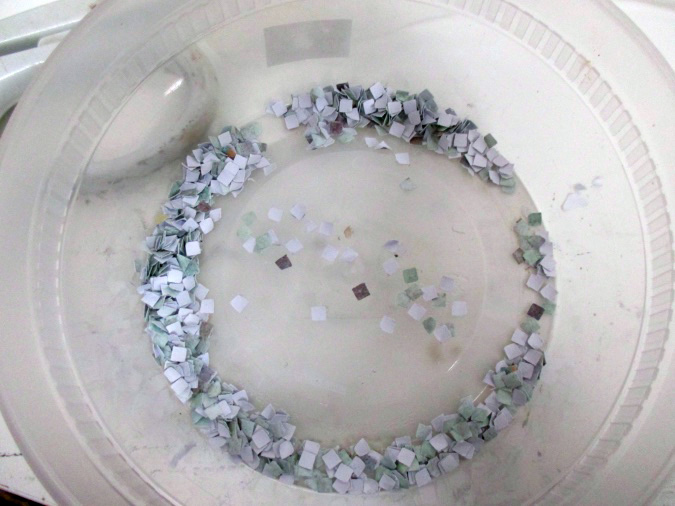
This is what gets punched out.
I pushed down on the squares to flatten them, and then scooped them into a container, discarding any that were too dark, gold, or white.
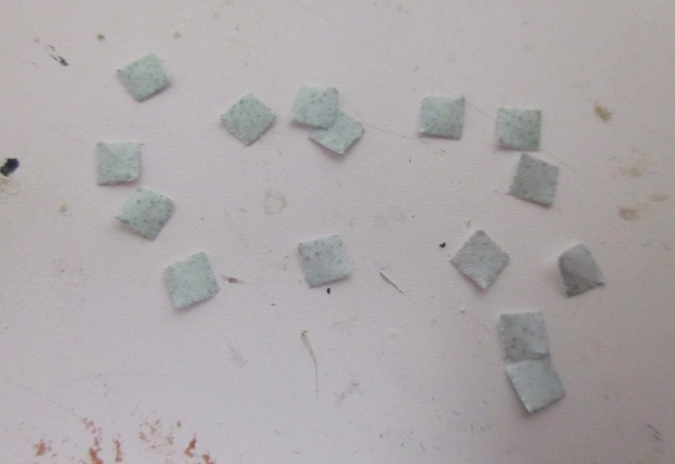
This is how many tiles I got from one sheet of paper (including some off colors mixed in that still need to be discarded).
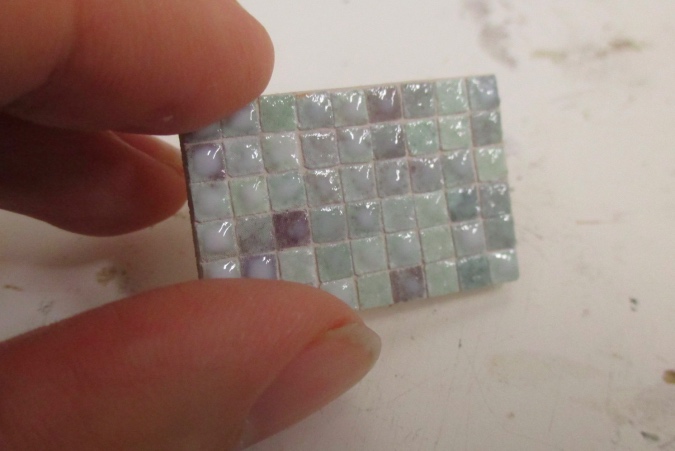
I cut a piece of 1/16″ thick wood the size of a backsplash panel, and painted it with my Tuscan Beige trim color. This is the panel that goes under the microwave. I squirted tacky glue onto a piece of wax paper, and then used the tip of a toothpick to add a dab of glue to the backing. Then I flipped the toothpick over and used the clean end to nudge a tile into place. I just eyeballed the grout lines.
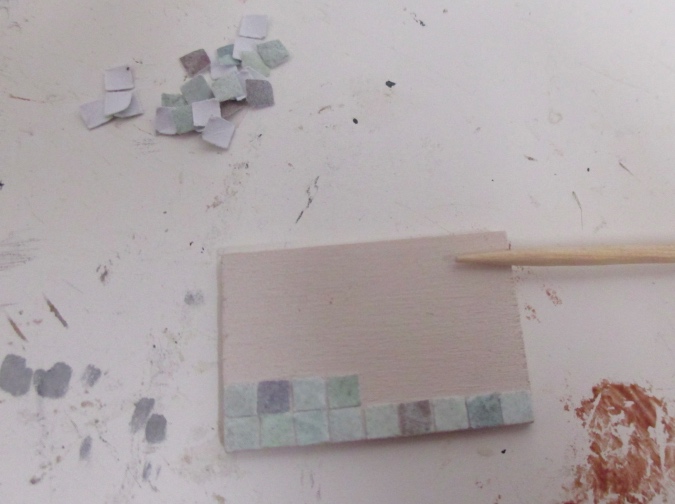
Here’s my first attempt. After seeing it in place, I picked off a few tiles that seemed weird and replaced them.
I think if I had painted these with matte varnish they would have looked like stone, but I wanted a shiny finish. I used a toothpick to put a dab of clear Gallery Glass on each tile, keeping it off the grout lines to maintain separation between the tiles.
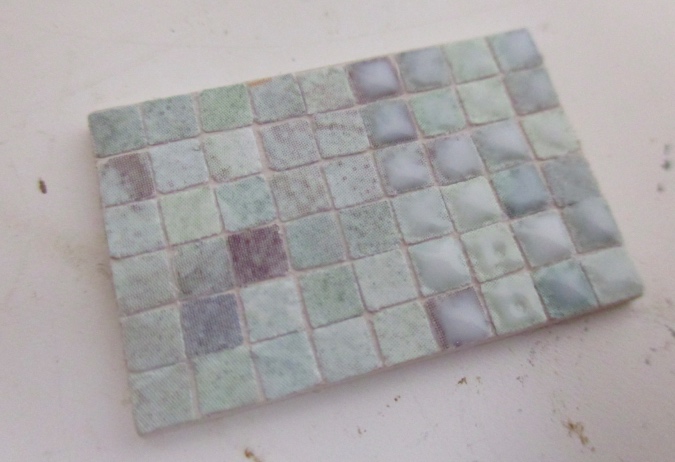
The Gallery Glass dries clear and shiny.
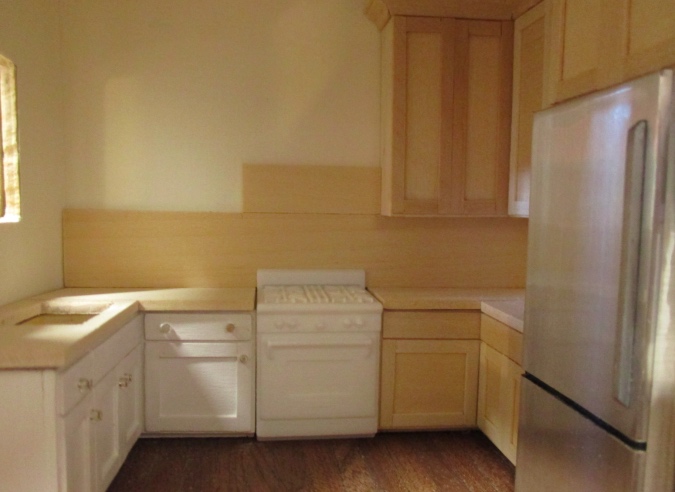
Having figured out the process on that small panel, I moved on to the large one that spans the back wall. I cut one long piece to go all the way across the wall, then a smaller piece to fill in the area below the hood. The long horizontal piece will make it easy to glue in the upper cabinet on the left at the same height as the rest of them.
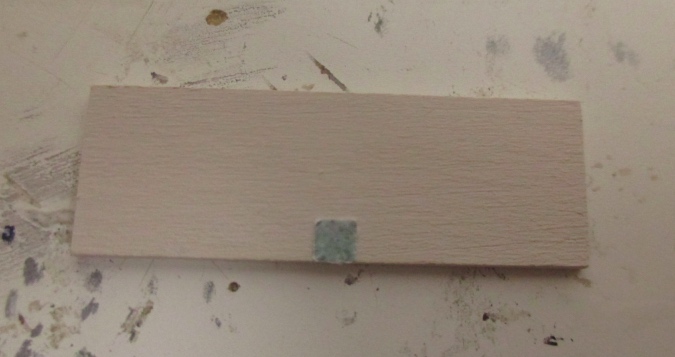
I started with the center tile and worked my way to the left and right, to ensure the tiles would be centered under the hood.
On the bottom row, I let the tiles hang slightly over the bottom to help obscure the seam between the two backsplash panels.
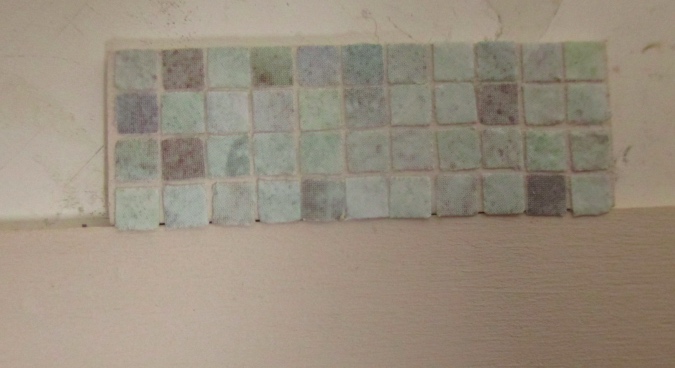
I put the panels in place and glued in the first center tile on the big panel, to make sure the tiles on the two panels would line up.

I kept the small panel nearby while I did the first row.

Here’s the big panel finished, including the Gallery Glass.
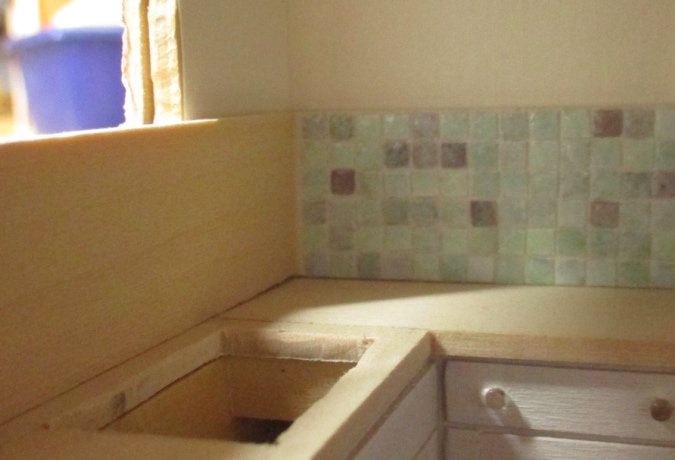
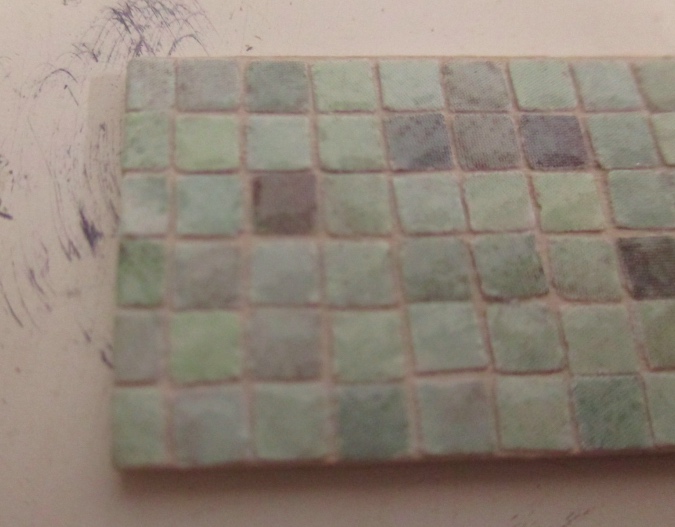
Knowing that the perpendicular panels will overlap the big panel, I left the edges blank. On the other side it looks fine (like a thin grout line) but on this side it’s a little too big.
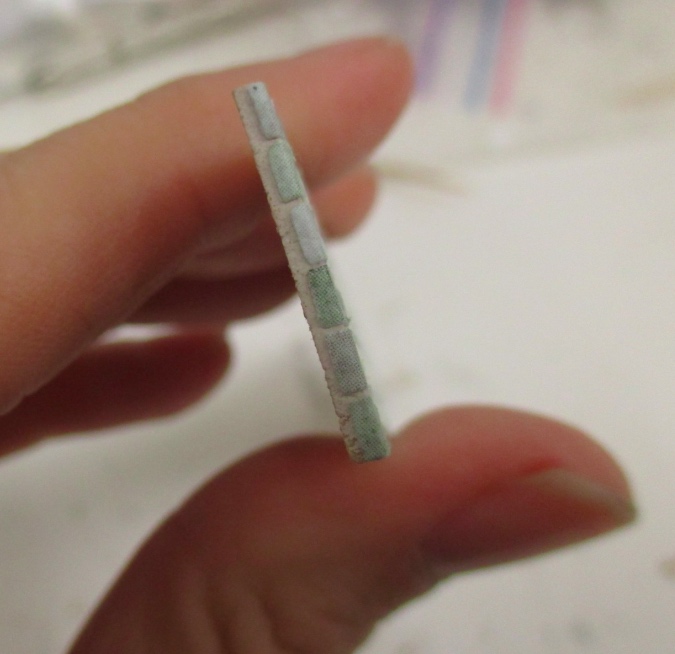
So I added another row of tiles, wrapping them around the edge.
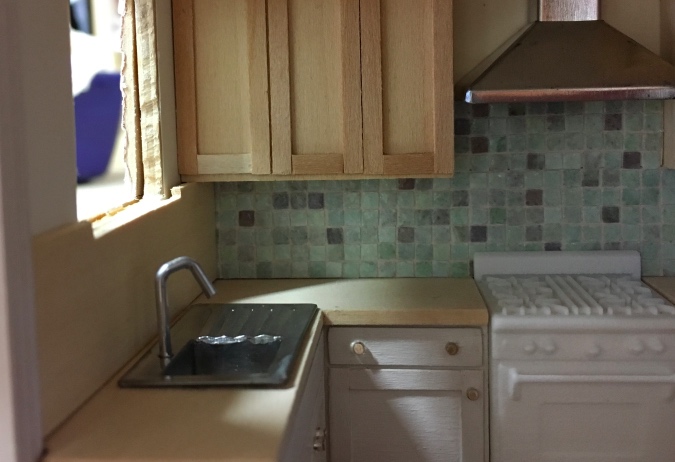
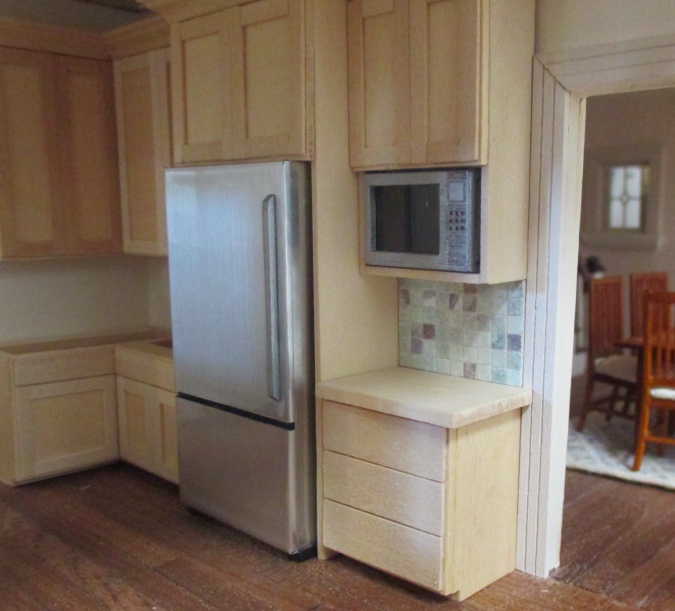
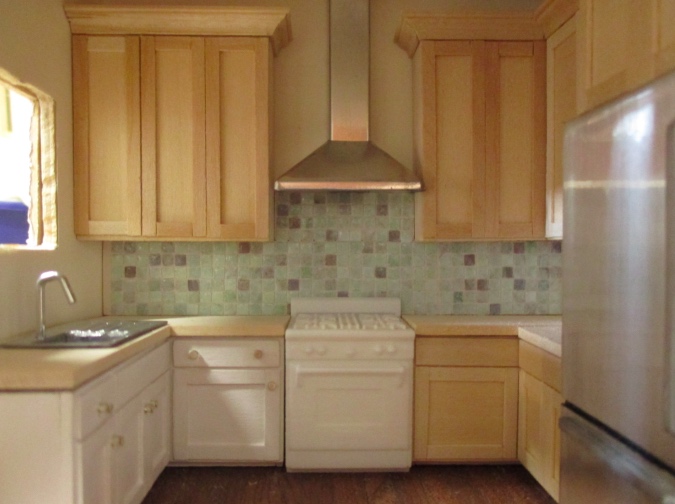
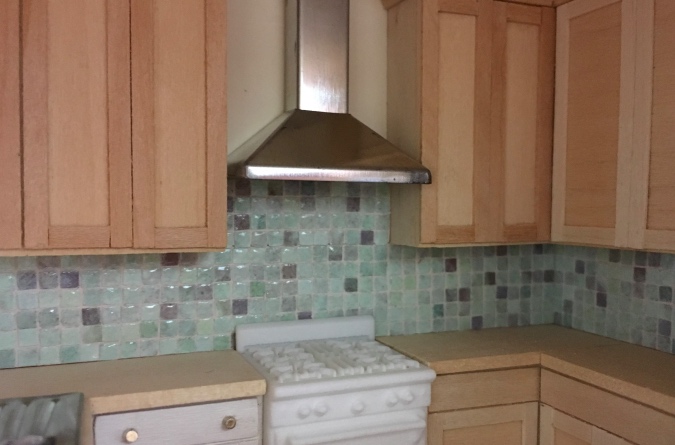
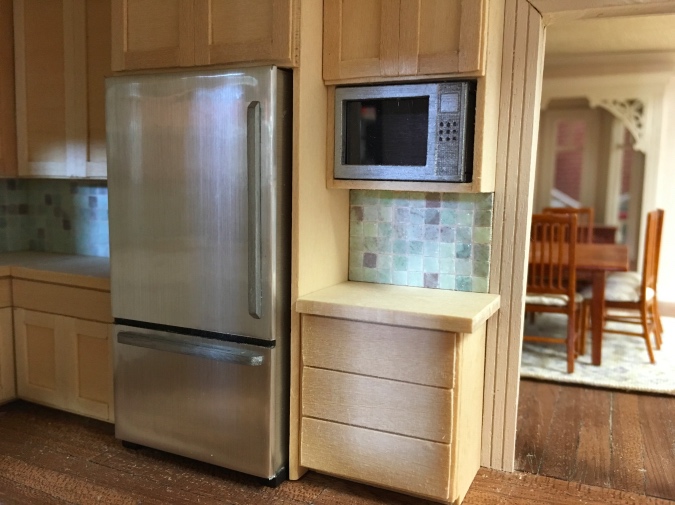
I have to figure out the window trim before I do the panel over the sink, but here’s the kitchen with the rest of the backsplash pieces finished.
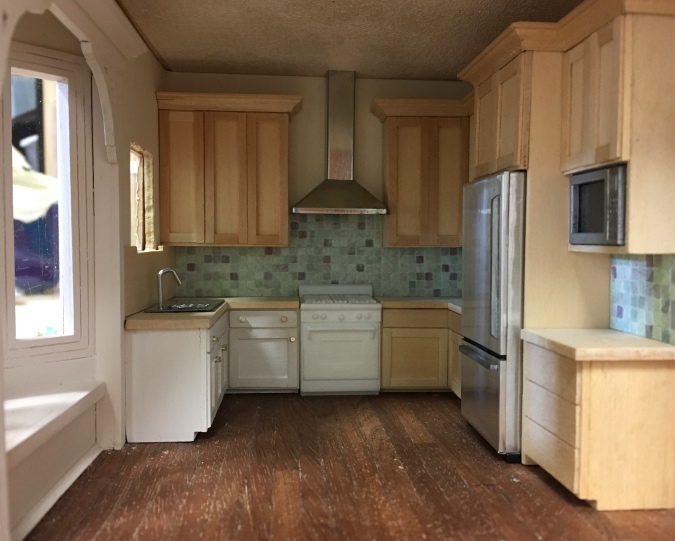
(I know the exhaust fan is a little crooked! I’ll fix that before I glue it in. The tall part is held in with a screw underneath the hood, so it can be adjusted. Currently the hood and the left upper cabinet are held in with wax.)
 Emily is a freelance writer, miniaturist, and adventure game enthusiast.


Marvelous Emily. Thanks for sharing your technique .It is so pretty.
I really enjoy reading your blog and seeing your creative process on all of your builds. This kitchen looks great and the tile backsplash is perfect with the gallery glass.
It looks gorgeous! I love the way it looks with the gallery glass.
This turned out amazingly well Emily. You have given me lots of ideas for the San Franciscan’s backsplash. :D
Great, I’d love to see a picture if you do it!
This is wonderful! I just bought some clear tiles to paint and use as a backsplash in my 1″ scale house, but now I’m thinking of browsing my scrapbook paper for alternatives. Thank you so much for the inspiration and instruction.
Wonderful! Very realistic.
Oh… I could weep with the sheer perfection of your choices! Love it so much.(Sorry….one of my friends laughs her head off at my drama queen tendancies, but I say there’s nothing wrong with enthusiasm.)
Looks wonderful!
Wow, that looks awesome.
What pretty colours you have selected for the kitchen tiles! Who would have thought that scrapbook paper, a paper punch and Gallery Glass could give such a modern and realistic look…thanks for sharing!
Brilliant. The kitchen looks clean and pretty. While the tile work seems tedious, it certainly has paid off.
This mini tiles post was one TERRIFIC read!
I am bowled over by the Beautiful results of your mini tiles AND how you’ve contrived, then professionally installed them in your kitchen- ALL Very Creative! And the hint about adding the Gallery Glass to each tile is flagged for future reference. What a Marvellous way to begin 2019- Bravo Emily and Happy New Year!
Emily this turned out perfect. Wonderful job. Thank you so much for the instructions. The Gallery glass really make the tiles pop! Thank you.
Fabulous!!! Your tile solution is just stunning. The glossy finish is beautiful and the colours just perfect for your kitchen. Thanks so much for putting such a detailed post (as always) together. I will definitely be keeping this one in mind.
Happy New Year,
Anna
=stands and applauds= So much tiny work, but so worth it. It looks fantastic! :D
I really like the color and the total effect, it’s beautiful!
I had such fun making a set of tiles for a backsplash that I’m delighted to know of another method for making them!
Beautiful
Emily, it’s amazing!!! I love it so much!
Wow, great kitchen. And the tiles really look great. But…. wow, cutting and gluing all those tiny squares…haa! More patience than me, though when you get something in mind, I know how it is…
Oh my goodness, the patience required for that backsplash! Looks amazing, really love it, perfect yet tiny. ?