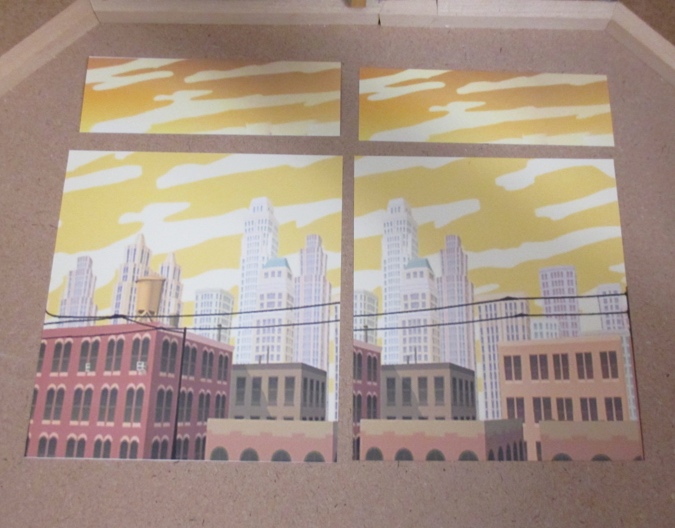
The next step in the Freelance Police roombox is to prepare the walls that will get covered up by the false walls. I used a fan-made program named Telltale Explorer to extract the texture that displays outside the office windows in Telltale’s games.
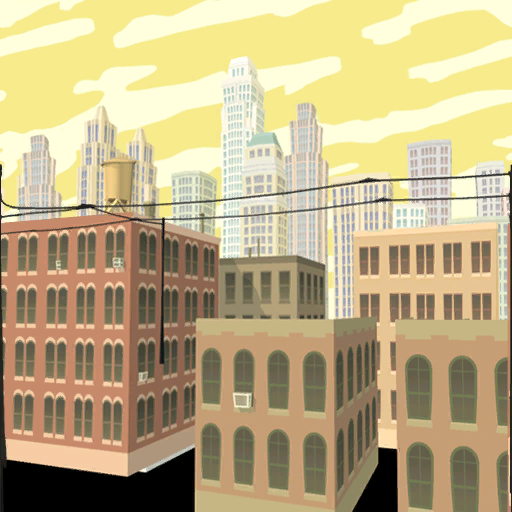
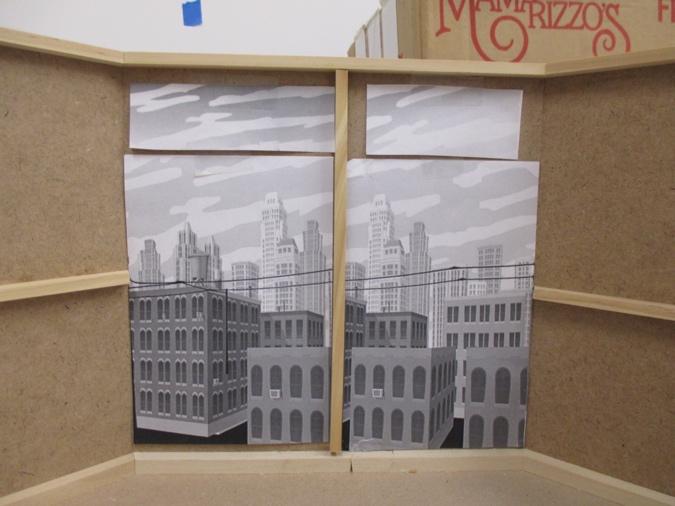
I started by printing it in black and white, to see how it fit. It’s not wide enough to span the whole back wall, so I had to repeat the image. It’s also not tall enough, so I clipped a sky section out of another texture to go at the top.
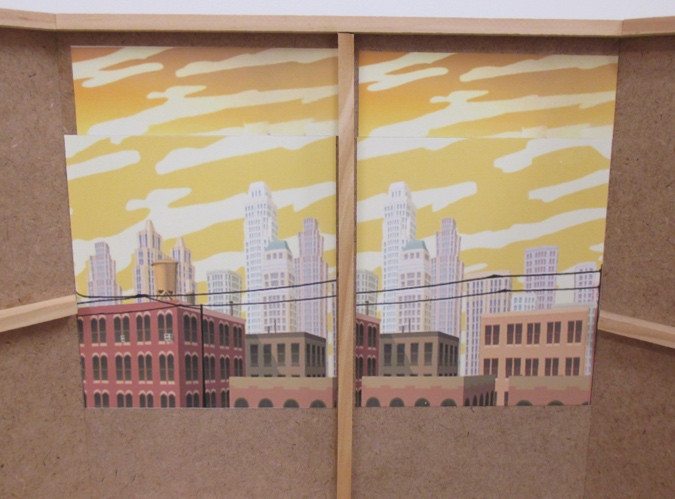
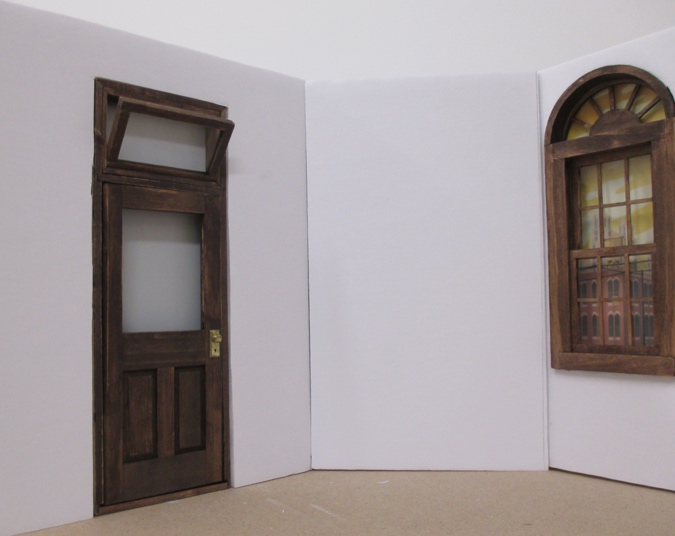
When the windows are in place, it all blends together.

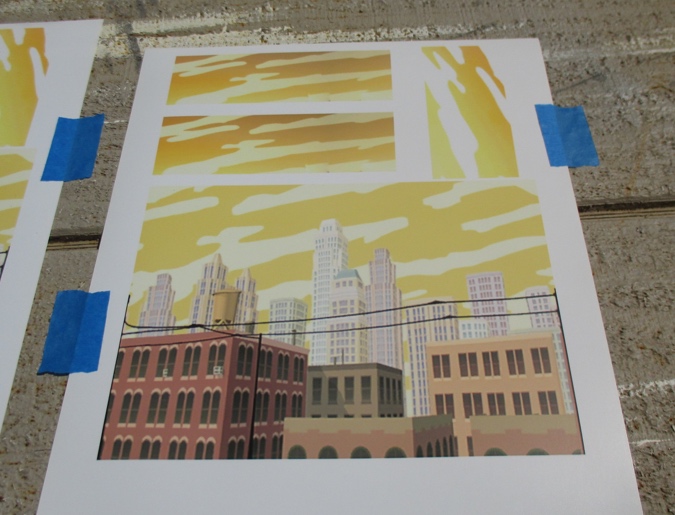
I printed out the graphic on photo paper, sprayed it with UV-resistant matte sealer, and left it to dry for 24 hours. The paper is glossy, but the spray is matte so that took the gloss away.
Next I painted the areas behind the doors and the rat hole. Outside the office door, I used a shade of gray similar to the office window in Telltale’s version of the game. Initially I painted the closet area black, but after looking at the closet in the game I realized it should be the same color as the wall.
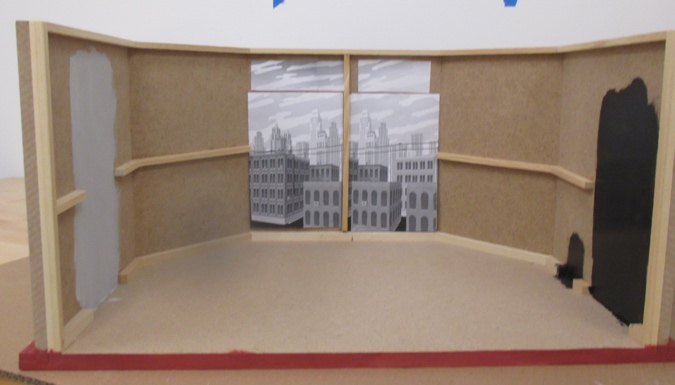
I also realized the brick red I used for the base looks nothing like the brick paper I bought for the back of the roombox, which is more orangey. So I repainted the base and the closet wall area with a Behr paint sample called Harvest Brown, which I’m also planning to use for the walls (pictures are farther down in the post).
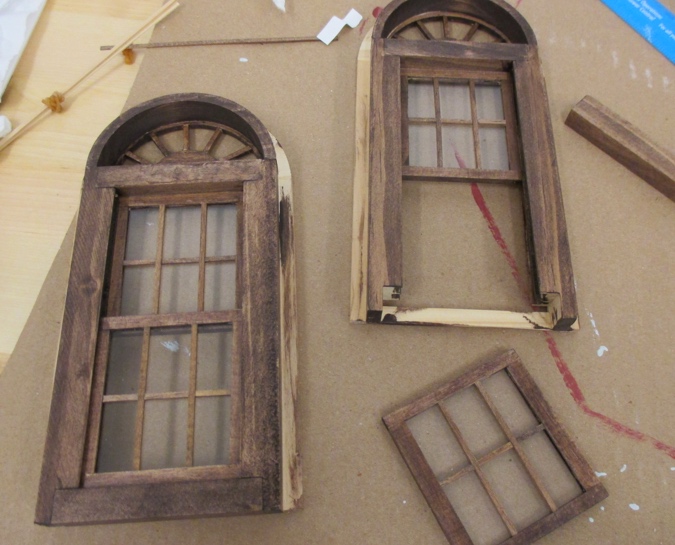
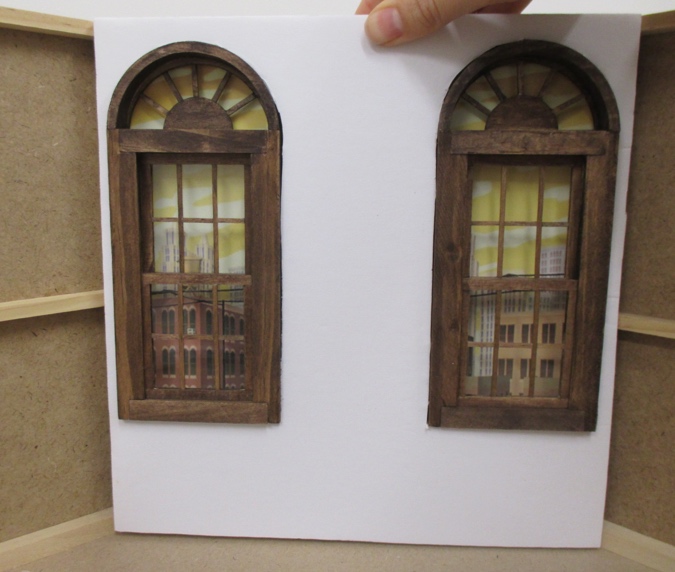
Next I stained the windows and closet door.
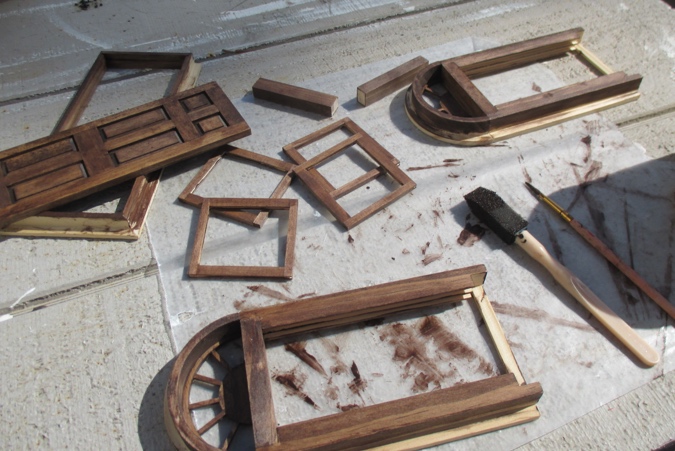
These windows come with mullion pieces that need to be cut down to size.
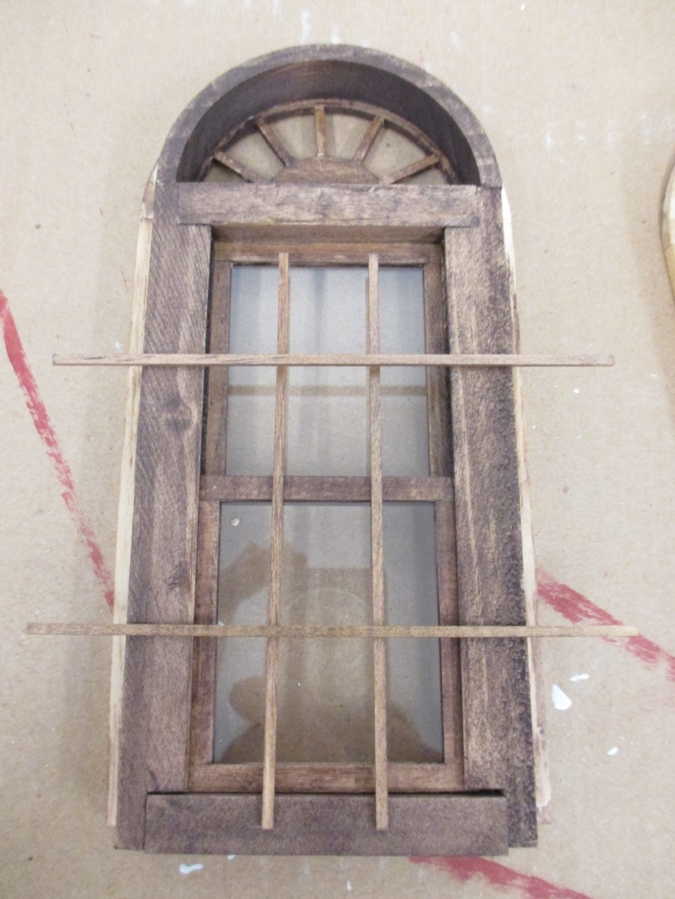
The trick for these is to cut them slightly larger than necessary, and then lightly sand with an emery board until they fit snugly. I did use a dot of glue on each end (a very tiny amount so it wouldn’t get on the acrylic), but I think the pressure is doing more work than the glue.
When the sealer was dry, I cut out the graphics to go behind the windows. I could have cut these smaller since the center part of the image isn’t visible, but keeping them the full width of the section meant I didn’t have to carefully line them up with where the window will be.
I glued in the graphics with wallpaper mucilage.
Normally I print out miniature graphics at 300 dpi if possible, so the picture is sharp. (More info about that is in this Miniature Collector article I wrote back in the mid-aughts!) In this case I had to print it at 72 dpi — anything higher would have made the graphic too small.
Since most of it will be obscured behind the windows and it’s supposed to be off in the distance, it’s okay that the picture’s a little fuzzy.
Here’s the roombox with a view out the window and the newly painted base.
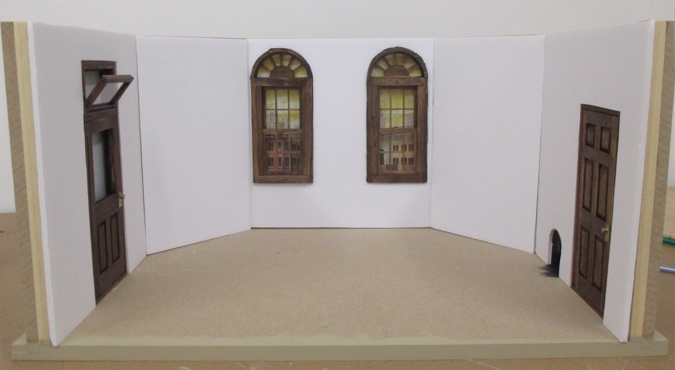
It would have been nice to see the hallway outside the door, but that doesn’t exist in Telltale’s games, so there’s no texture to put there. On the other hand, I’m going to add the Sam & Max logo to the window, and having the solid color behind it will make it easier to see.
And here’s the closet. I thought about making this a bump-out so there would be space in the closet to store things, but didn’t want to lose the floor space. I’m still thinking about what to do with this. I might add a graphic to it to make it look deeper than it is, along the lines of the fake bathroom in the Blackbird Bar.
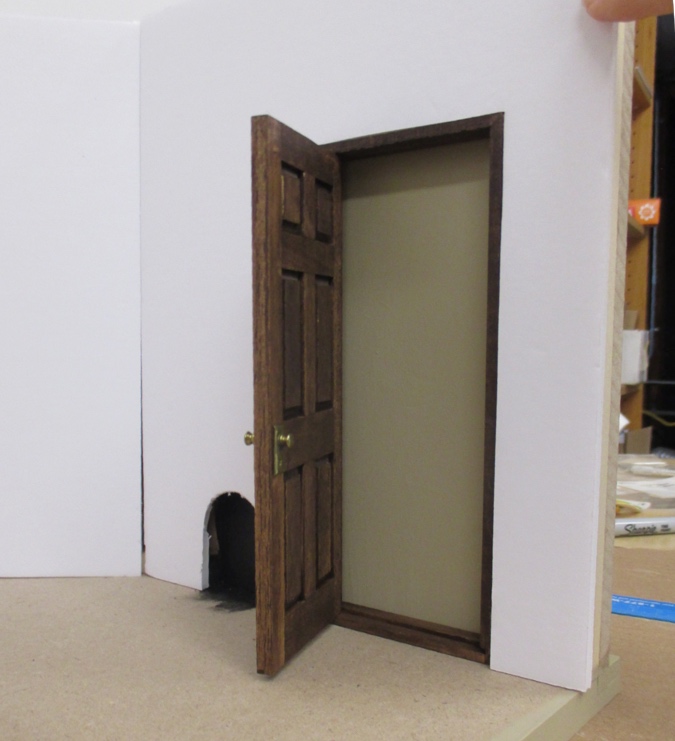
(One nitpicky/obsessive thing I want to mention about the closet: it’s supposed to be hinged on the right. This door came pre-hinged on the left. I could have swapped sides to be more authentic, but then the door would block the view into the closet, so I left it hinged on the left.)
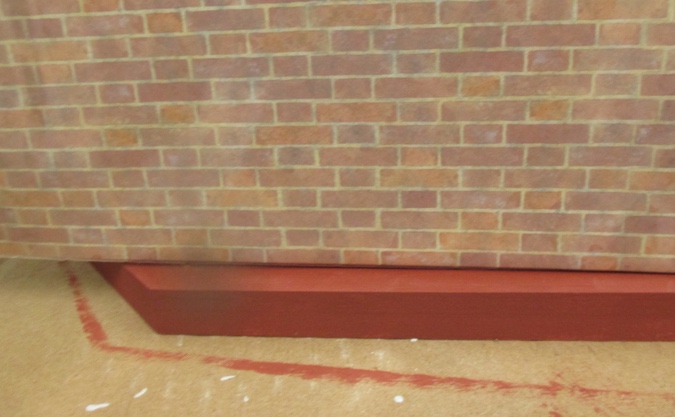
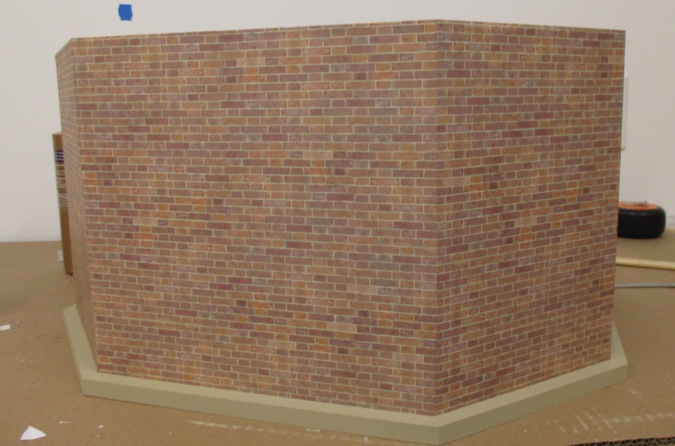
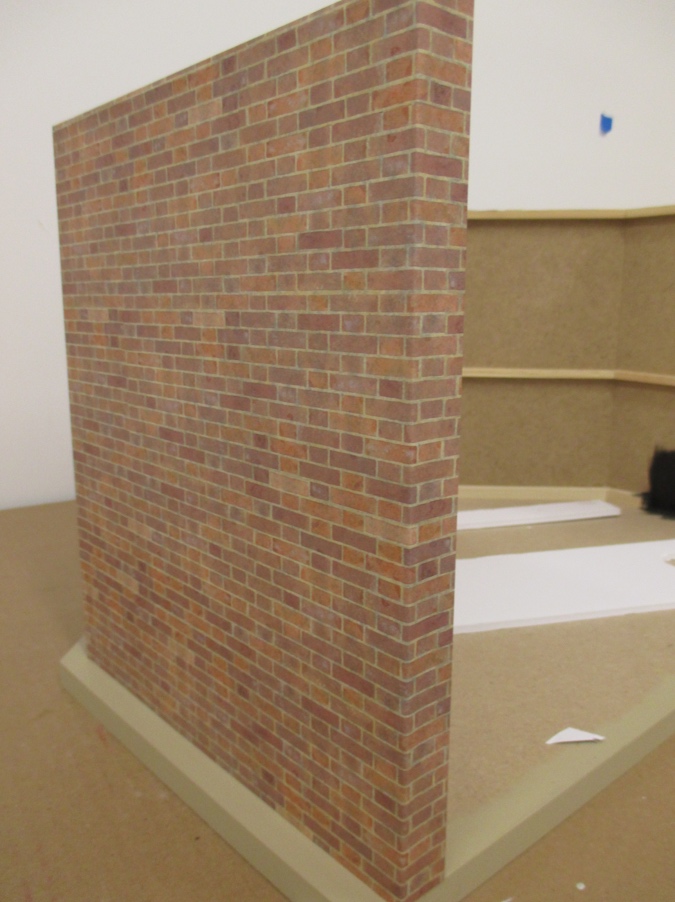
Moving to the outside of the roombox: the exterior of Sam & Max’s office building is brick. I used Magic Brick on the Blackbird Bar — it was messy and I wasn’t too enamored with the result. Egg carton brick is another option, but that requires cutting out and gluing down a million tiny bricks, which I’m not doing for the back of a roombox!
I’m not really a fan of brick wallpaper because it looks too flat and fake, but for this, it’s the simplest and most cost-effective option. Here’s what I bought. I started by spraying it with the UV-resistant sealer, then set it aside to dry for a couple of days.
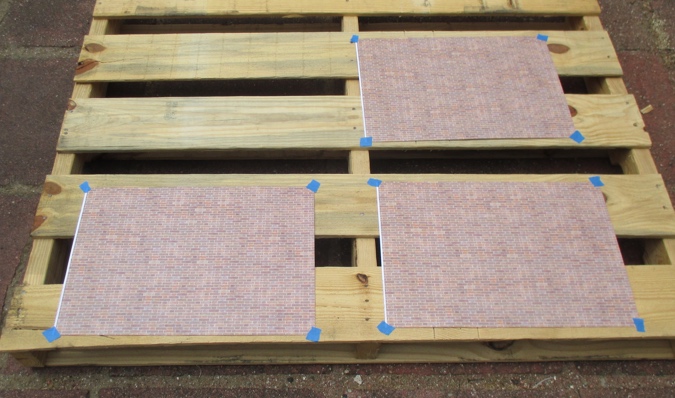
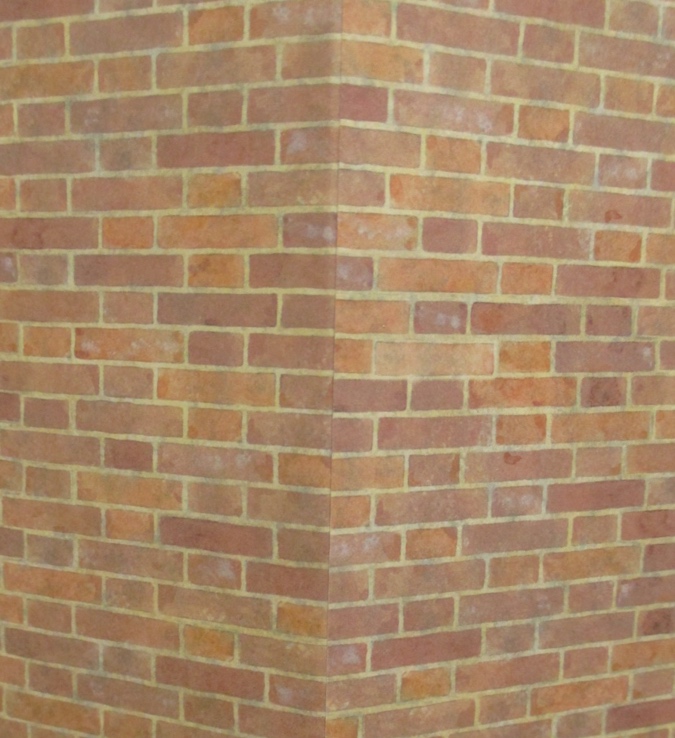
The package came with three sheets. I cut the back piece first, leaving a little overlap over the corners.
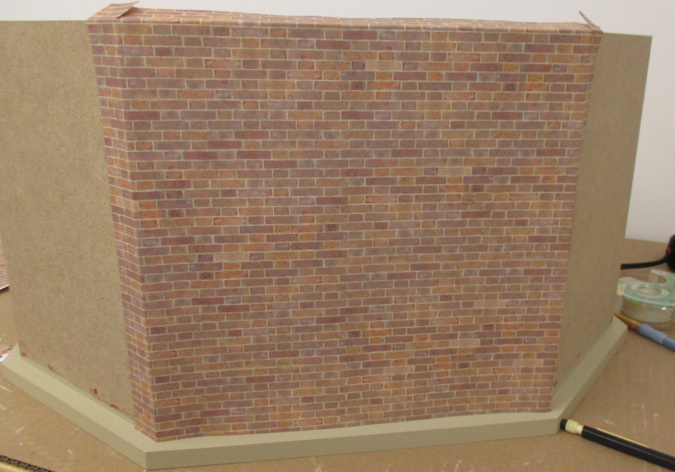
I wrapped the paper over the top edge. This is going to get covered up eventually by trim.
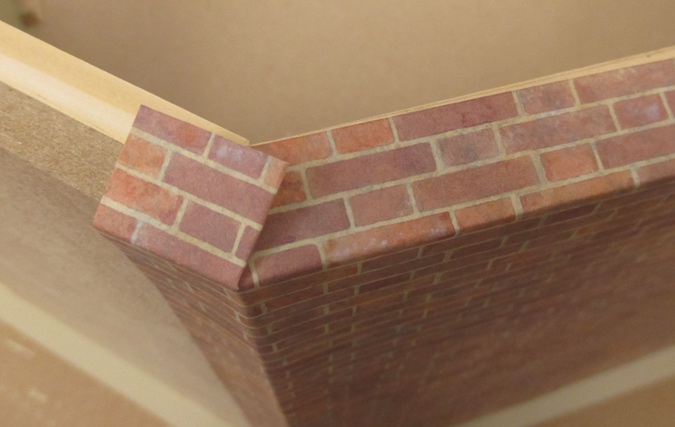
Once the back piece was glued on, I added the two side pieces.
The sheets were just long enough to wrap around the front edge of the box.
This is one reason I don’t like using brick paper — the bricks don’t meet up perfectly at the seams. But, again, it’s the back!
Here’s how the roombox looks so far. The next step will be to stucco and paint the walls.

 Emily is a freelance writer, miniaturist, and adventure game enthusiast.


It looks really great so far! I love the buildings through the windows.
This project is progressing along very well…the building view out the window adds much dimension to the room and looks great!
Looks great so far. I love the way you did the window scenes.
You might be better off without the Magic Brik anyway. That is what’s on my 1980s hand-me-down house and it has not aged well. A number of the bricks on the outside have flaked off, presumably crumbling. To be fair, though, the house has lived in a very dry climate for 40 years, and I know that it has been in a store room and then someone’s laundry room for many of those years! But I suspect you’ll be happier with the printed paper in the long run!
Yeah, that’s what I didn’t like about the Magic Brik — very crumbly! Whenever I move the bar roombox it leaves a dusty red outline around where it was sitting. A few months ago I painted over the bricks with matte varnish and that seems to have helped, but I don’t know how well it will hold up over time.
Excellent work, so far! Your paper brick looks good on the exterior walls and the scene through the window turned out Great!