This past weekend, my parents visited and I pulled out the Rosedale so we could landscape it together. (My mom is a gardener with a good sense of how to lay out a garden, and my dad’s a woodworker who’s good at things like building swiveling dollhouse bases. They helped me landscape the Fairfield a few years ago.) I have a ton of pictures so I’ll divide them up over a few blogs. Today’s topic: making the base.
The first thing we did was lay out a theoretical garden using pieces I already had on hand, and a few we picked up at the store. (It’s lucky I live in the same neighborhood as a fully stocked miniatures shop! No, that’s *not* why I moved into this house…) The Rosedale has an Italianate look and I wanted that to carry over into the garden with well manicured greenery, neat lines, stone planters, etc.
Here’s what we came up with. The topiaries in the front are Dollar Tree Christmas village trees in planters I bought at the dollhouse store. The patio is made from a set of plaster “flagstones” I bought a few years ago. The house is perfectly symmetrical except for the balcony railing on the right side of the house, so I wanted to add a tree to the left side to help balance it out.
We used this layout to figure out what size to make the base. I had enough flagstones to make the patio 5″ deep, which dictated the front-to-back dimension.

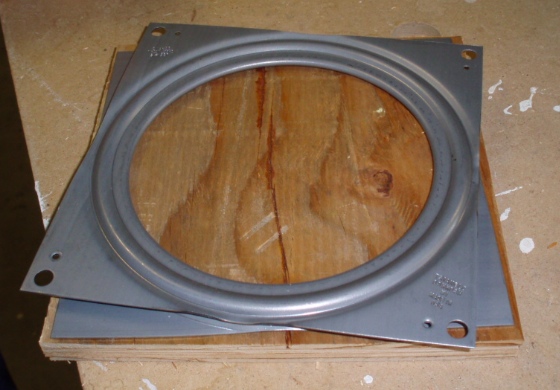
We then cut a smaller piece of plywood for the bottom of the base, just large enough for the 6″ lazy susan to sit on top.
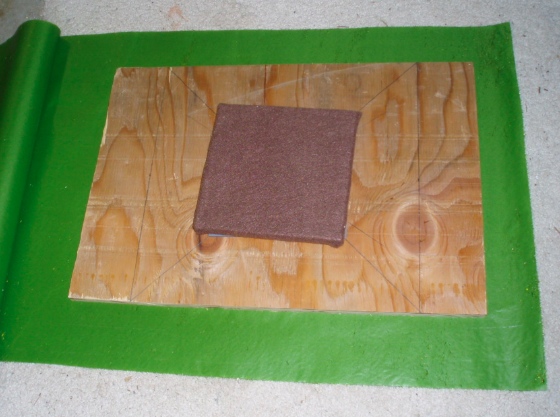
The small piece of plywood is nearly impossible to see under the base, but I covered it with felt so it wouldn’t scratch whatever surface it’s sitting on. I had this brown felt leftover from the base of the Fairfield — it pretty much gets lost in the shadow under the base.
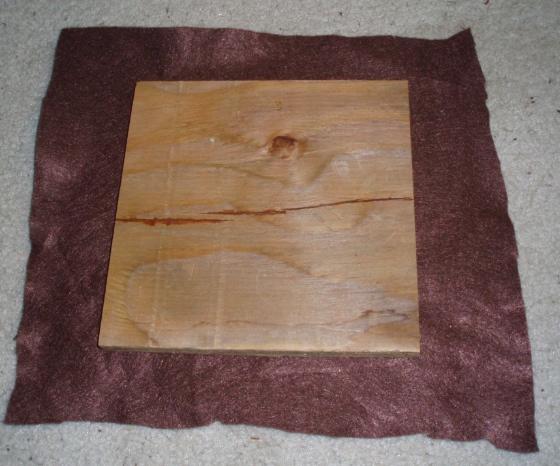
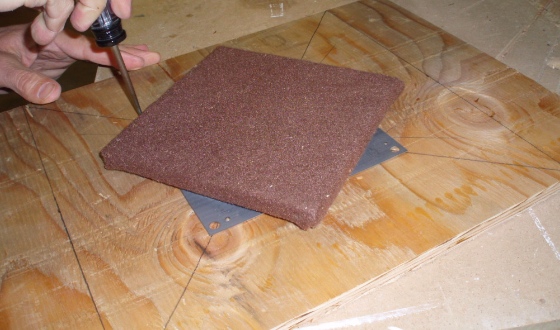
I glued on the felt and wrapped it around the wood. Then my dad screwed in the lazy susan, first using an awl to poke the holes, then screwing in the screws by hand.

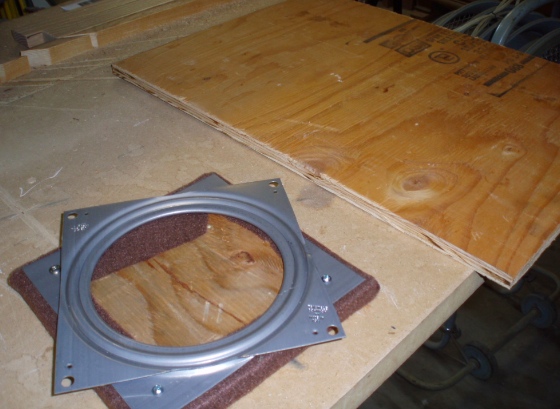
Here are the two base pieces side by side. In hindsight we should have made the small piece a little bigger because the base wobbles if you put too much pressure on it. As a laser-cut kit, the Rosedale is a light house so it’s okay, but for a heavier house you’d want the base to be a bit sturdier.
Next we screwed the lazy susan onto the center of the big piece.
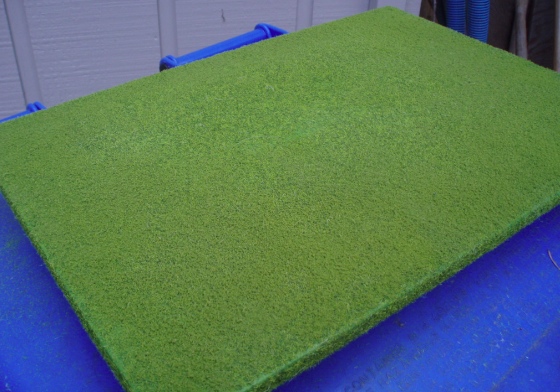
I had a roll of Lemax grass that I got during Michaels after-Christmas clearance. I laid the base on top of it and cut off a piece, leaving a few inches to wrap around the edges of the base.
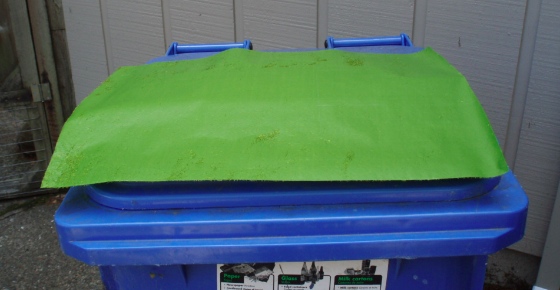
We took this outside and sprayed it with spray mount.
Then brought it back inside and glued it on.
My dad reinforced the edges with the staple gun. As you can see in this photo, a lot of the grass was sluffing off.
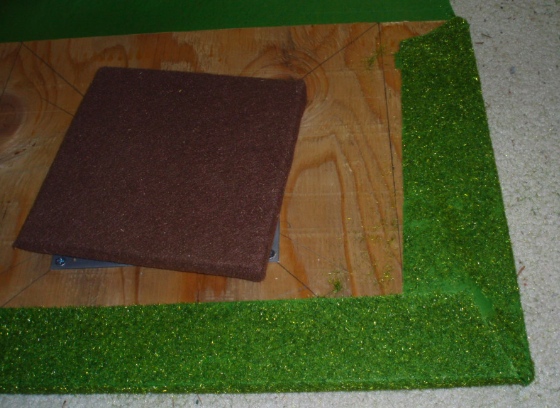
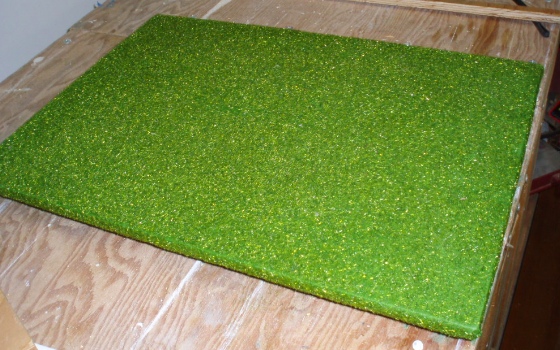
Looked pretty good, but the grass was thin in some areas, especially around the edges.
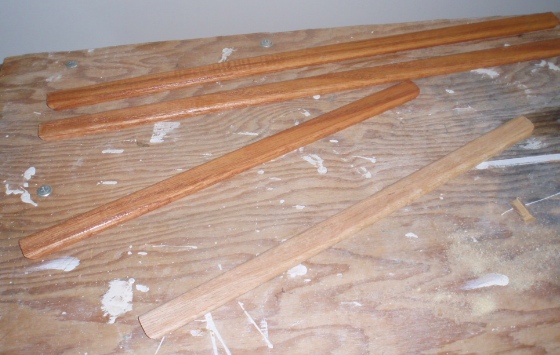
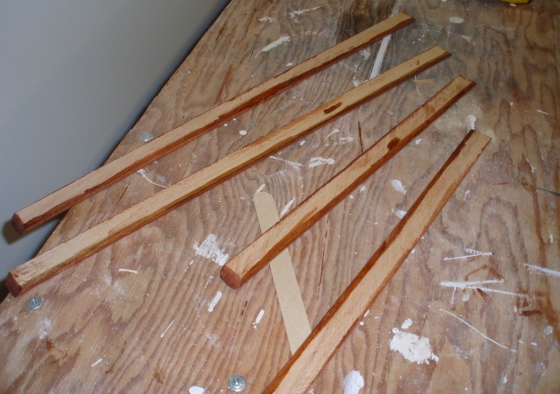
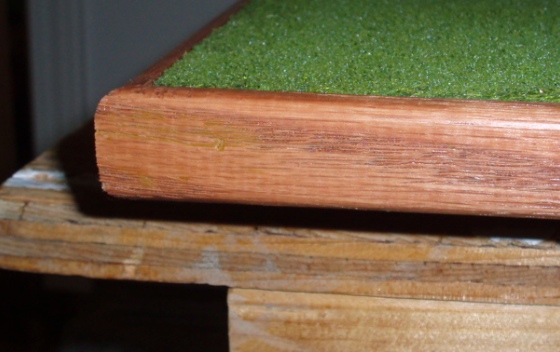
We planned to use some oak trim leftover from a real house project to cover the edges, with corners mitered at 45-degree angles. It’s a bit taller than the height of the base, but once it’s attached you can’t tell.

I stained the trim pieces to match the shingles on the house.
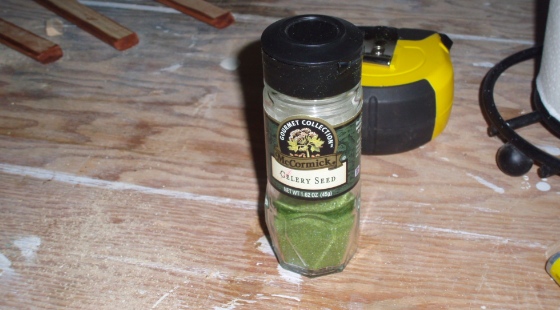
Concerned about the grass sluffing off, I ran back to the dollhouse store to buy some model grass I’d decided against during an earlier visit. I was concerned the grass would keep coming off and I thought this stuff would be easier to apply before we’d done any landscaping. As luck would have it, I just used up the celery seed from my pantry and the cap has shaker holes built in, so I poured the grass into the empty jar to make it easier to shake on to the base.
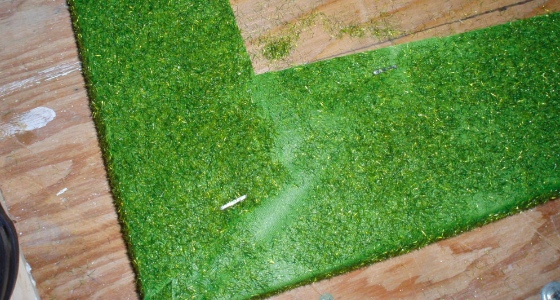
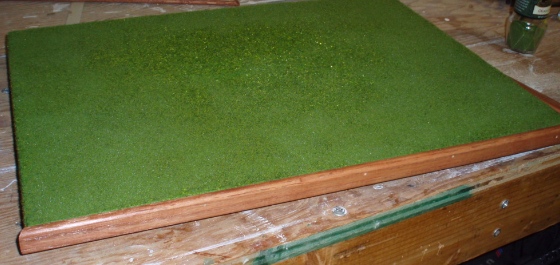
We took the base outside, sprayed it with spray mount, and shook on the grass. This definitely helped fill in the bare spots and added a more realistic look and texture. Didn’t want to go too crazy with the edges before putting on the trim, so the grass is still thin around the edges, but that can be touched up once the trim is attached.
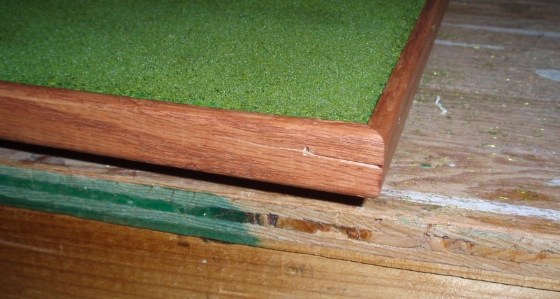
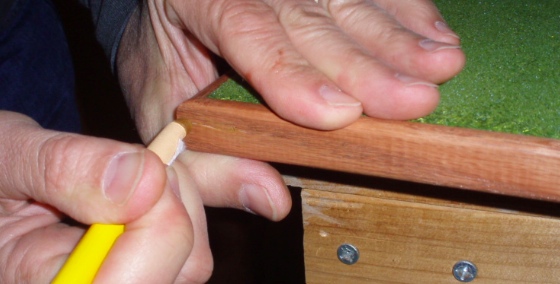
Back inside, we were about to nail on the trim when I realized the back edge might show a little. I quickly ran the stain pen over the top back edges of the trim pieces. It’s not the same color stain as the fronts, but it gets the job done — the point was just to darken it up so you didn’t see any raw wood peeking out over the grass.
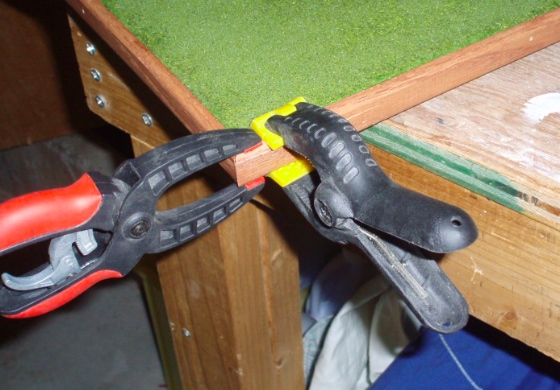
My dad nailed the trim in with the nail gun. As he was doing this, I remembered that the bases of the Fairfield and my puzzle house used L-shaped trim so we were able to do the nails from the bottom and not have them show. Too late for that now, but he promised me we’d be able to fill in the nail holes.
The first piece went on like a charm, but the next three each ended up cracking at the corners when the nail went in.
In fact the last piece cracked so bad we had to glue it back together.
While that was drying, we attacked the less severe cracks and the nail holes with a wax stain pencil, filling the holes/cracks with wax and then rubbing off the excess with a paper towel.
The color doesn’t really match, but it gets the job done of masking the holes. You don’t see them unless you go looking for them.
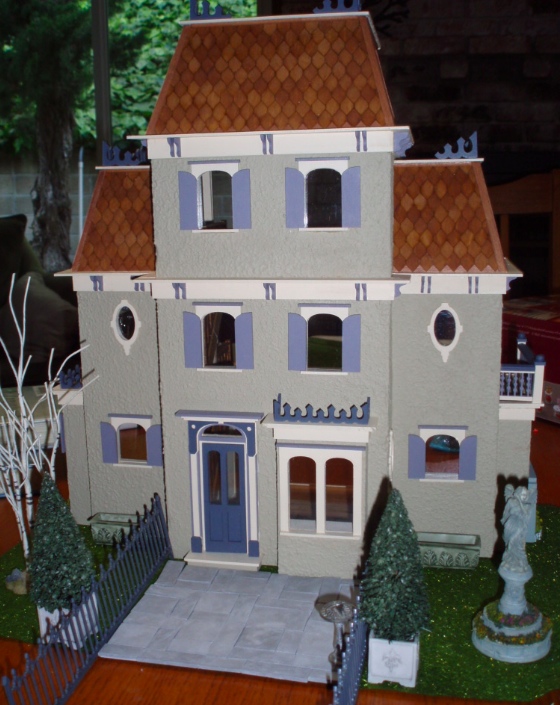
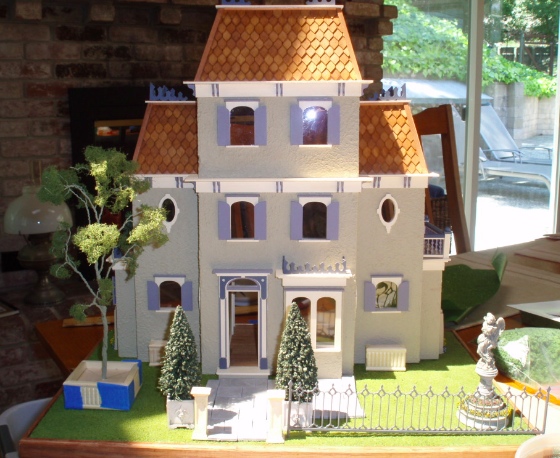
Here’s the house on its brand new base, with a glimpse of things to come! I’ll post more about the patio and the plants in the next few days.
 Emily is a freelance writer, miniaturist, and adventure game enthusiast.


Genius shaker bottle idea! I’m also going to try to remember the tip about the L shaped trim. Thanks!!
Great tip to use a shaker bottle, I must remember that. The base is progressing so well. I keep saying it, but you really are very fortunate to have the family support that you do.