With the patio glued down, it’s time to get some greenery into the Rosedale’s yard. The other two dollhouses I’ve landscaped, the Fairfield and the puzzle house, had very colorful gardens with lots of different kinds of plants. For the Rosedale, my mom and I decided on a more subtle look, mostly green with only a few splashes of color.
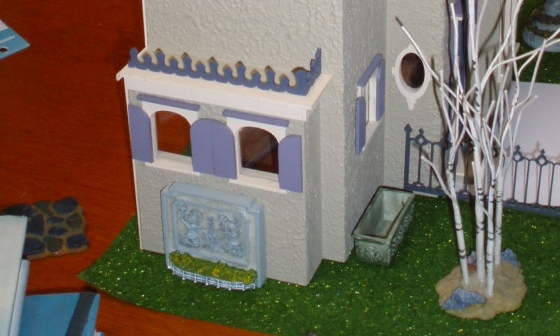
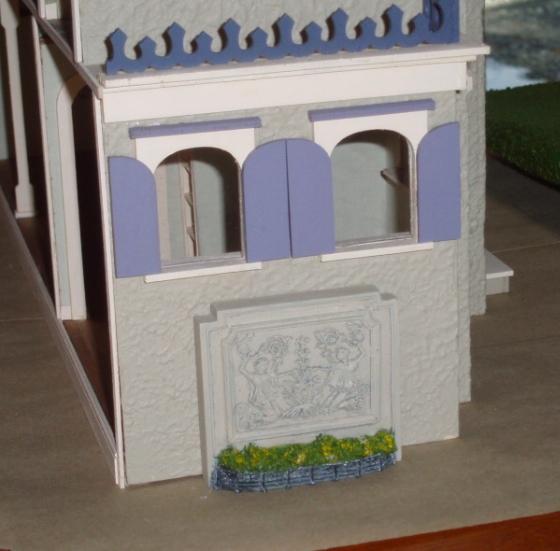
I dug through my stash of Avon and Popular Imports resin furniture and found two friezes that fit well on the bumped-out sides of the house. I also had some green resin planters I bought years ago for a 1:12 house and never used. The tree in this photo is just there for a height reference at this point (I’ll say more about the tree further down).
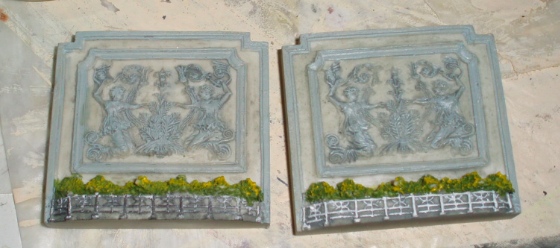
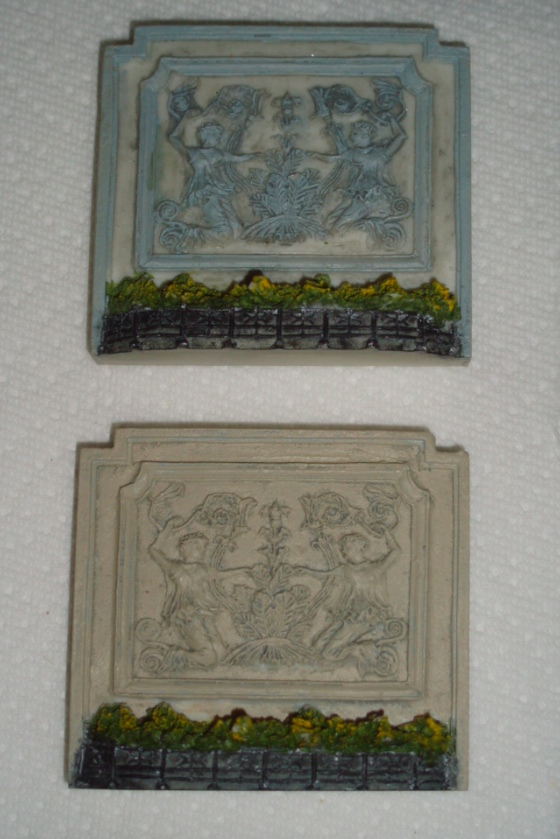
Color-wise, the friezes weren’t quite right. I started by dry brushing black paint onto the white fencing under the plants, to grunge it up. (In the photo below, the one on the left is painted and the one on the right isn’t.)
Next I tried painting the edge of the frieze house-colored so it would blend in more with the stucco.
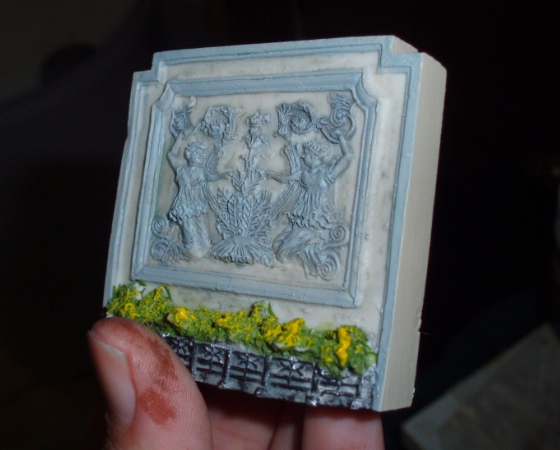
This made it look more like it belonged, but not as much as I wanted. The light blue is a color that doesn’t appear anywhere else on the house, which bugged me.
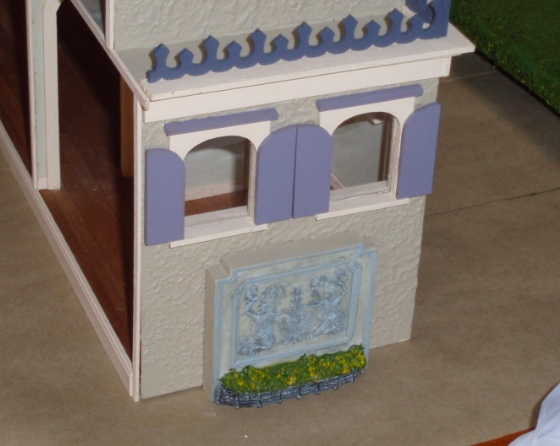
I sponged on the house color so a little bit of the light blue peeks through, but it’s mostly tan like the house. Here’s a before and after comparison.
It blends in much more now — almost getting lost — but to my eye that’s much better than the original contrast. I haven’t decided yet if I’m fully committed to these so they’re not glued on permanently.
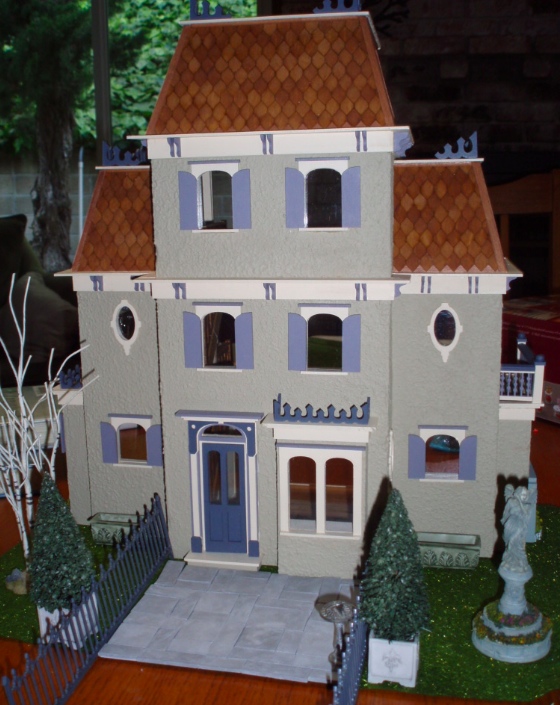
Here’s the layout we were playing with initially. I knew I wanted a tree on the left to balance out the taller railing on the right, and found a couple at the dollhouse store that I liked, one 6″ and one 8″. Unsure if the 8″ would be too tall, I came back home without buying them and placed this Dept 56 (or maybe it’s Lemax?) tree in the yard. It’s almost 9″ and looked fine, so that sold me on buying the 8″ tree.
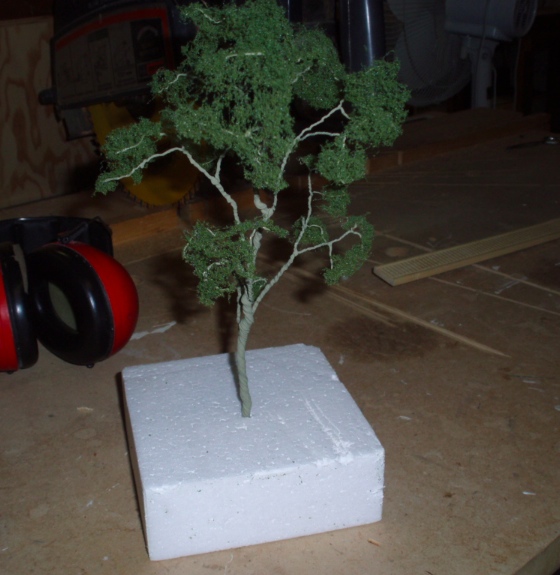
Here’s the 8″ tree. It cost something like $18 which was a bit of a splurge because I could have made something myself cheaper, but I wanted the tree to be a really nice focal point. Also my mom treated me to it, which eased my conscience!
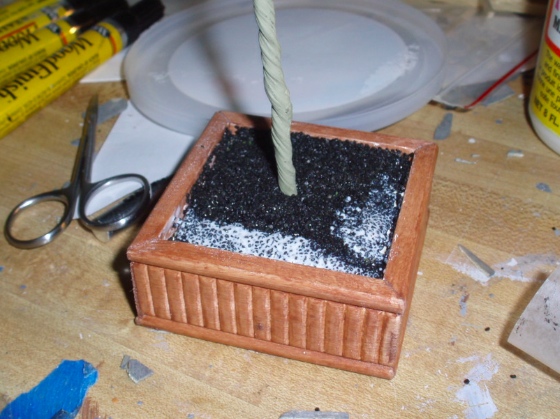
Since I’m seeing this as a city house, I thought the tree should be inserted into a planter with clean lines rather than a mound of dirt like I’ve done on other houses. My dad helped me make this out of 2″ basswood and a piece of decorative trim I got on clearance at Michaels awhile ago. (The same trim appears inside the Rosedale on the front of the windowseat.)
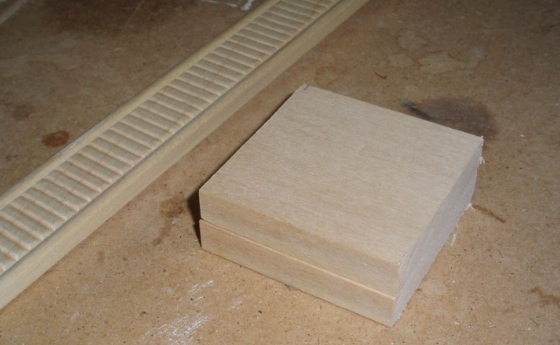
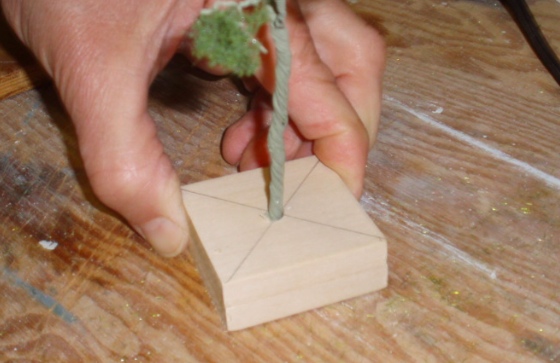
We stacked two 2″ x 2″ squares on top of each other and drilled a hole in the center for the tree trunk to fit into.
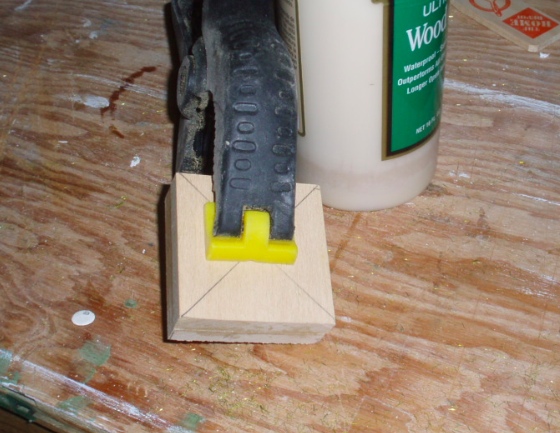
Then glued the two pieces together with wood glue.
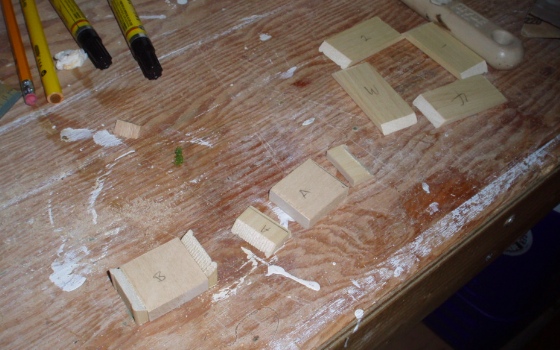
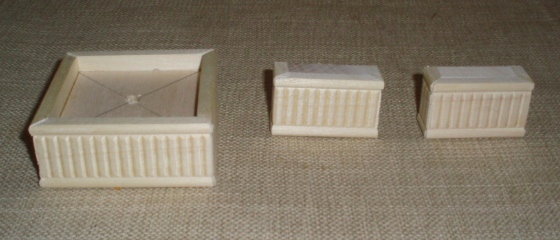
While that was drying, we cut trim pieces with 45-degree corners to form the edges of the planter, as well as pieces for two smaller planters to go under the front windows.
Here’s how they look assembled.
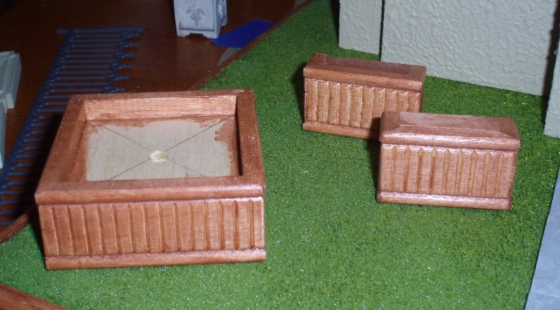
And stained with Cabot Mission Brown, the same color I used for the shingles and trim on the base.
The purpose of the small ones was to give the planters that go under the windows (which are probably supposed to be 1:12 window boxes) something to sit on.
Problem is, when we made them I didn’t anticipate how the back of the window box slopes. Even with the edge of the window box shoved all the way forward, it sticks out in the back so these can’t be placed flush against the house.
I fixed this by adding strips of wood to the back of the planters.

These strips fill the gap between the planter base and the house.
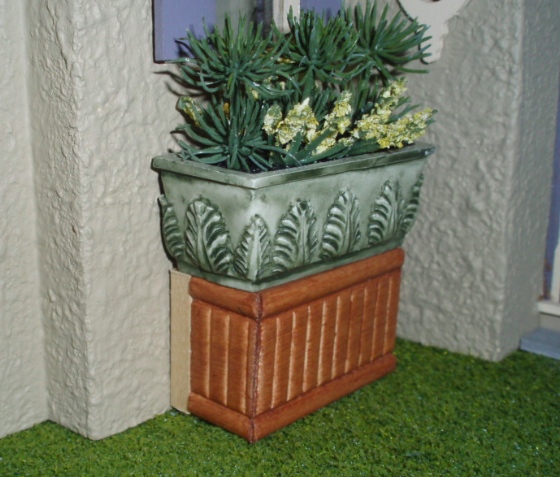
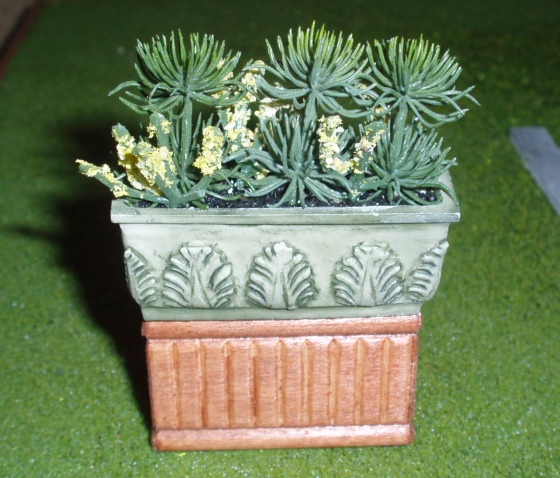
My mom filled up the planters with pieces of fake flowers from Michaels and the Dollar Tree (left over from other projects… with the exception of the tree, I didn’t have to buy any new plants for this house). The soil in the planters is made by gluing a layer of black sand over the air drying clay base. I’ve used coffee grounds in other houses, but had this sand on hand and thought it would look neater in a well-manicured garden.
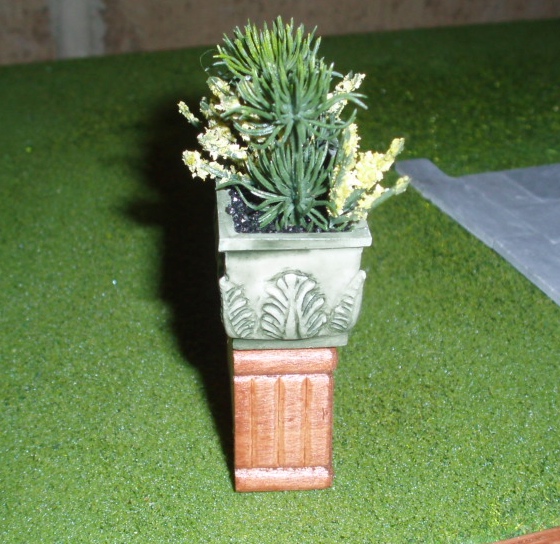
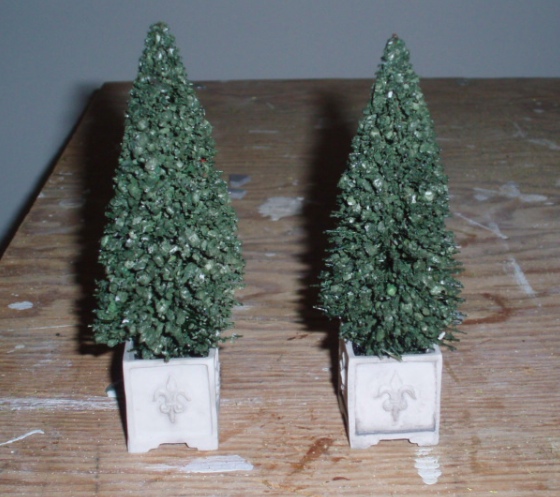
These topiaries were easy to make: planters from the dollhouse store plus cheapie pine trees purchased from the Dollar Tree last Christmas. My mom pruned them a bit with scissors.
Here it is coming together. The statue is from the same Popular Imports set as the friezes I used on the sides of the house.
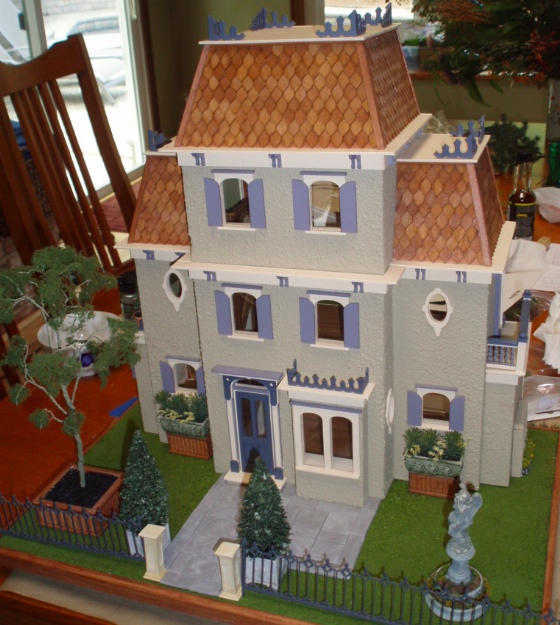
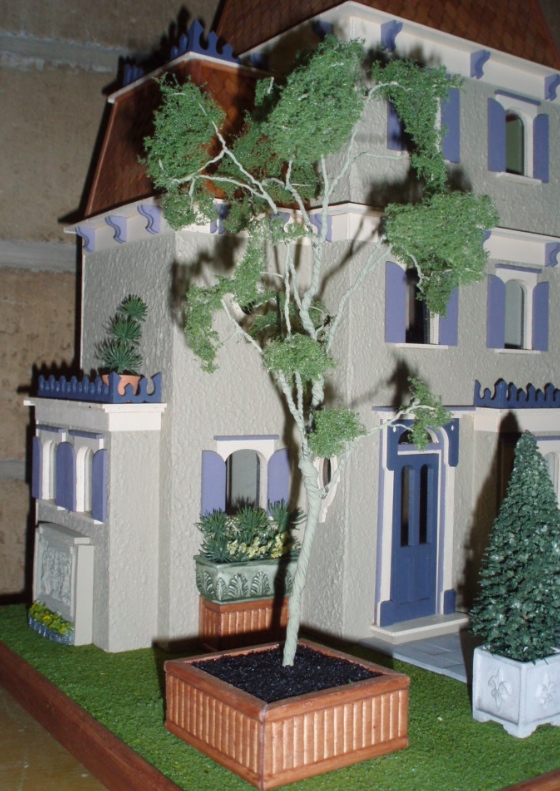
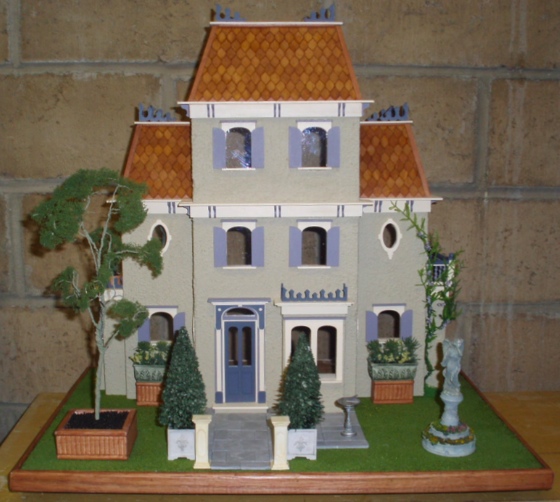
I’m glad I went with the bigger tree. It’s nice and tall (like the house itself) but not so bushy that it blocks the house. On the balcony you can see a small topiary my mom made, known colloquially as a “Dr. Seuss tree.”
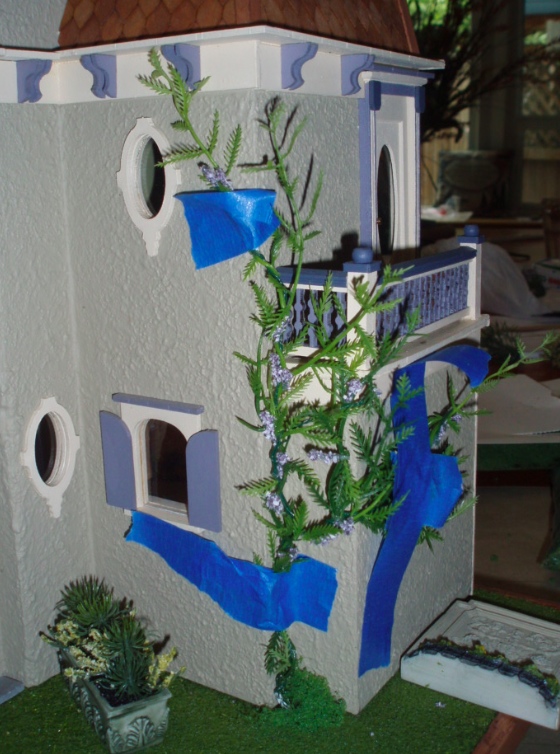
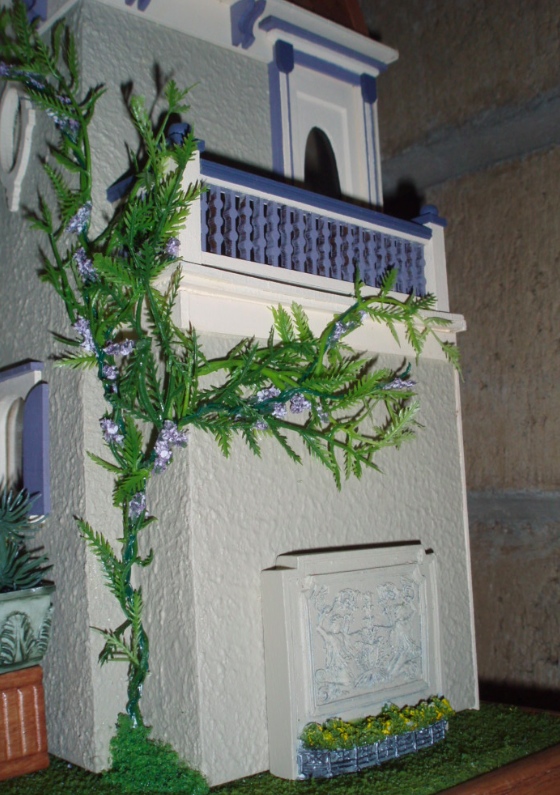
On the right side of the house, I left out a pair of windows to accommodate kitchen cabinets, so the wall under the balcony is empty and boring — just begging to be dressed up with a climbing vine. My mom made one out of green florist wire and plastic vine-like pieces out of my fake flower stash. (I previously used this same stuff on a trellis on the puzzle house.) The purple bits are off another fake plant.
Since the house is removable from the base, I had to glue the vine onto the house independent of the base but still have it look like it was growing up out of the ground. This was difficult. Masking tape failed us completely.
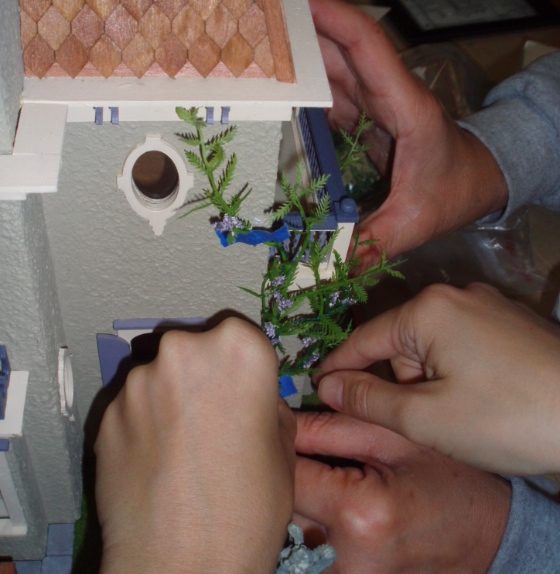
Multiple hands holding it in place didn’t work so well either.
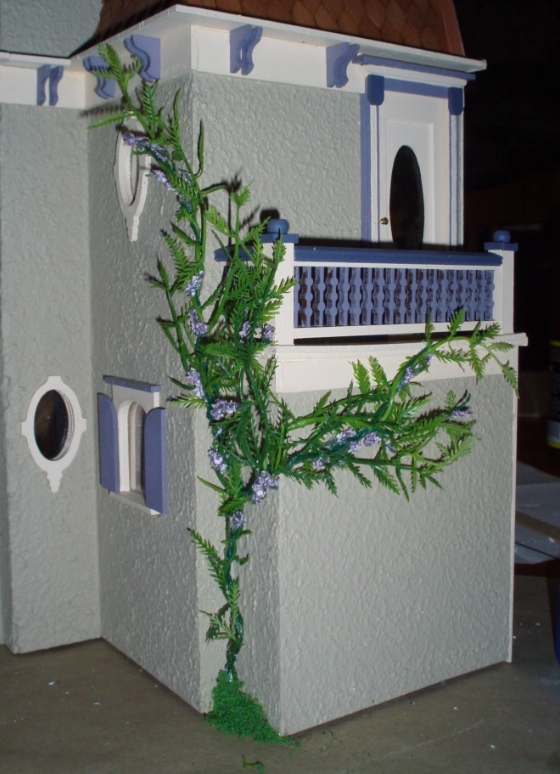
After getting frustrated and sending everyone out of the room, I finally managed to get it attached by glopping a lot of white glue on the bottom edge of the wire to hold it to the bottom of the house, and then using Quick Grip in strategic spots where the vine met the house. I had to hold each of those points firmly for a few minutes until the glue set before moving on to the next time. Where a couple of over-zealous glue puddles were visible, I glued new purple flower bits on top of them to mask them. The bottom is covered up by a bit of model foliage.
Here it is with the frieze in place. Together they do a great job of dressing up the boring wall.
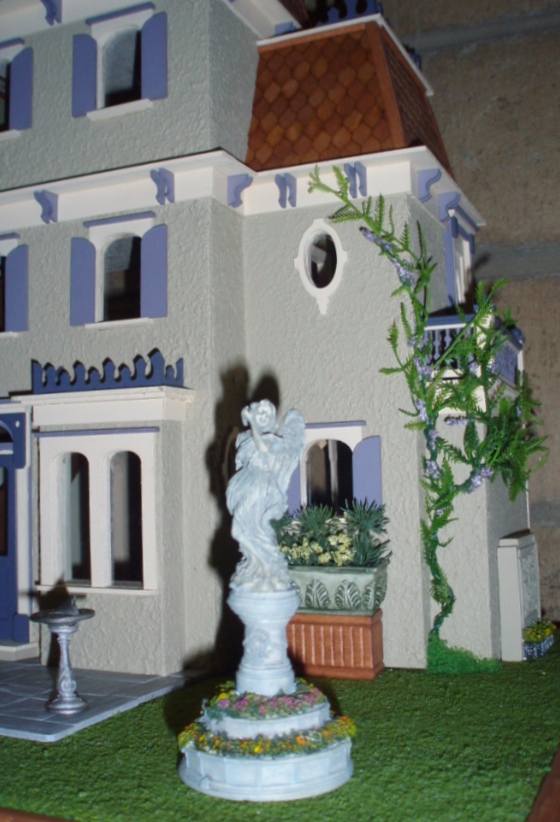
And from the front. This isn’t a great picture of the angel statue, but suffice to say her facial expression is a bit grim and scary. Very Gothic, anyway.
Here it is with all the plants in. Next step will be to finish the patio and fence!
 Emily is a freelance writer, miniaturist, and adventure game enthusiast.


The tree is just the right size for the house, and the vine really dresses up the wall nicely. Love the planter boxes with the topiary trees in them as well. Great progress.