Ever since I finished my Little House in the Big Woods cabin a few years ago, I always intended to add a base with landscaping. I wanted to make a wooded scene with outbuildings and a vegetable garden and cows and horses and a chicken coop and a covered wagon and other details from the Laura Ingalls Wilder book. It looked great in my head.
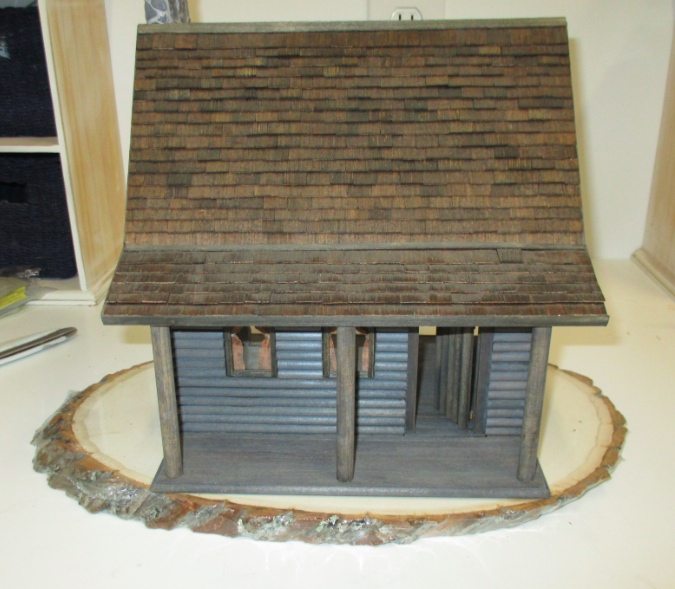
On a recent trip to Michaels, I noticed the basswood rounds in the aisle with the wood plaques. They look like log slices and I thought it would be a neat thing to make a base out of. I didn’t know the house’s dimensions, so I went back a few days later armed with a 40% off coupon. The largest one Michaels had was barely large enough for the cabin to fit. The regular price was $10.99.
I was also looking for Gallery Glass paint and apparently Michaels doesn’t carry that anymore, so I tried the Joann’s in the next strip mall over. They didn’t have Gallery Glass either (I ended up buying it on their website) but they did have an extra large basswood round that was bigger than the one I’d bought at Michaels. It was also $19.99! (As a point of comparison, the cabin house kit itself only cost me $25…)
I didn’t have a Joann’s coupon with me, but I bought it anyway. (And I didn’t bother returning the one from Michaels, I’m sure I can find some other use for it someday…)
So, that was a bit of a splurge, especially since when I got home I found a Joann’s coupon for 60% off, which would have made the price about $7. Bah. But my base turned out so good, I’m over it. :) (I didn’t want to buy one of these things online because the websites don’t give exact dimensions, and I needed to make sure my house would fit on it.)
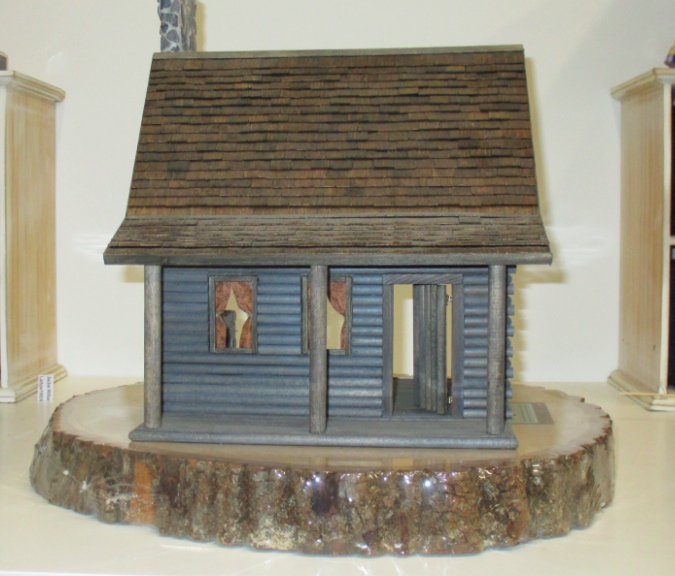
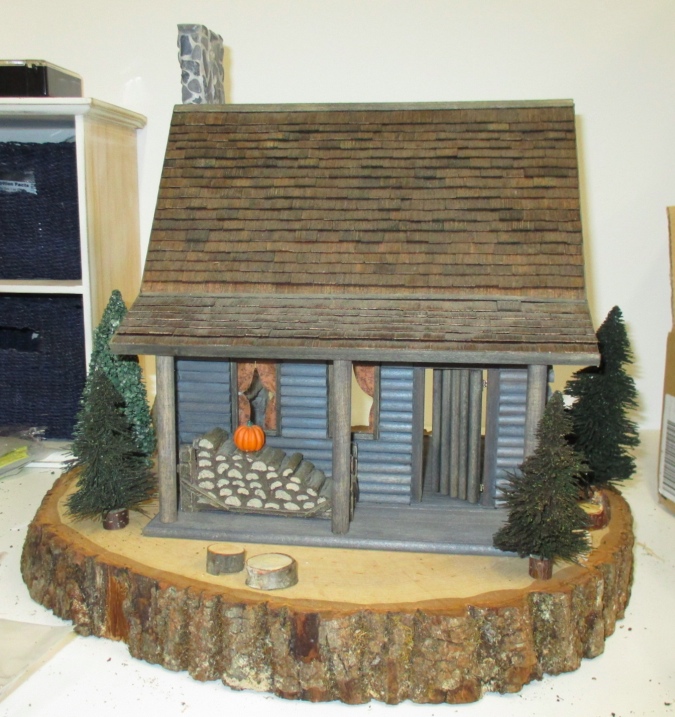
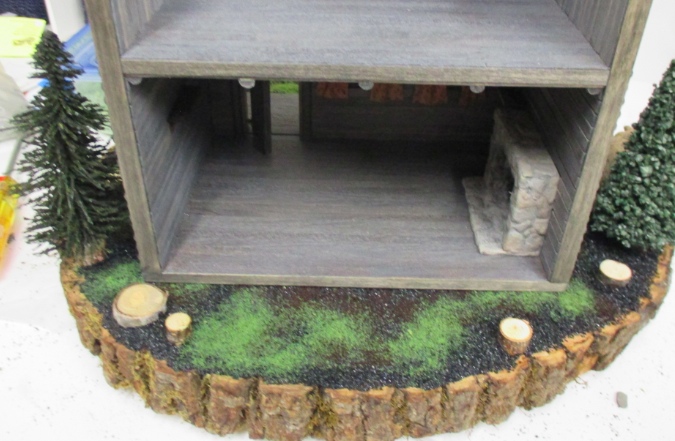
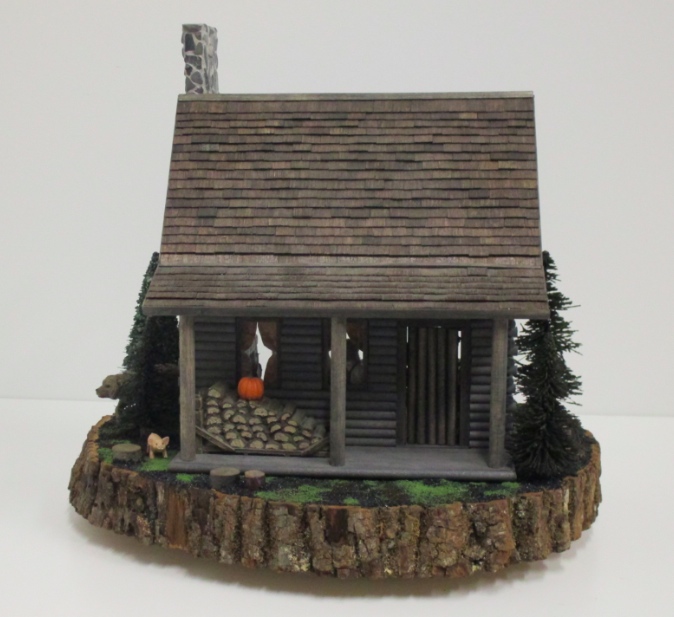
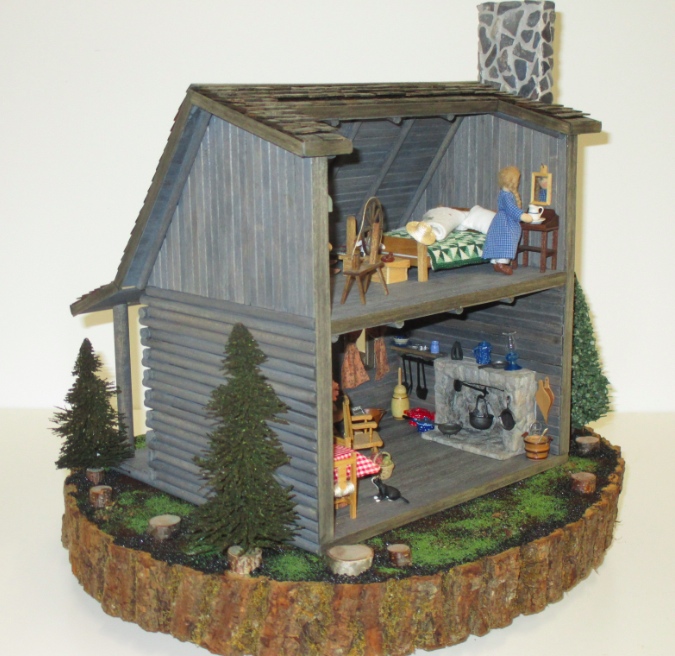
As you can see, the house fits on this one with room to spare all the way around. Initially I didn’t like how tall it is but after I saw the house on the shorter one from Michaels, I liked the look of this better. It’s more substantial.
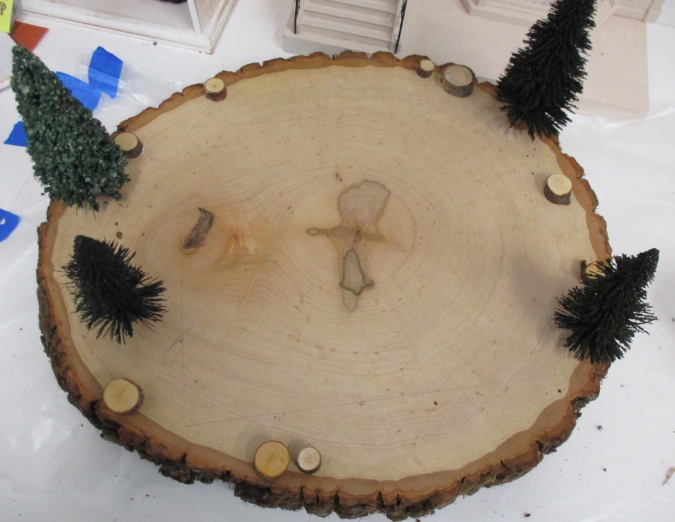
I wanted to attach a turntable to the bottom before I started doing anything to the base, but I didn’t have one and the nearby hardware store didn’t either, so I played around with trees while I was waiting for Geoff to pick one up for me at Home Depot. The base isn’t as large as I’d imagined — no space for outbuildings and not much space for the titular Big Woods, but I could at least fit a few pine trees around the house.
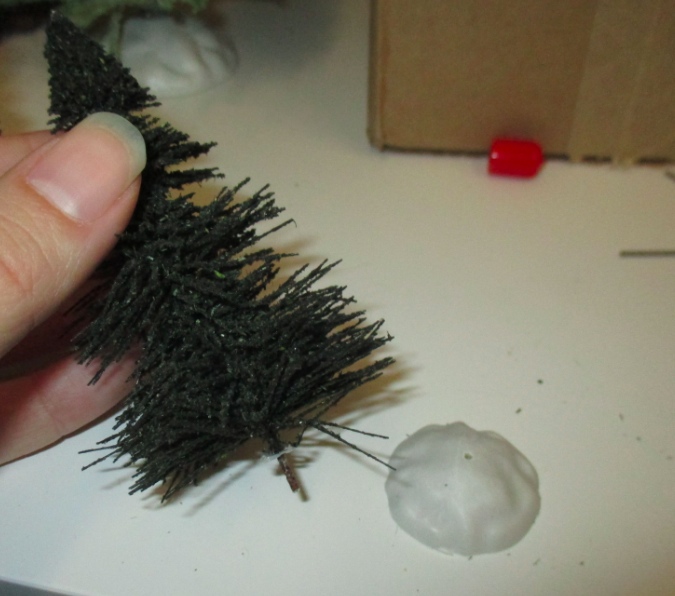
I have some Dollar Tree trees from those Cobblestone Corners villages they sell at Christmas. The trees have plastic “fake snow” bases that are easily removed.
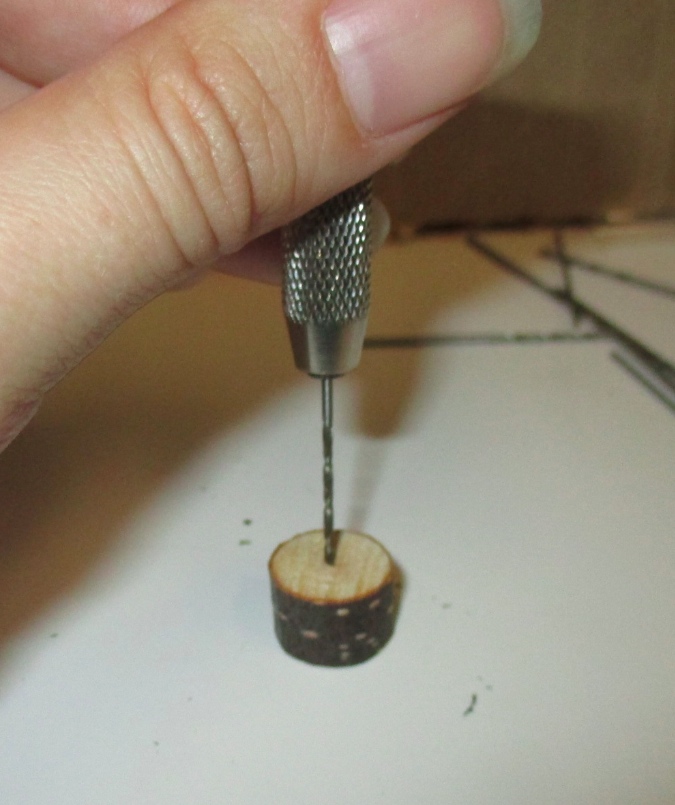
At Michaels I’d also bought a bag of small rounds to make stumps with. I drilled a hole with the micro drill, the same size as the wire at the bottom of the pine tree.
I stained the top of the stump with my Minwax Ebony stain pen, just so it didn’t look like raw wood if you happened to see it under the tree.
I then inserted the trees into the rounds with a little glue. I also figured out where I wanted to put some stumps, but didn’t glue anything yet.
Fast forward a couple of days. Here’s the turntable from Home Depot, which cost $4.49.
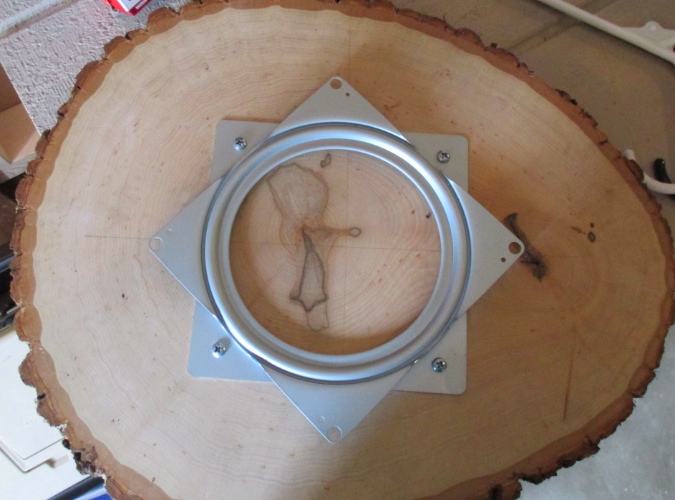
You’re supposed to put another piece of wood on the bottom piece, which I’ve done on my bases for the Fairfield and the Rosedale (covered with felt to protect the table top). Since this base is so thick I didn’t want to add too much more height, so instead I added sticky vinyl feet.

In hindsight, the sticky feet lift the base off the table about as much as a piece of wood would have. But they were easy and don’t add extra weight (the base is heavy already!) and when you’re looking at the house on the base you don’t notice this part underneath at all.

Okay, back to work. I glued the trees and stumps to the base and drew a pencil line around the house so I knew where it would sit (you can see it faintly in the picture below).
I spread Mod Podge glue on the base with a paintbrush, and sprinkled on black decorative sand to look like soil. The bag of sand came was another Dollar Tree purchase.
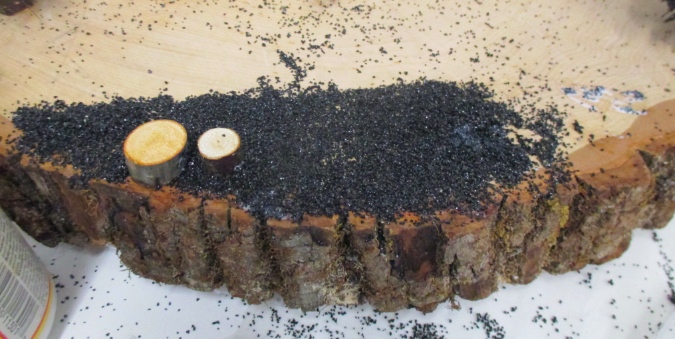
After sprinkling the sand on, I shook off the base over the trash can. You can see the gaps where there wasn’t enough (or any) glue.
I went back for a second round, glopping glue on those spots (and keeping paper towel nearby to wipe off the sand that came up with the brush). I sprinkled on the sand with a plastic spoon, then moved it around with the back of the spoon and my fingers to spread it across the glue areas.
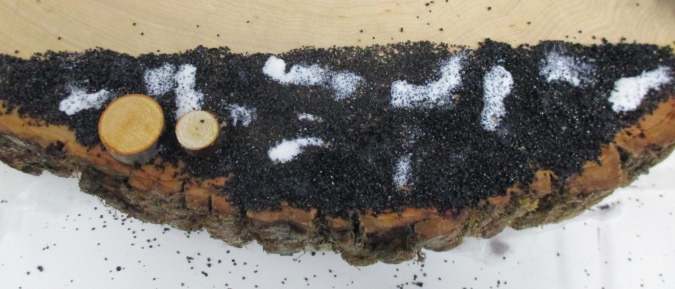
The base has two darker rings around the edge. It looked funny when you could see those, so I ended up taking the “soil” almost all the way up to the bark.

Here’s how the base looks covered with sand. I didn’t want to waste my time and sand spreading it all the way to the center (hence the pencil line).
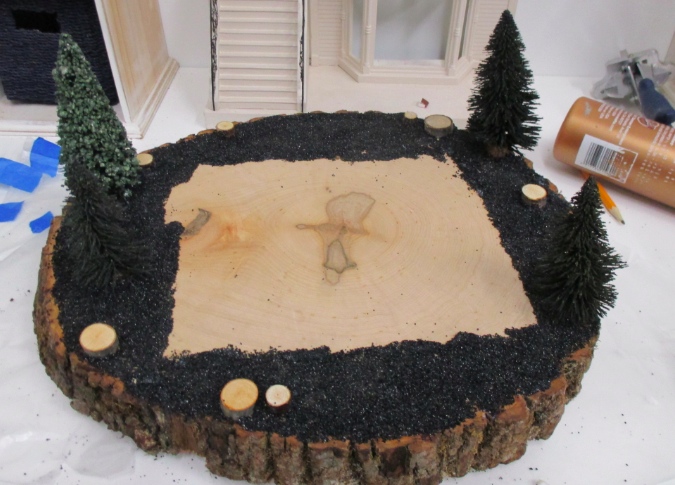
It’s sort of like Little House in the Lava Field.

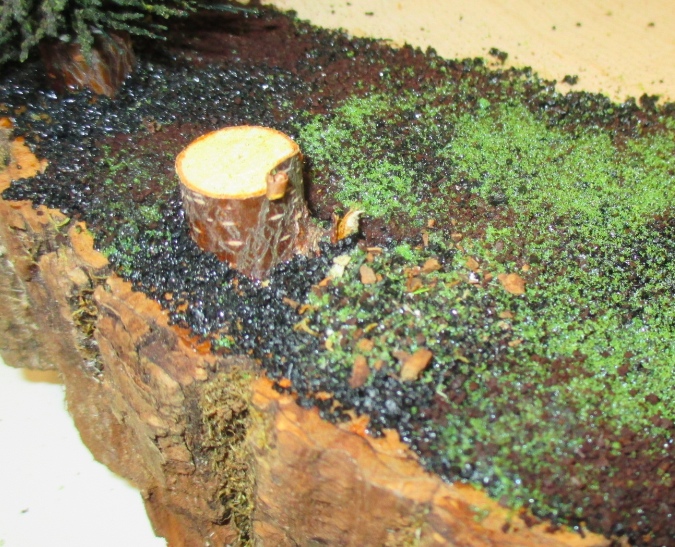
Next I went around and did patches with coffee grounds to add color variation. Maybe it would have been better to mix the sand and the coffee together in the beginning but, well, I didn’t think of that.
And finally I did a pass with crumb grass. I started out doing this in patches with the Mod Podge but didn’t like how clumpy it was looking, so I also did some areas by spraying with spray adhesive, then shaking on the grass (I have it in an old spice jar).
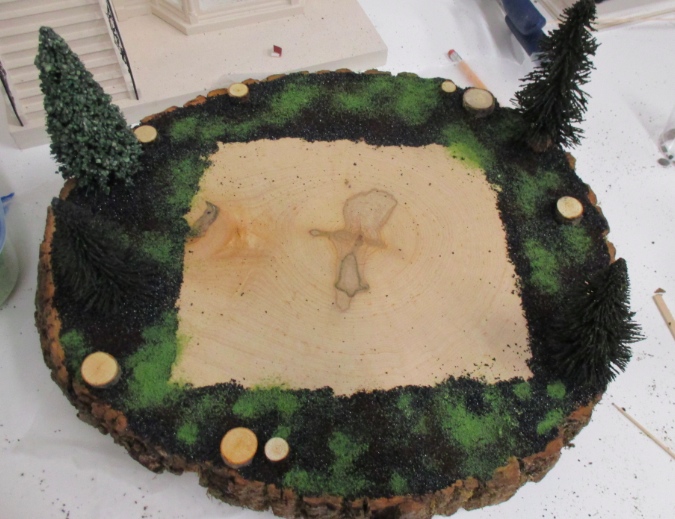
The grass is very fine and gets caught in the coarser sand, so some of it might not even be held in with glue, but it’s not coming off.
Every time I picked up the base, little pieces of bark fell off the edges, I scooped these and the other crumbs that had fallen on the table into a cup.
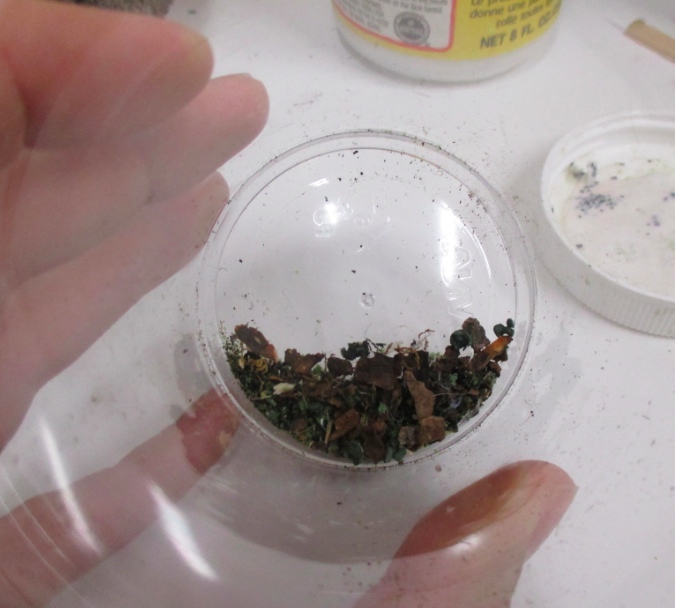
I used the spray adhesive in a few small areas around the base, and sprinkled out the crumbs. Some of the larger bark hunks needed to be glued down with tacky glue.
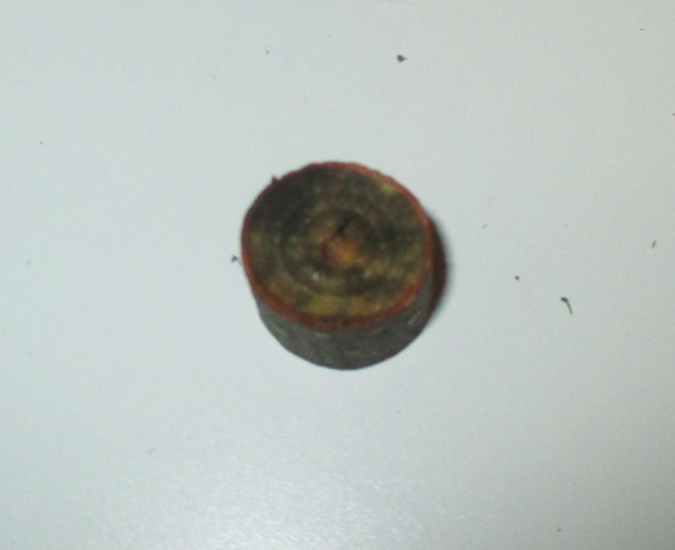
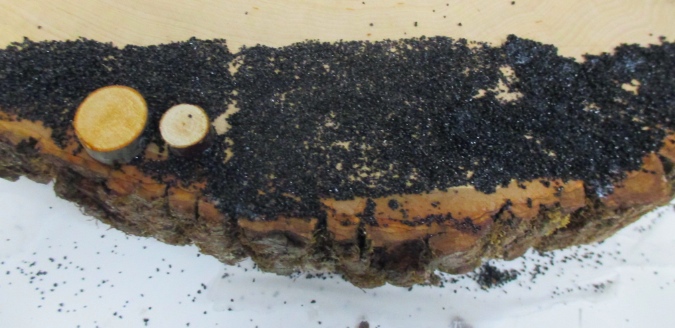
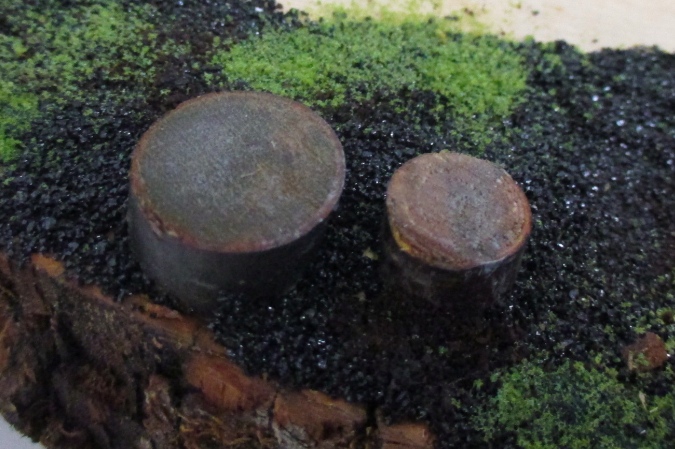
I didn’t want the stumps to all look fresh, so I stained them. I used Minwax Classic Gray and a brown, semi-transparent Cabot stain, dabbing both with a paper towel to keep the color from saturating the wood too much. Here you can see a stained stump next to an unstained one.
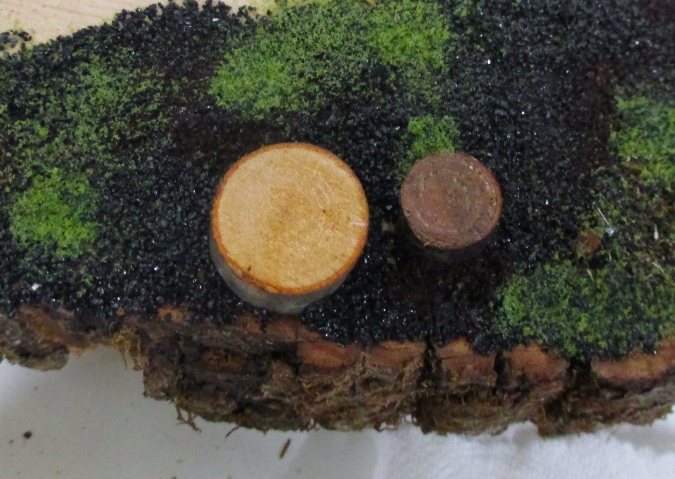
After staining the stumps, I dabbed some gray, brown, and mossy green paint on with a dry brush to make them look weathered.
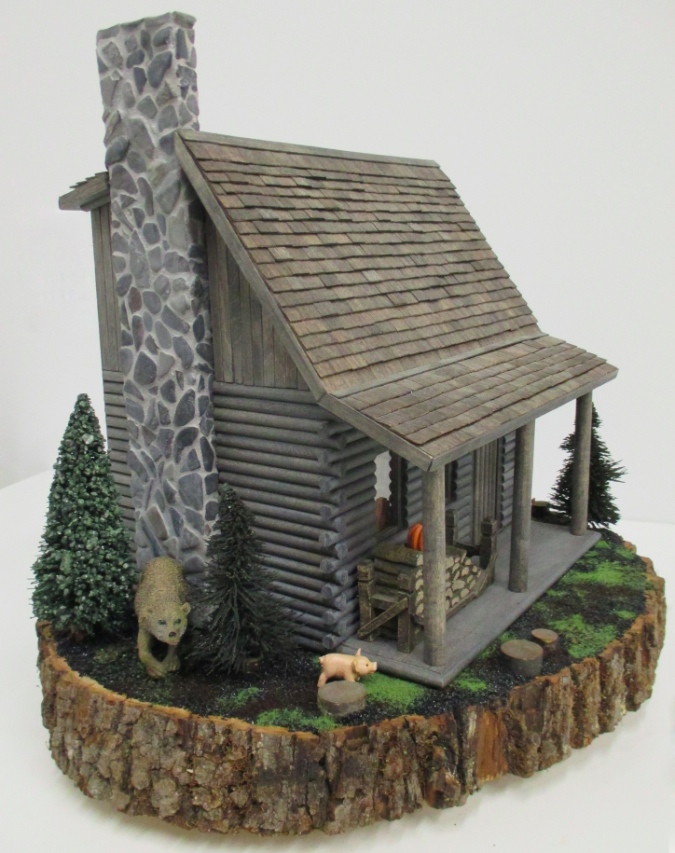
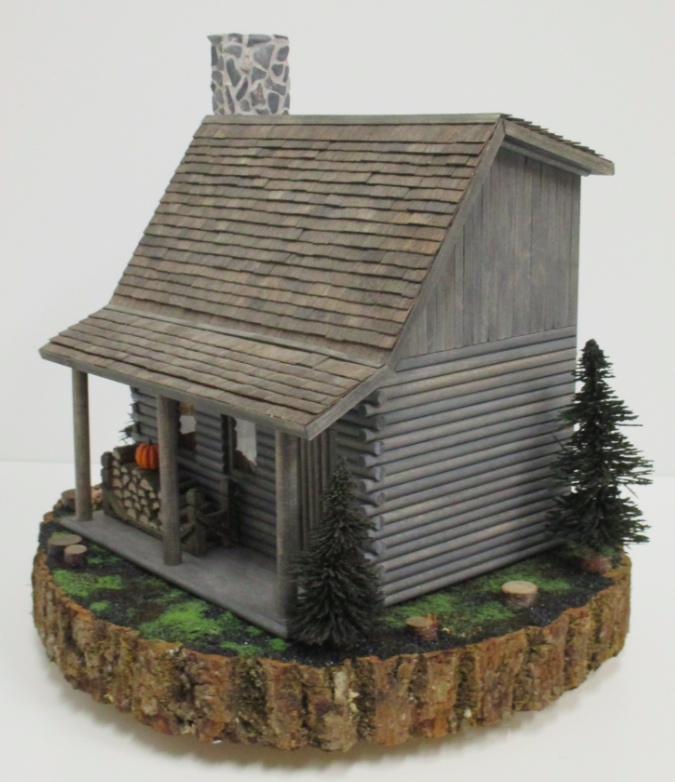
Here’s the finished product.
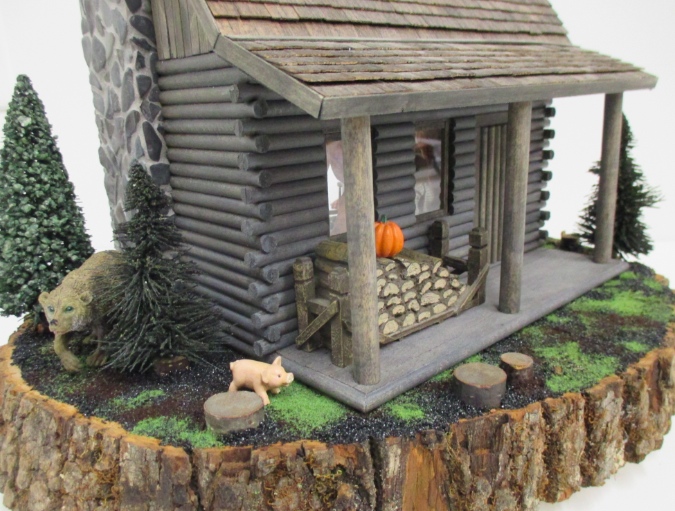
Bears are a constant concern in Little House in the Big Woods, and there’s a story in the book about a bear chasing a pig. I picked out this bear from a bargain bin back when I was planning to do a more elaborate base. I don’t remember where I got the pig, but at some point I got the idea for the bear to stalking the pig. Even with my smaller base, I wanted to make sure to make a space for them.
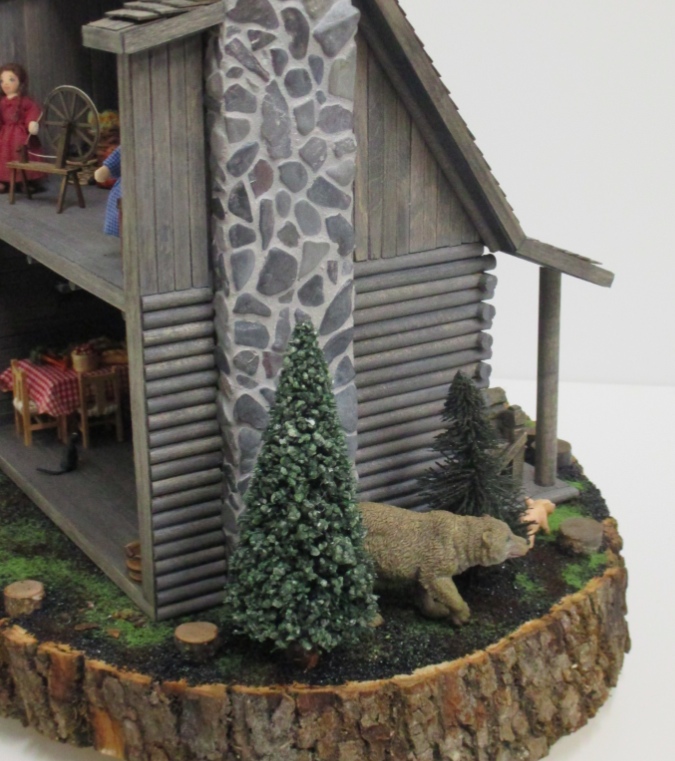
The Ingalls family dolls were handmade by Prairie Crocus Studios. You can read more about them here and here.
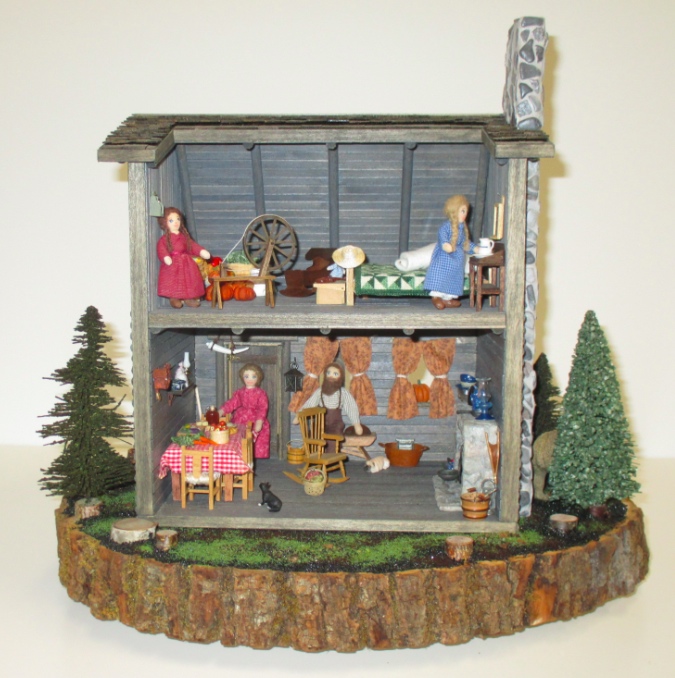
I didn’t set up the room this way intentionally, but the white desk and white wall in my new workshop are great for taking pictures!
One more of the bear and the pig, because I love them.
I’ve added these photos, along with some other new ones, to my Little House Cabin Gallery.
(As I’m unpacking stuff in my new dollhouse room, I’m taking pictures with the plan of adding some new galleries soon, so now’s probably a good time to mention that you should visit the Dollhouses page if you haven’t already. It indexes every dollhouse I’ve posted about on my blog, and more!)
 Emily is a freelance writer, miniaturist, and adventure game enthusiast.


Leave a Reply