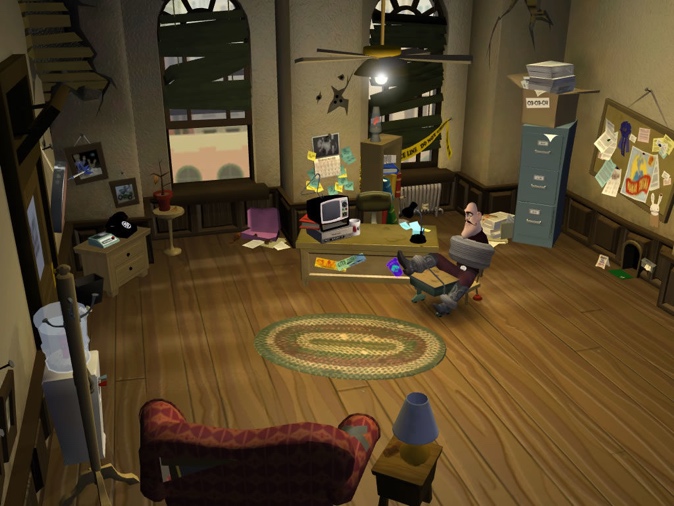
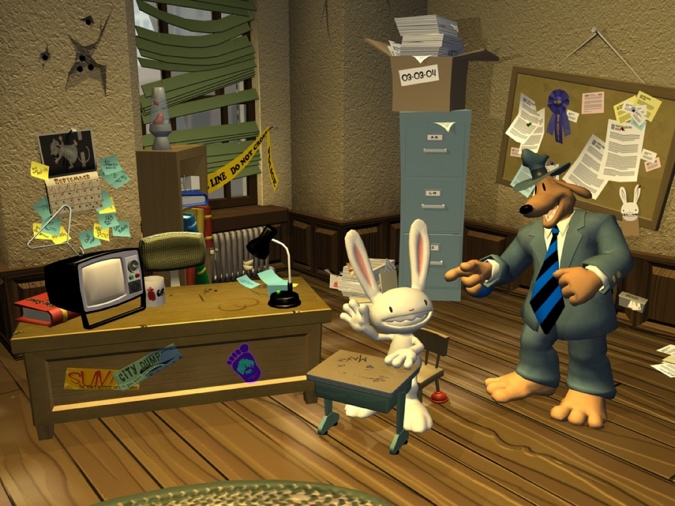
In the early episodes of Telltale’s Sam & Max games, the Freelance Police have a braided rug in their office. (After Max becomes President of the United States, it’s replaced by a rug out of the Oval Office.)
As seen in this bird’s eye view screenshot, the rug has green, brown, and off-white rings. Also note the astroturf welcome mat outside the rat hole — we’ll come back to that farther down in the post.
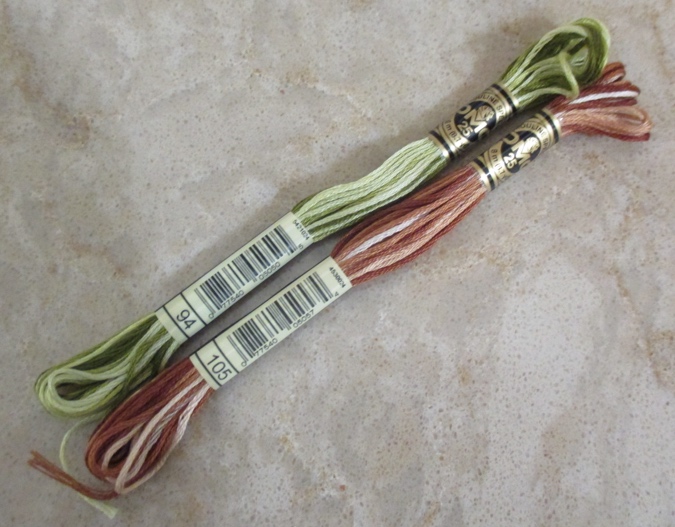
Each ring is fairly solid — the off-white has flecks of green, but the green and brown are just green and brown. I could have duplicated the rug exactly, but I thought variegated thread would give it a more authentic “rag rug” look. (Also, I have a bunch of variegated thread that came in a variety pack and nothing else to use it for!) I used two skeins of DMC 94 (green) and one of DMC 105 (brown).
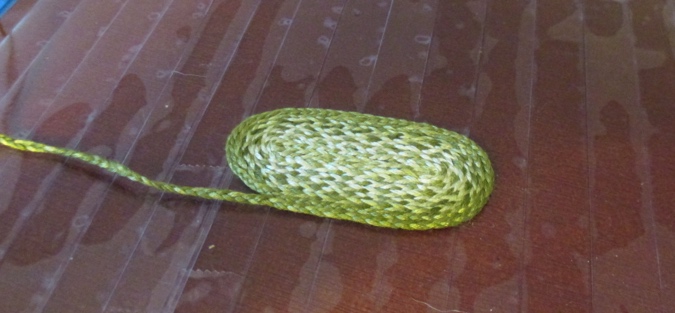
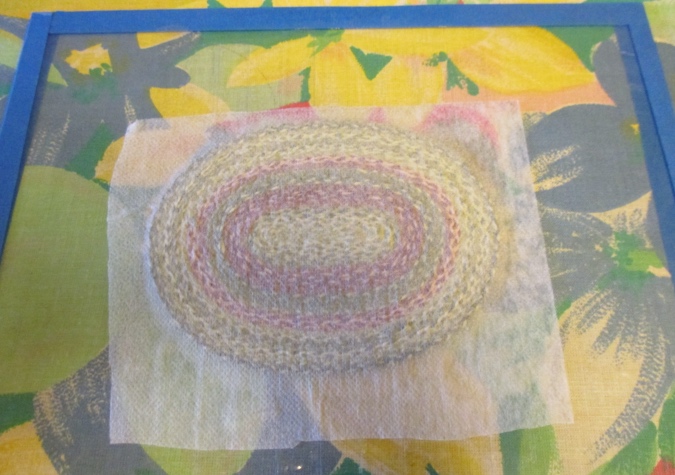
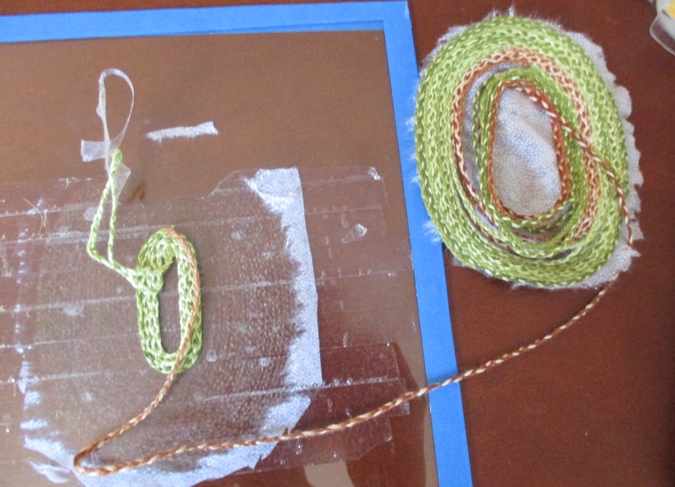
I followed this nice tutorial from Natalia’s Fine Needlework. The first step was to braid the floss. This is time-consuming — it took me about an hour per skein. The braid then gets coiled into its rug shape on top of a piece of glass covered with double stick tape.
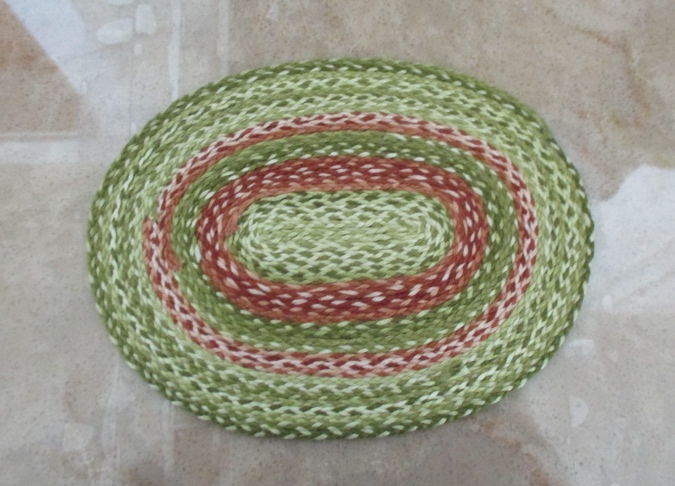
This was my first attempt. I didn’t plan it out, so I ended up with a thicker brown ring on the inside and a thinner one on the outside.
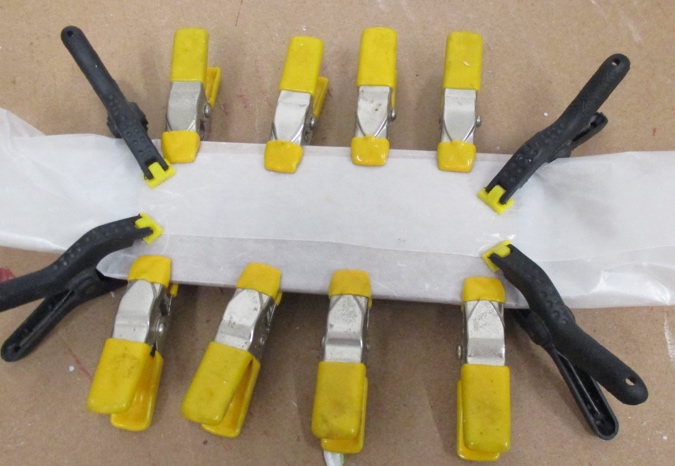
I followed the directions to iron fusible interfacing to the back of the rug. I’ve used this stuff before and haven’t had problems with it fusing, but this time it really didn’t want to stick. After several rounds with the iron, the edges of the interfacing started fusing with the glass, so I figured I’d done enough.
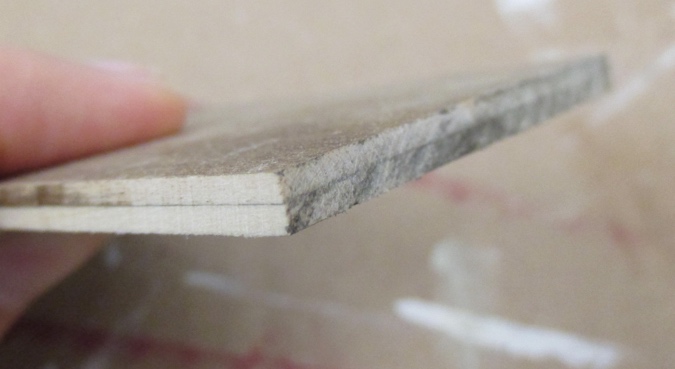
Apparently not! When I tried to peel it up from the tape, this happened.
 Emily is a freelance writer, miniaturist, and adventure game enthusiast.

