I’m running out of creative titles for these blog posts. This one is (mostly) about wallpapering / flooring / trim in the living room and office, which are the two rooms with bay windows. Hence the mildly clever title. You’ve been warned.
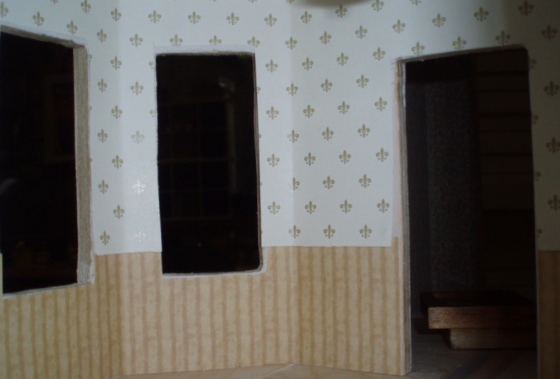
Okay, living room first. I didn’t like the arched doorway cut into the wall leading into the kitchen. This is a hand-made house, and the arch wasn’t even, and there was no way I’d find trim that would fit this door. Making arched trim for an arch I wasn’t crazy about seemed like a huge and unnecessary time suck. So, I filled in the arch with a piece of foamcore.
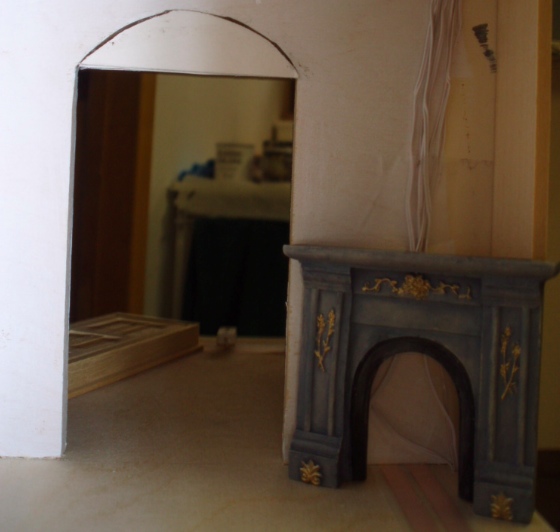
Another thing going on in these rooms is that I’m adding fireplaces to the corners. Originally I’d planned to put the fireplaces on the panel that opens, but ended up positioning the chimney on the edge of the panel to cover up a messy seam where the panel siding meets the house siding. So I decided to move the fireplaces to the corner, with the added benefit that I’ll be able to build in a little enclosure that hides all the wires running down from upstairs.
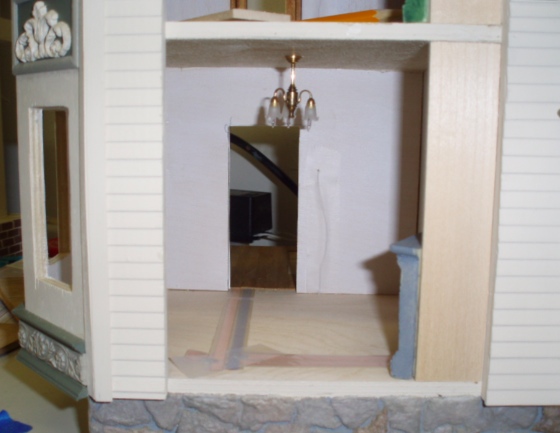
In theory, here’s how it will look when the panel’s open. That piece of wood is only 1″ wide, so it doesn’t block the view too much. (Way better than on the other side with the stairs…)
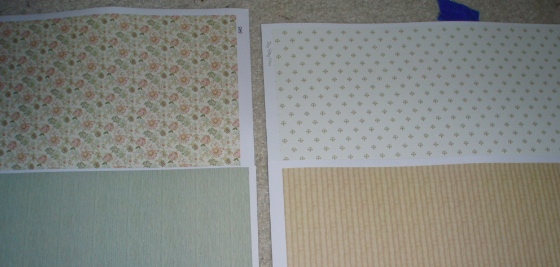
Since I ran into problems with the wallpaper mucilage discoloring my printie wallpaper, I bought paper for these rooms. These are Itsy Bitsy Minis papers and they’re actually 1:12 designs, but the print is small enough that I think they work fine for 1:24. I don’t like that Itsy Bitsy (among other companies) sells half scale wallpaper in smaller sheets, and buying the 1:12 meant I’d have more than enough with just one sheet of each. The flowers will go in the living room, and the gold medallion thingies (which are actually similar to the attic wallpaper I had to rip out) will go in the office.
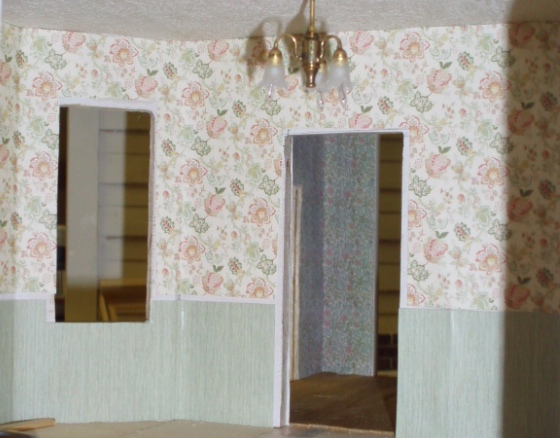
Here’s the living room papered. A few caveats: the color is way more really washed out in this picture than in real life. The paper has a bit of a sheen (even after spraying it with matte finish) and it doesn’t play nicely with the flash. (This picture is more representative of the color.)
Also, there are some wires directly under this paper that cause a little lump. You can see one of them to the right of the door. Most of these bulges don’t look as bad in real life, but the flash plus the sheen makes them super obvious.
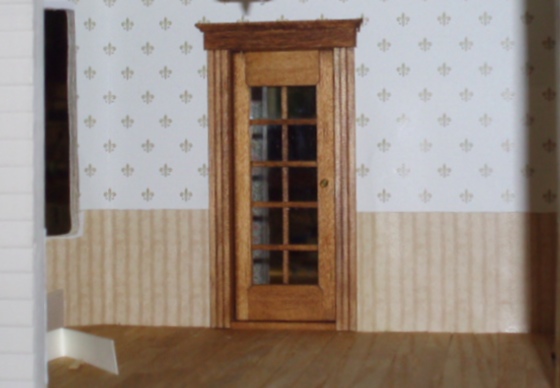
And here’s the office.
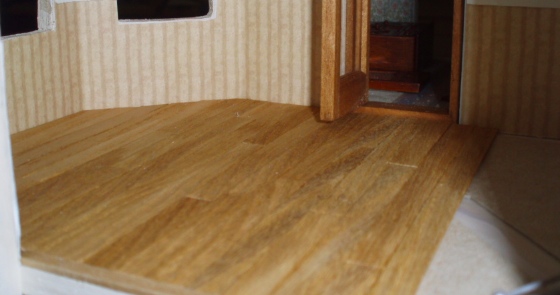
Next task was hardwoods. I started in the office. Like in the bedroom, I made a “subfloor” out of cardboard so the floorboards wouldn’t have to sit directly on top of (lumpy) wires.
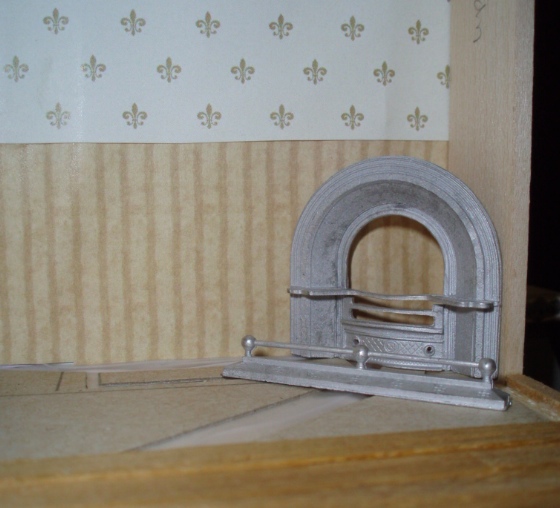
The fireplaces in the photos above (which I just had lying around) were a bit too big for the enclosure I planned to make, so I bought two smaller ones from New England Miniatures – a Victorian fireplace for the living room and an arched fireplace for the office. These are metal kits from Phoenix Miniatures.
I plan to get Geoff’s help cutting a wall that closes off the triangle, and will cut holes at the bottoms of these walls for the fireplaces to fit into. And then will probably build some sort of mantle etc. around them – I want to consult some Victorian design books first to make these look authentic to the house.
With the hardwood floor in the office finished, I moved on to trim, starting with the door that leads in from the hallway. If I’d had my say before the house shell was built, I might not have included these walls that separate the stair area from the rooms with the bay windows – it’s so segmented. But since they exist, I decided to dress them up a bit with French doors. Houseworks doesn’t make a single interior French door in half scale so I bought exterior doors that didn’t come with a grille. So I made my own!
I didn’t want to make a mess with glue all over the plexiglass insert, so rather than try to cut a ton of tiny pieces, I cut four horizontals and inserted them on the back of the door.
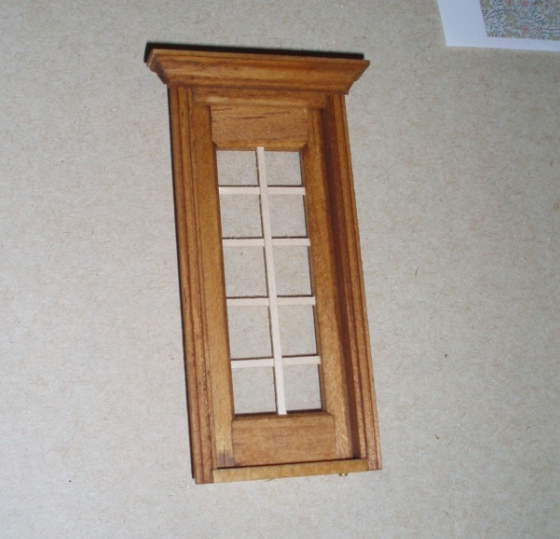
Then I inserted one vertical piece on the front of the door. When the door’s in place you really can’t tell that the pieces are on opposite sides of the door.
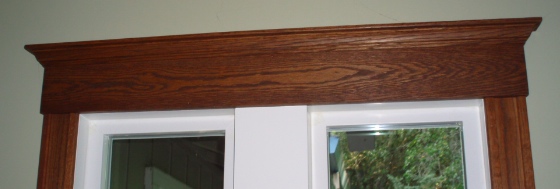
The exterior door has a fancy crown molding trim on one side but came with boring plain trim for the other side. I decided to emulate the windows in my dining room, which have a design my dad came up with when he helped Geoff with the trim work in there last year. Here’s what it looks like.
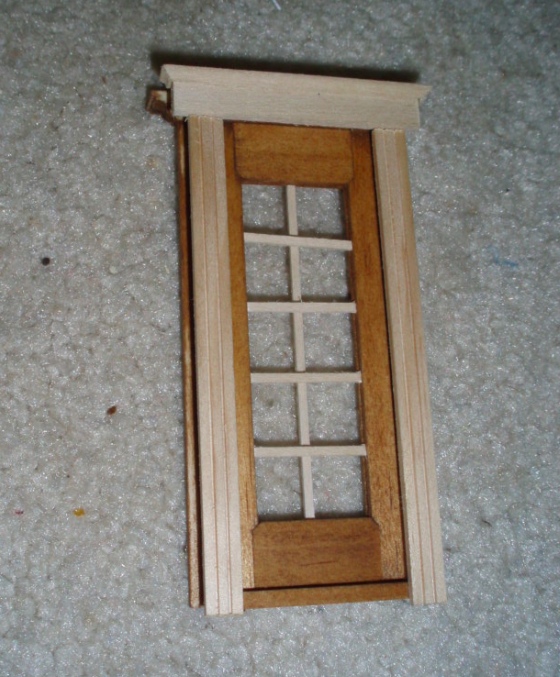
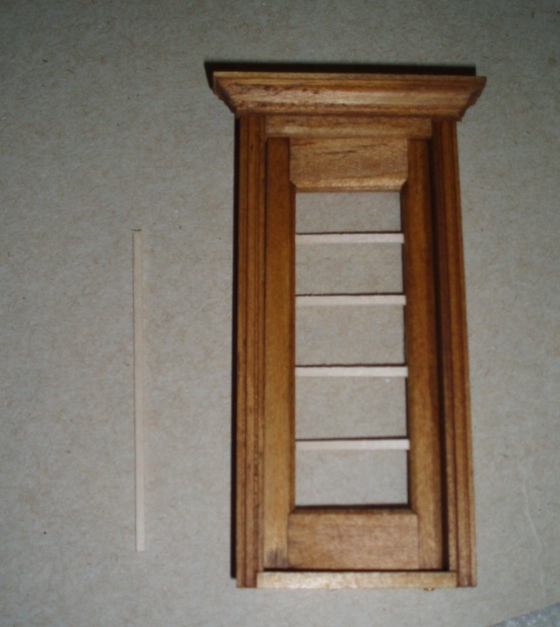
And here’s my mock-up. I used tiny cove trim for the crown around the top. The side pieces are from a package of half scale casing because the pieces that came with the door are smooth.
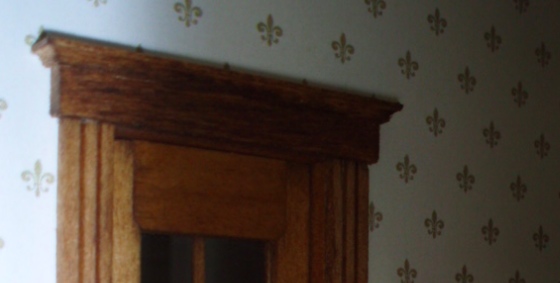
I stained everything, added a doorknob, and voila! (Realized after gluing that the doorknob is way too high and looks kind of silly on that fancy door… it’ll be fixed a few photos down!)
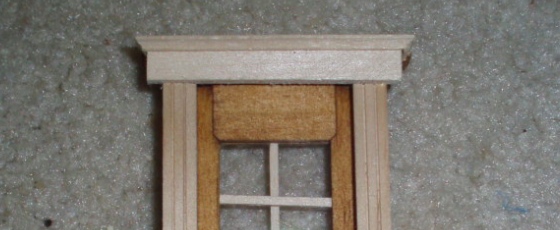
When making the top piece, I had debated whether the crown really needed to go around the corner and decided to go for it. I’m glad I did, I think if I hadn’t it would have looked unfinished.
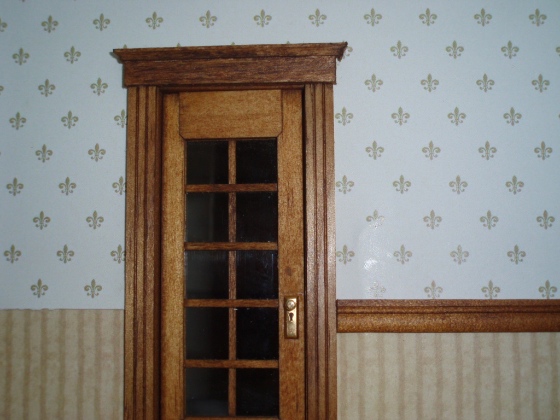
I started putting up chair rail and immediately realized I couldn’t live with that door knob. Of course, the door was already glued in place. I managed to get the doorknobs out with my fingers and a pair of needlenose pliers, and carefully filled the holes where they’d been with watered-down woodfiller. A few swipes with a stain pen and you could barely see them anymore (thankfully!). I then added these doorknobs with key plates, which I think look better on this type of door. It’s conceivable that the office door would have a lock on it, no?
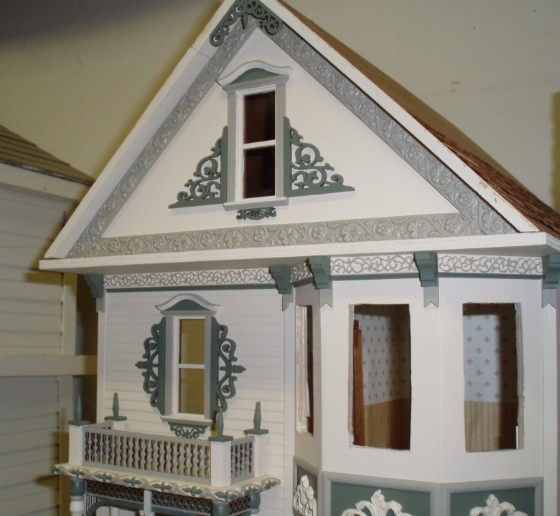
Last but not least: I added wallpaper in the upstairs hall (no photos yet, sorry), which meant I could glue in this window to the front of the house. The trim on the sides are 1:12 over window pieces from my favorite eBay trim peddler. The 1:24 version of the same trim is underneath the window but it’s hard to see in this picture.
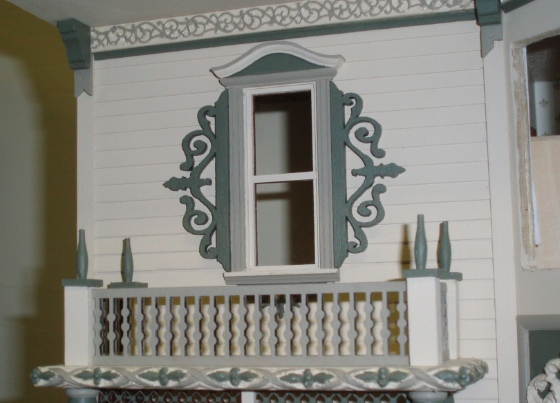
Here’s how it looks in context. I’m not 100% sure if this trim was necessary, but the window looked awfully naked without it…
 Emily is a freelance writer, miniaturist, and adventure game enthusiast.


I love how you’ve done the windows. House is coming out beautiful.