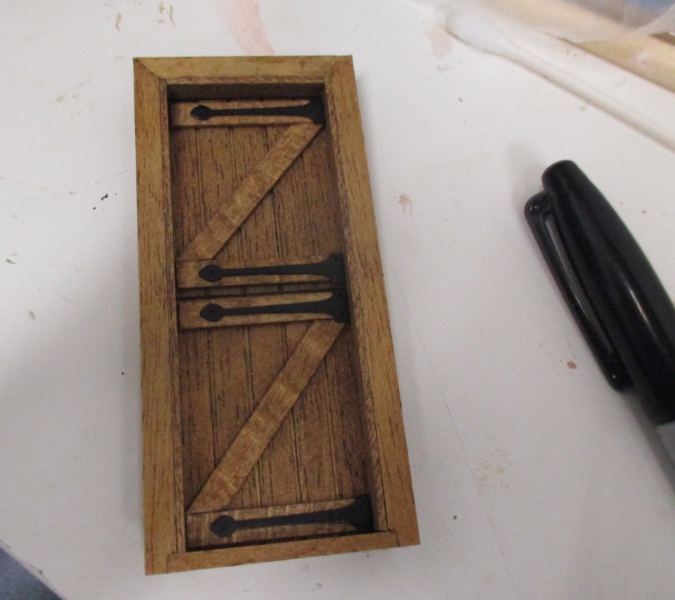
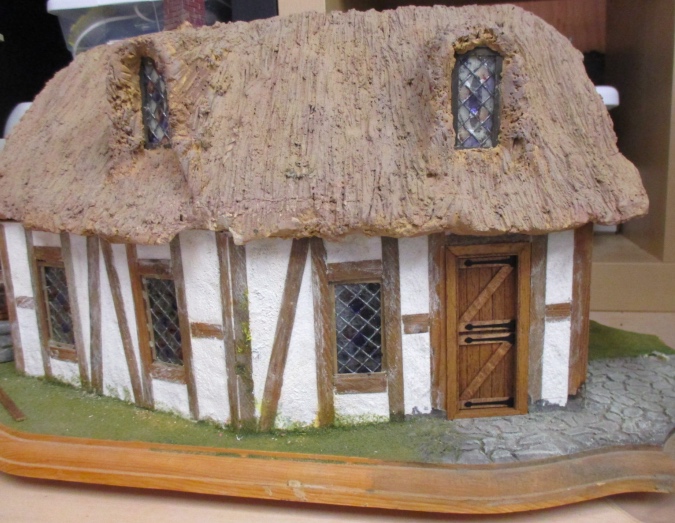
Both of my Bill Lankford cottages came with plastic Grandt Line doors installed. I want these to be old country cottages and the those doors seemed too modern, so I removed them intending to make my own rustic doors. Browsing Etsy recently I came across these plank doors from Bauder Pine, and $1.99 is an excellent price, so I decided to give them a try.
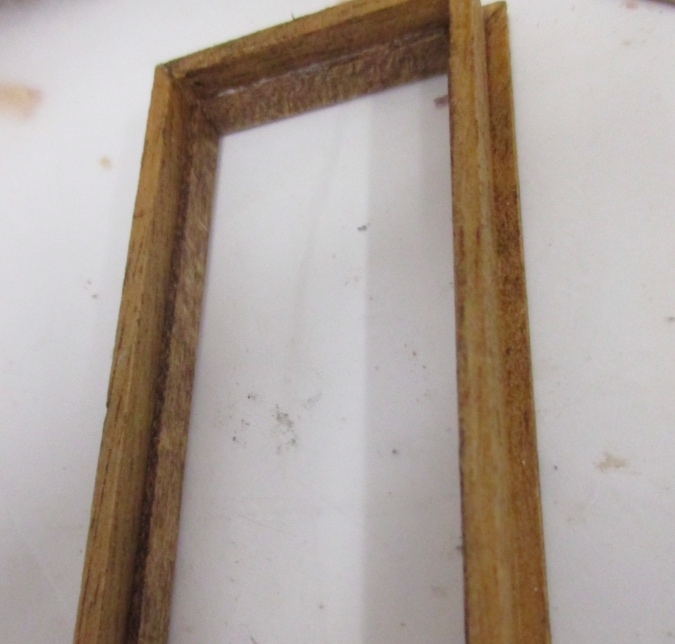
These doors fit into an opening that’s slightly taller than the Grandt Line doors, so I had to do some sanding to make them fit. I used the disc sander to reduce the base of the door and also enlarged the top of the door hole with a utility knife and a metal file.
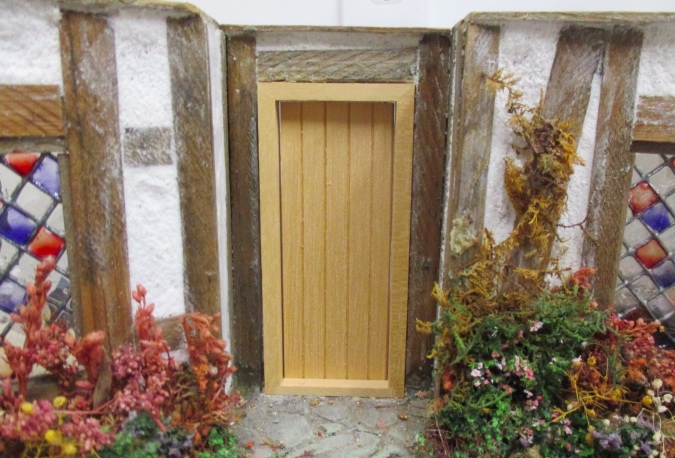
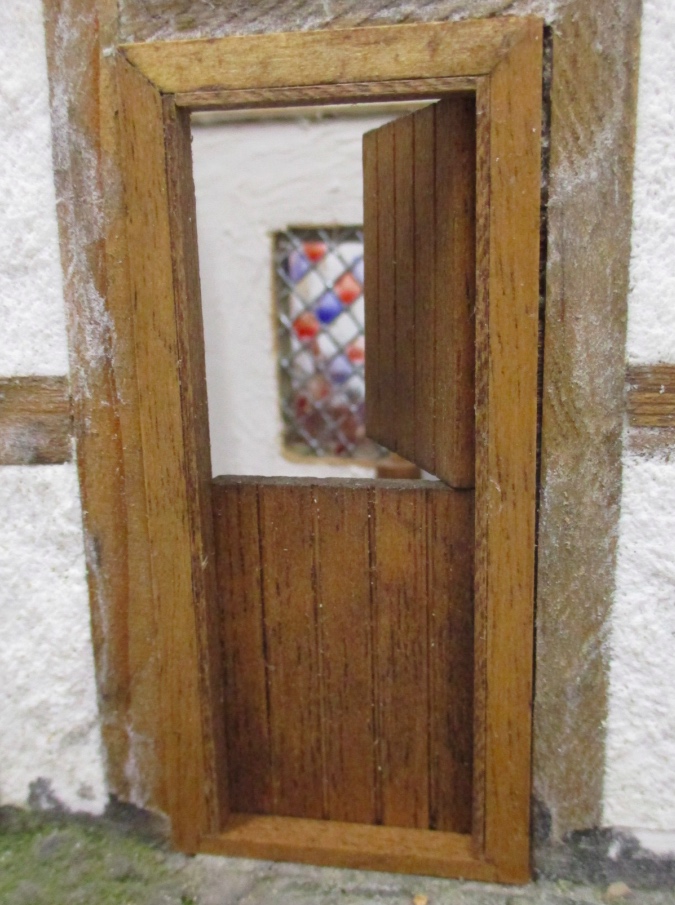
I wasn’t able to match the stain exactly, but came close with a coat of Minwax Weathered Oak followed by a coat of Aged Oak gel stain. It’s pretty shadowy under the overhang of the thatch roof. I’m thinking of ordering another wreath from 4hala to brighten it up but will wait until I fix up the landscaping, so I know exactly what I want. (You can see the wreaths I previously ordered from that shop here.)

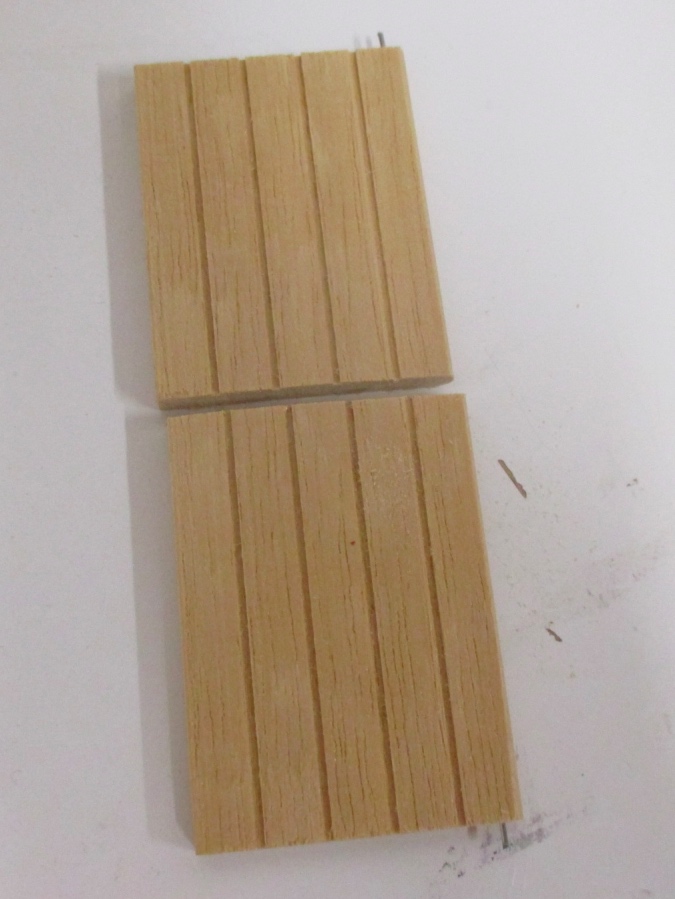
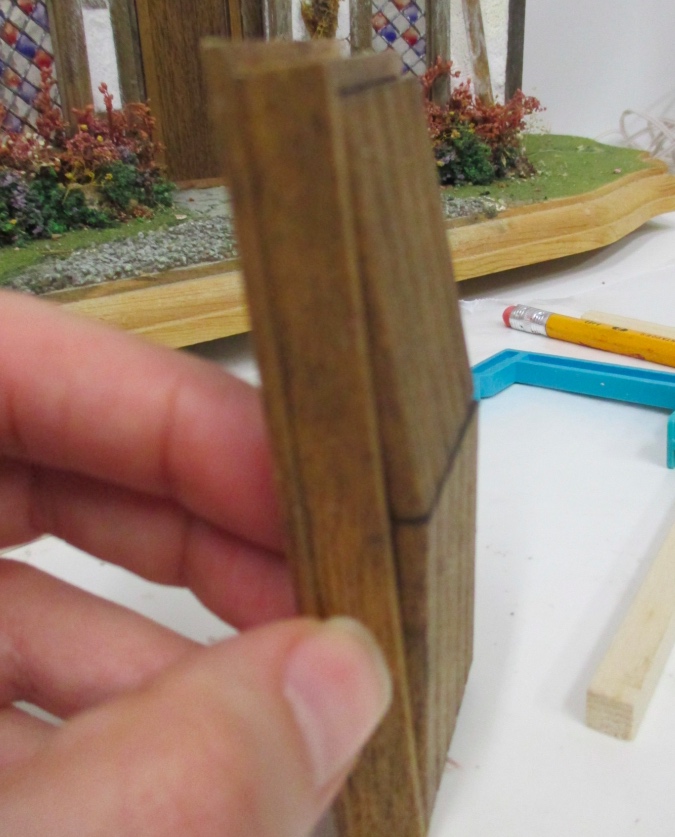
The Thatched Cottage has a second door on the back, and I thought it would be fun to make that one a Dutch door. The pins in these doors were too tight to pull out (I tried on three different doors!) so I had to take apart the frame in order to remove the door. This was pretty easy just by wiggling the joints until they snapped apart.

I used my saw and miter box to cut the door in half.
My idea was to add a pin hinge in the middle, so the top and bottom pieces were hinged to each other.
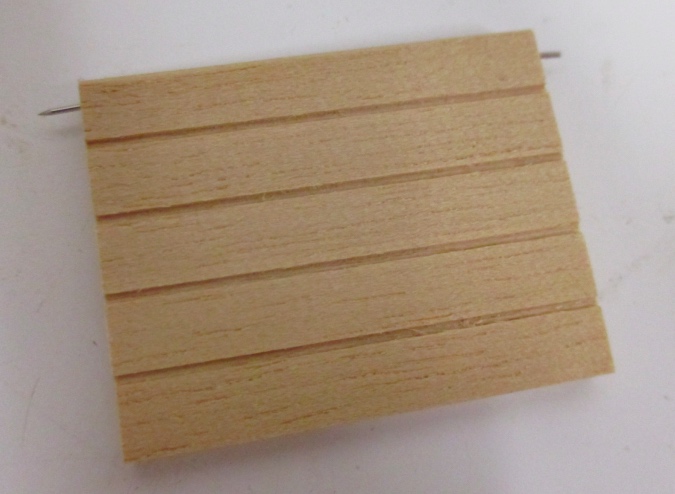
The frame was still disassembled, but it seemed like pin hinging was going to work.

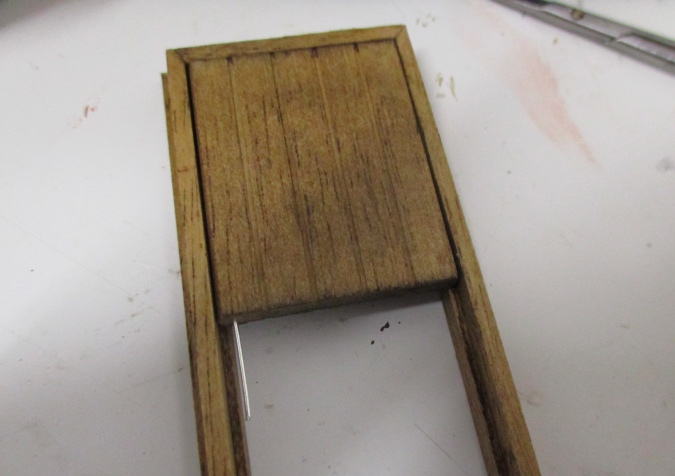
I stained the pieces and then glued the frame back together.
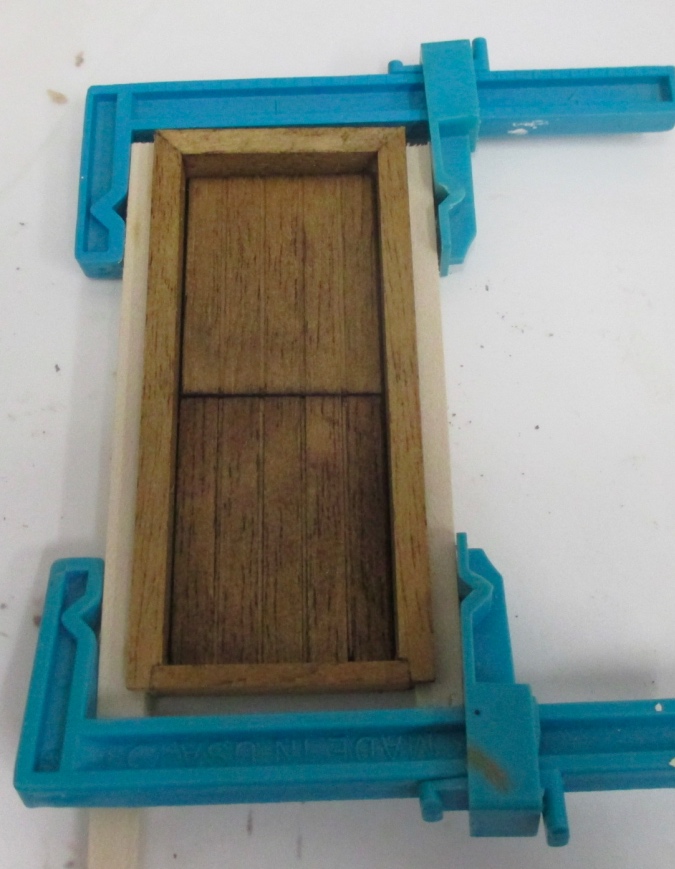
Once the glue had dried, I sanded the bottom of the door frame and enlarged the hole as I had on the front of the house. Hey, cool, a Dutch door!
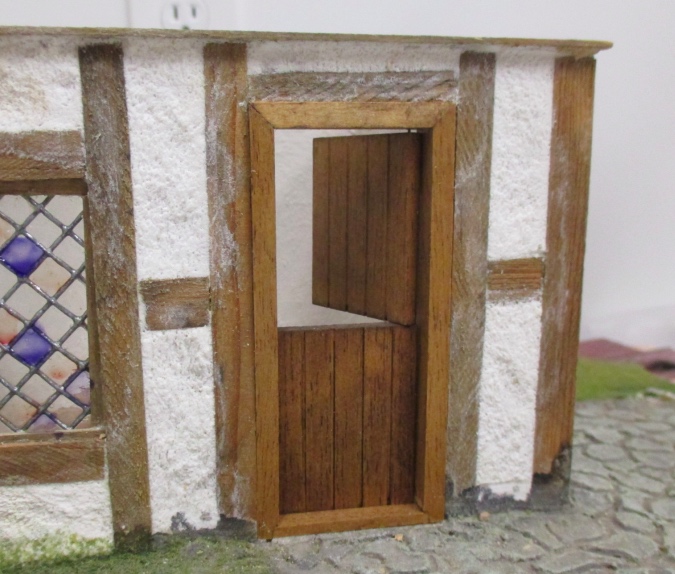
Here’s the problem with pin hinging — since the door pieces are hinged to each other, and not to the stationary frame, they can easily bow in or out.
The “right” way to do this would be to remove the pin hinges and use regular hinges to attach each door piece to the frame (two hinges per door piece). But I didn’t have any hinges in my stash and didn’t want to wait. I also wanted the hardware to be black, and I couldn’t find any appropriately sized hinges in black. (These are too big.) Also, I planned to add decorative strap hinges to the front of the door, so additional butt hinges on the inside seemed strange. (That said, here’s a nice tutorial for using recessed hinges along with fake strap hinges.)
With four hinges to do, and knowing that hinging doors always turns into a huge production (see here and here and here), the likelihood of me messing it up and getting frustrated far outweighed the slight wonkiness of the pin hinge, so I decided to continue down this road. I used the micro drill to make the holes in question deeper, and inserted a longer piece of wire. This doesn’t prevent the bowing entirely, but it provides stability.
The other problem is that, although the door has a raised threshold at the bottom that keeps the door from swinging out the wrong way, the top part of the door can swing out the wrong way.

To prevent this, I added thin strips of wood around the front part of the frame.
Now my Dutch door only opens in.
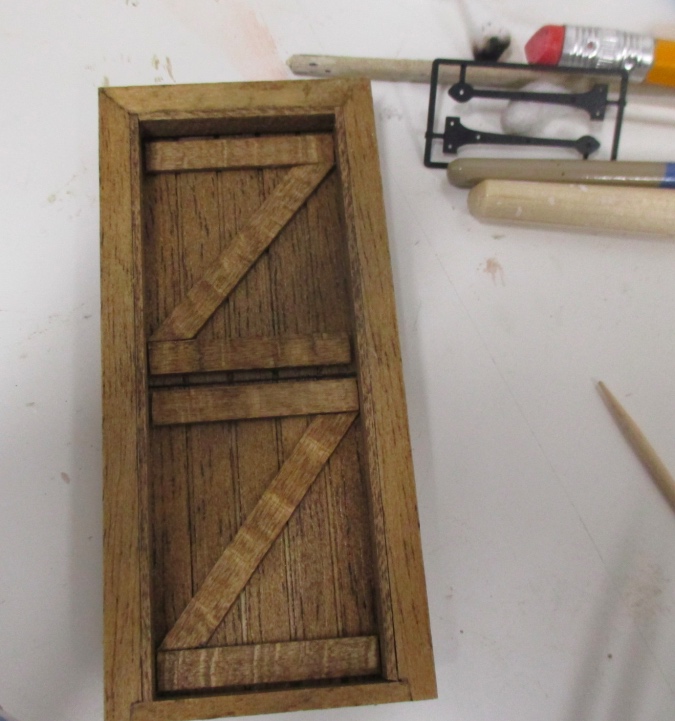
Next I added strip wood Zs to the fronts of the door pieces.
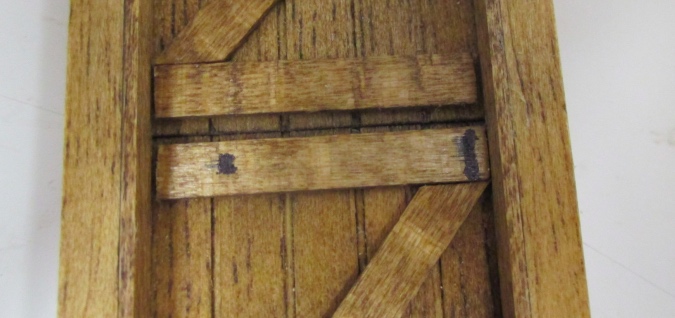
I bought mock strap hinges from Romney Miniatures. These are metal, painted black. Some of the holes were filled up with black paint — I actually liked that because I didn’t want to hassle with nails. I could have used brads or pin heads, but I would have had to paint them black.
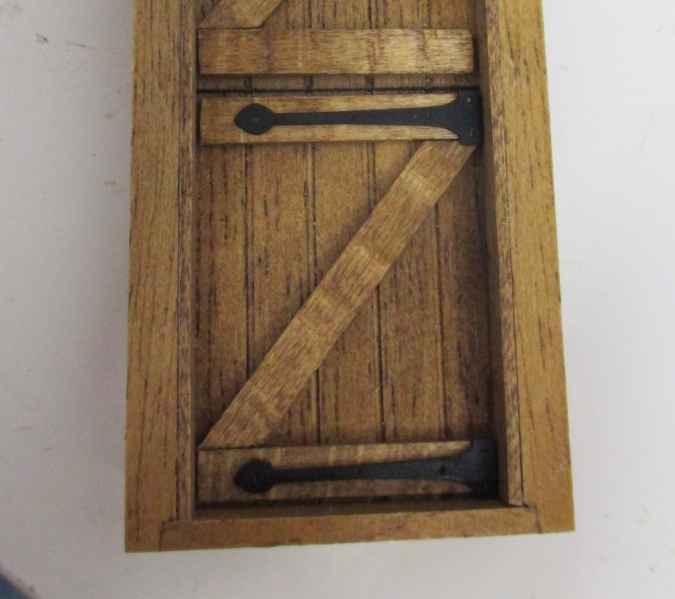
For the few holes that weren’t filled in, I colored the door underneath with black Sharpie, so the wood color won’t show through.
Here it is with all the mock hinges glued on.
The hinges are obviously fake when the door is open. But hey, willing suspension of disbelief, right?
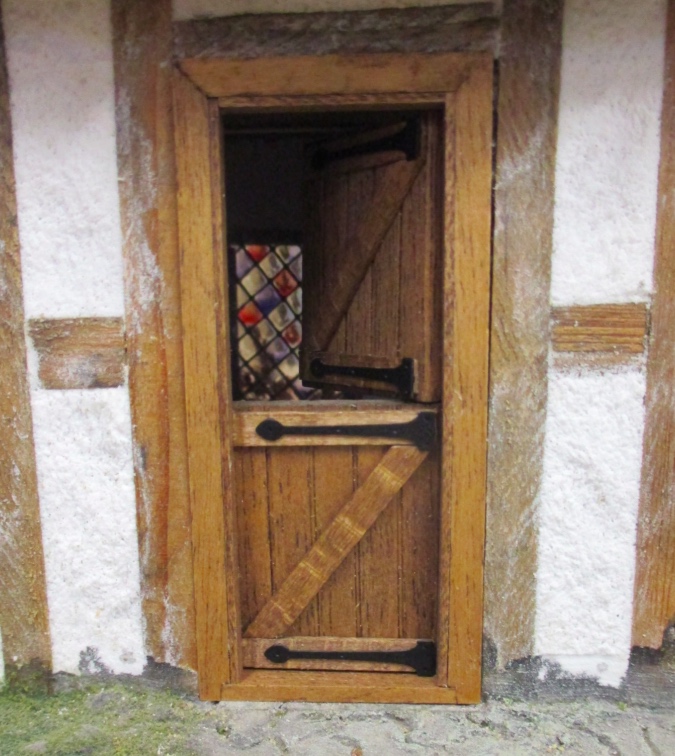
So now the Thatched Cottage has a cute Dutch door on the back. I haven’t finished the front door yet, but it will also get mock hinges, and I have one of these planked doors set aside for the Tudor Cottage as well.
 Emily is a freelance writer, miniaturist, and adventure game enthusiast.


I loved your post and enjoyed going back through the links you provided. The cottages are so neat!! What a great find.
The doors look great. And I so don’t blame you for not wanting to mess with hinges.
Great door idea and a great price! Turned out good!
Emily…outstanding! I love Bill’s work, and you are doing a wonderful job with this!
Hugs,
Sharon
BEautifully done! Both doors look very authentic and the demonstration of making the pin holes deeper for added stability was so simple yet very effective, and the strapping with the iron hinges, were simply meant to be!