I decided to add stained glass to the two small windows in the Craftsman bungalow. The last time I made stained glass windows, for the Victorianna, they were printed out on a transparency sheet that I then painted over with Gallery Glass paint.
Even with the Gallery Glass adding a wavy glass effect, these still look printed out. I wanted to try something different for the bungalow. (Also, the ink cartridges on my inkjet printer are dried up, and I hate buying new ones because I barely get any use out of them before they dry up!)
Back when I made the stained glass for the Victorianna, someone suggested trying a Sakura Glaze pen, which claims to have 3-dimensional ink. I bought one but hadn’t really used it, so I decided to give that a try.
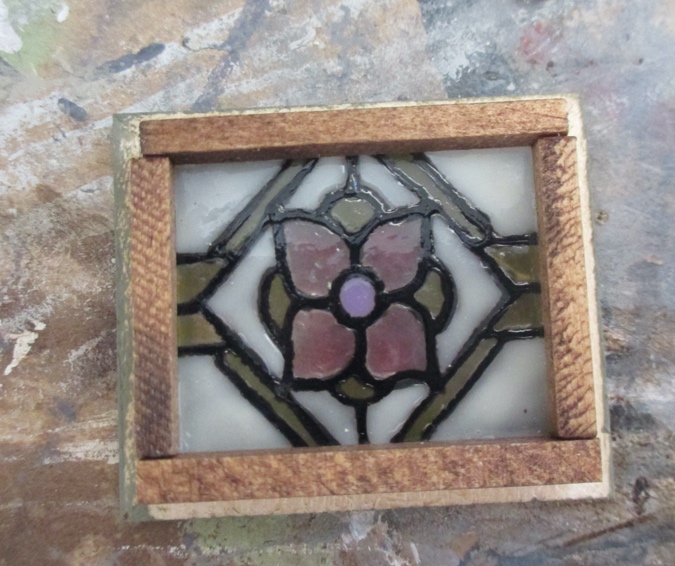
I printed out a design I found online and traced over it with the pen. The ink does have dimension, and the pen is a lot easier to control than the bottle of Gallery Glass Liquid Lead (which I have tried before with bad results).
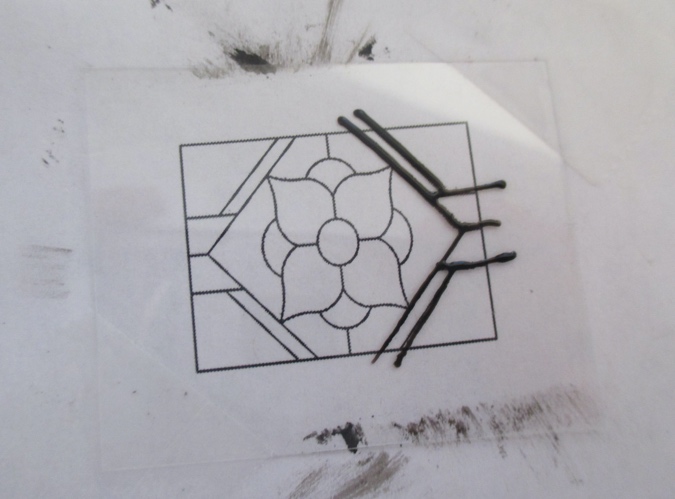
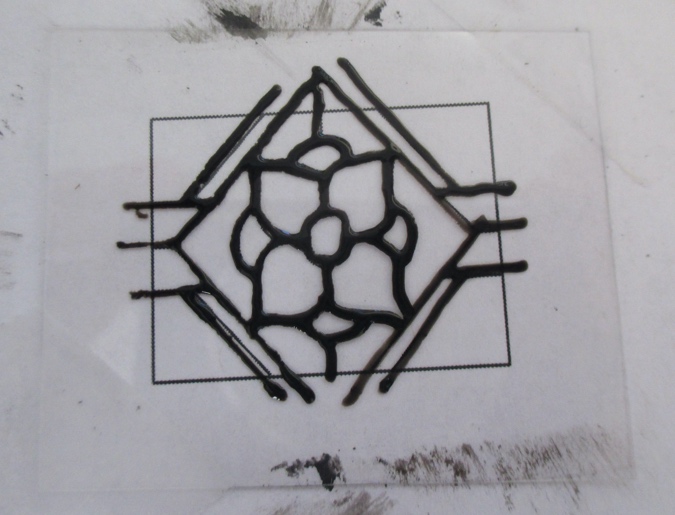
The ink beaded up on the acetate, so I had to keep going over and over the lines to end up with a solid line. This resulted in thicker lines than I wanted, and the circles were especially hard to do neatly.
Once the ink dried, I filled in the color by spreading dots of Gallery Glass with a toothpick.
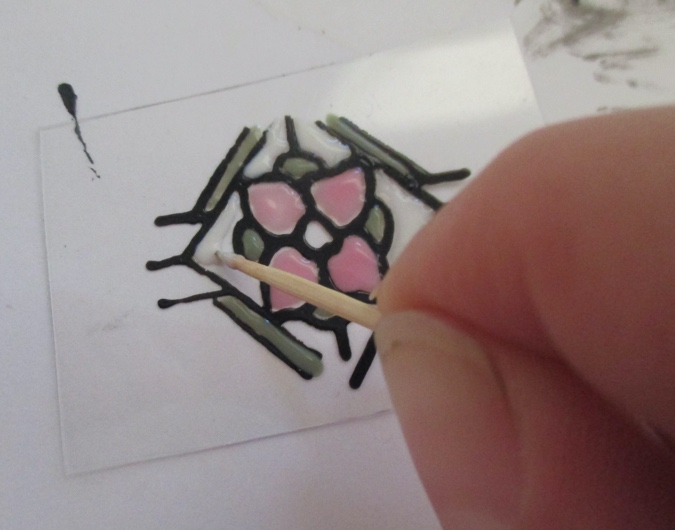
Here’s how it looks when it’s wet.
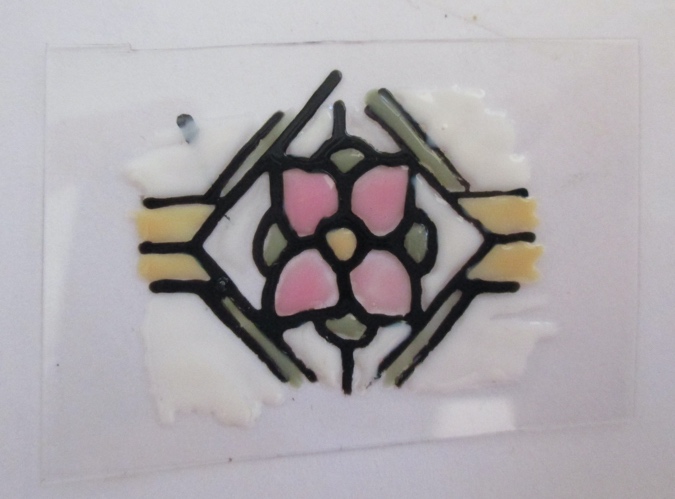
And when it’s dry. The color is nice with the white background, but without the paper behind it, it’s too faint.
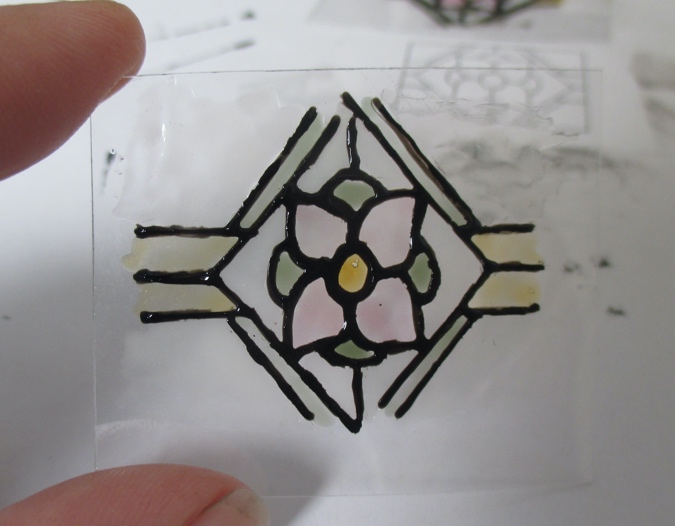
(Note: in case you’re noticing differences in the lead lines, the windows pictured above are not all the same window! I made several of these to try to get better at it.)
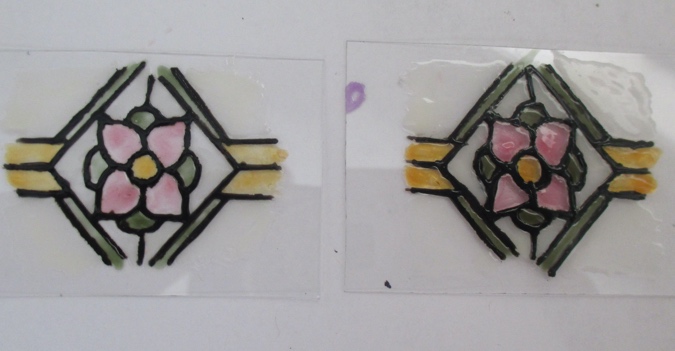
To beef up the color, I repeated the lead lines and the color on the back side of the window. Here the window on the left only has one coat, and the one on the right has two.
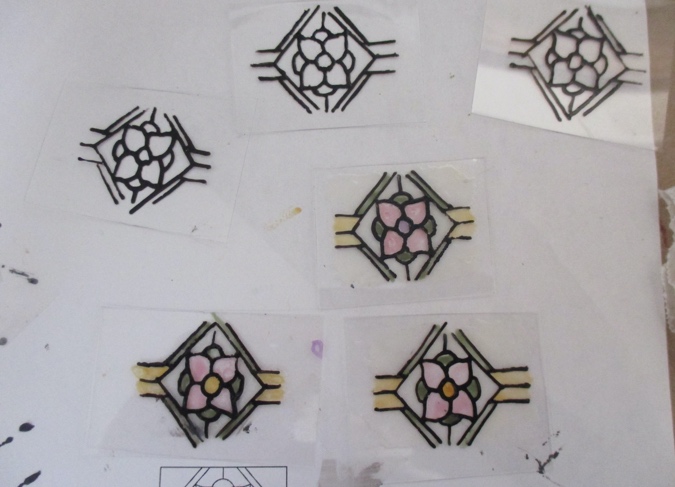
I spent a couple of hours listening to 90210MG and making windows. At the end of the day I didn’t feel like they were good enough to put on the house, but when I came back a week later I was less critical of them. I decided to move ahead… but first I wanted to try something.
I sprayed a piece of acetate with Krylon matte sealer. This gives it a grainy texture and makes it opaque. My hope was that the ink would cling better.

And it did! The lines are still a bit thick, I was happier with the curves.

Once the Gallery Glass is added, you can’t tell that the matte sealer fogged up the clear plastic. It might even help make the color show up.
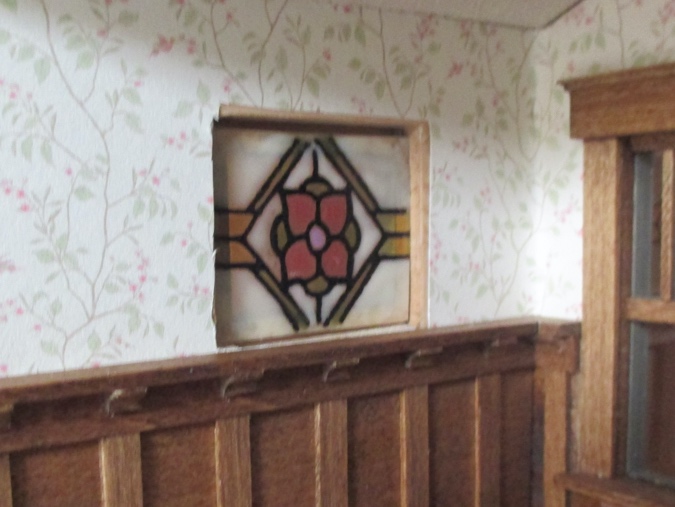
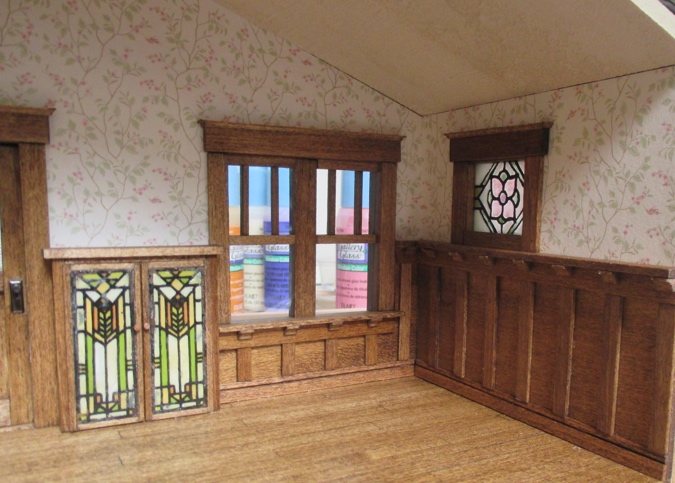
Next I added a wood frame to the inside of the window, same as on the bigger windows.
My plan had been for the windows to sit on top of the wall paneling, so the top of the paneling would act as the window sill, but this didn’t quite work out and a sliver of wall was visible beneath the window frame.
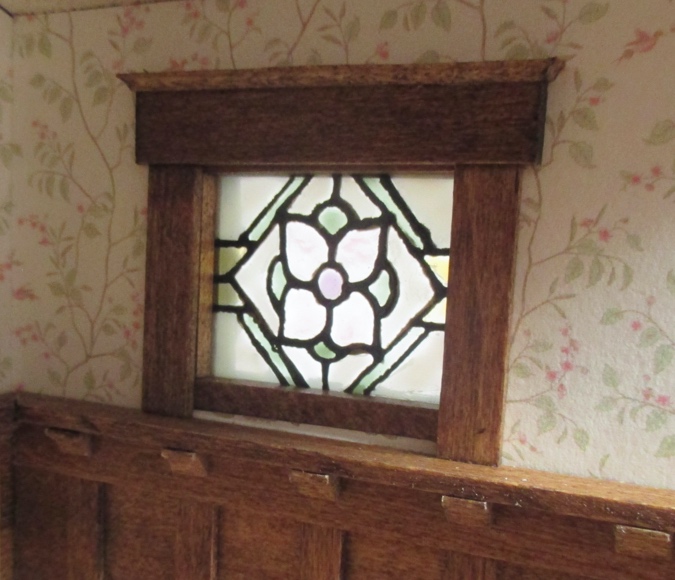
Another small piece of trim at the bottom did the trick.
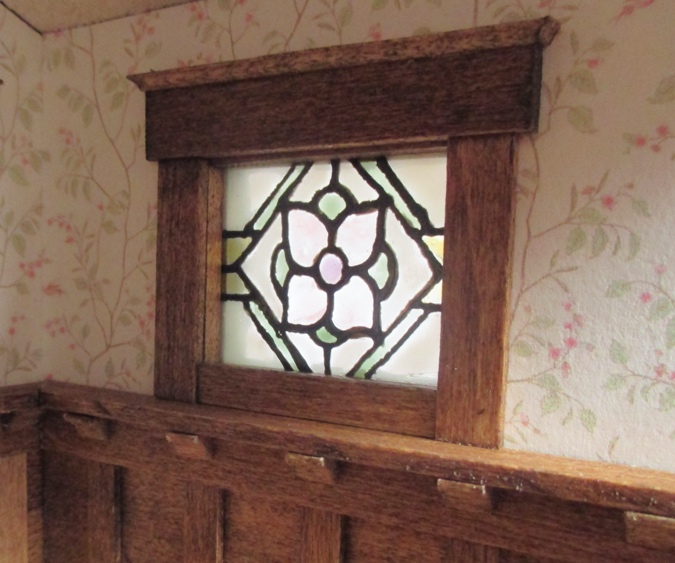
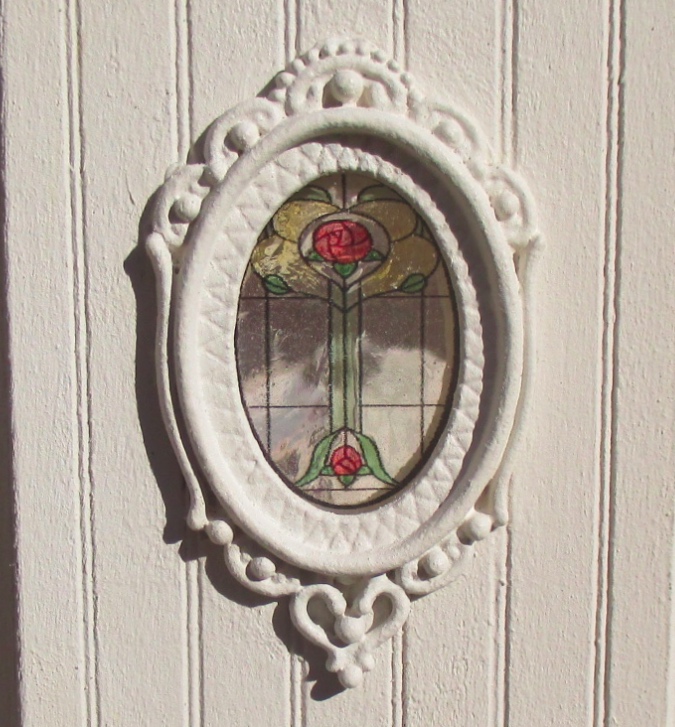
Here’s how the window looks from the outside.
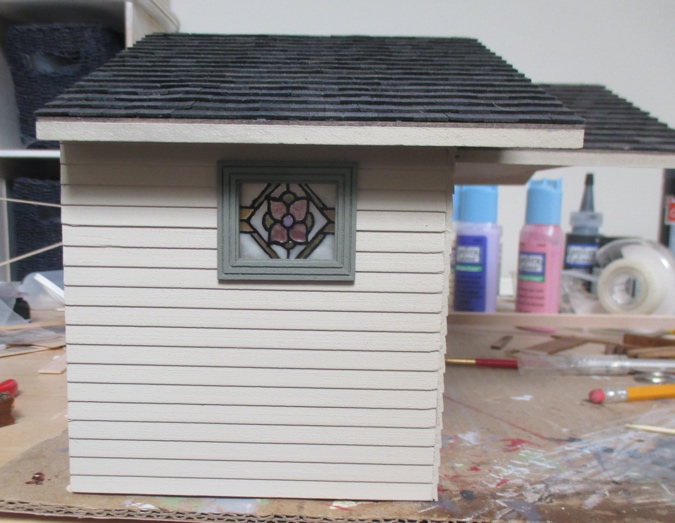
The Sakura Glaze pen makes decent lead lines, but they might be a bit too thick for half scale. This design worked well, but for something more intricate the ink would turn into a blob. The lines might look more to scale in 1:12.
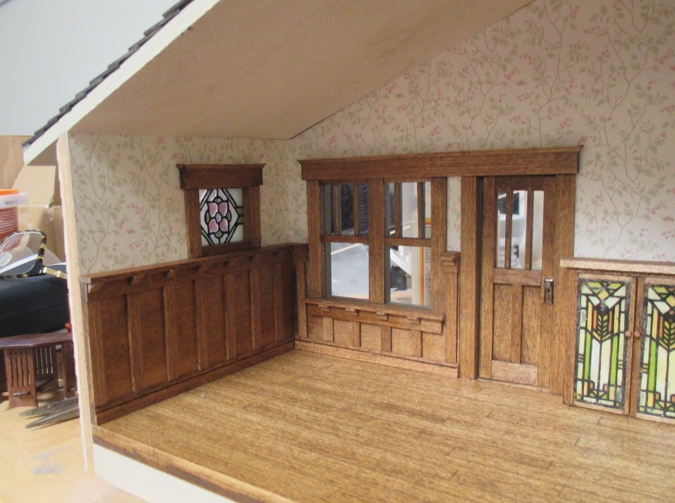
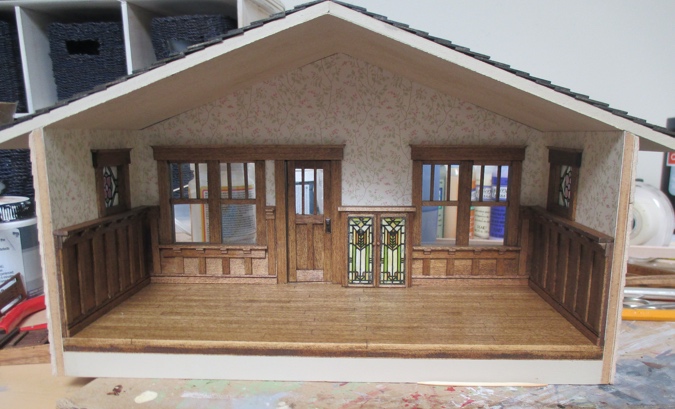
I think the stained glass windows look nice with the wallpaper. I don’t know how I feel about the stained glass on the cabinet, though. I wish the accents were more pink than orange.
Hmm… now that I know those panels came off a Kummerow firescreen, maybe I should put the firescreen back together and create new doors for the cabinet…?
 Emily is a freelance writer, miniaturist, and adventure game enthusiast.


Wow! Beautiful work.
I think they both look good and yours adds a nice contrast.
Very well done! Your experimenting paid off!
I’d love to live in your houses!
It looks wonderful.