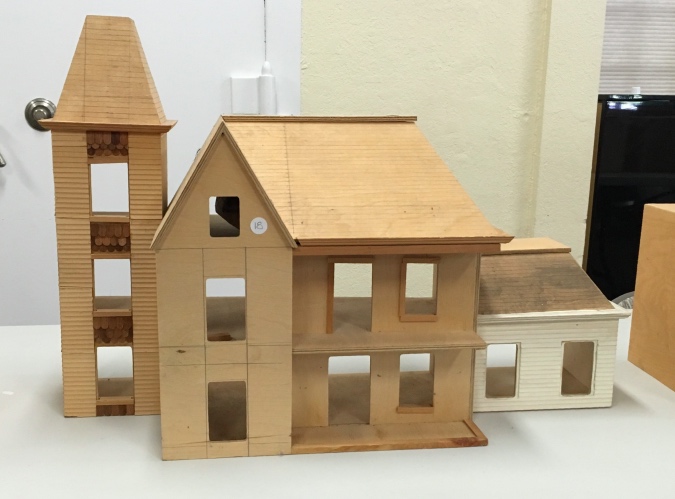
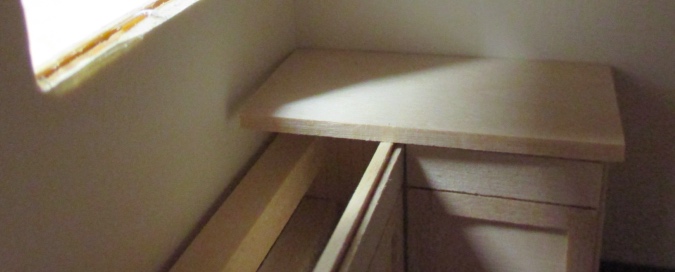
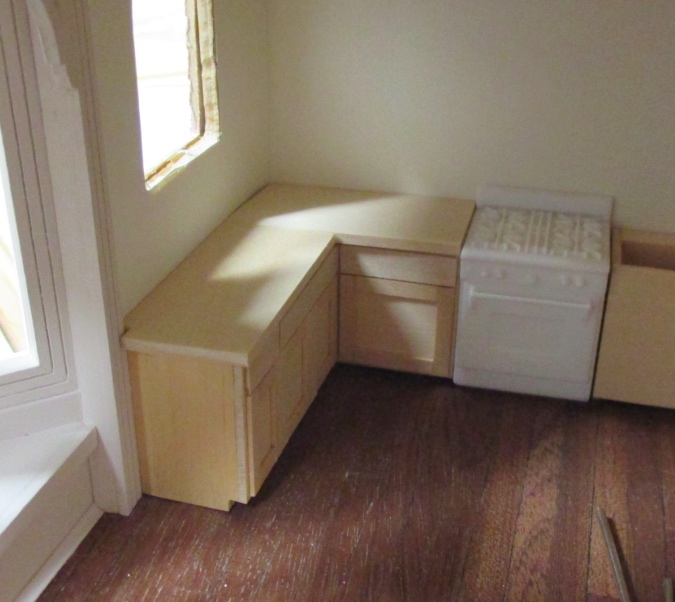
When I first started working on the Victorianna, I bought a set of kitchen cabinets from Bruce Dawson, who sold under the name bedMiniatures (he’s since retired). I planned out a U-shaped layout.
Since then, I redid the kitchen in my real house, and learned a lot about kitchens that I never knew before. For example: the upper cabinets should be 18″ inches above the countertop, or up to 20″ if you have high ceilings and can get away with it. Who knew? In my dollhouse kitchens I’ve always just eyeballed it.
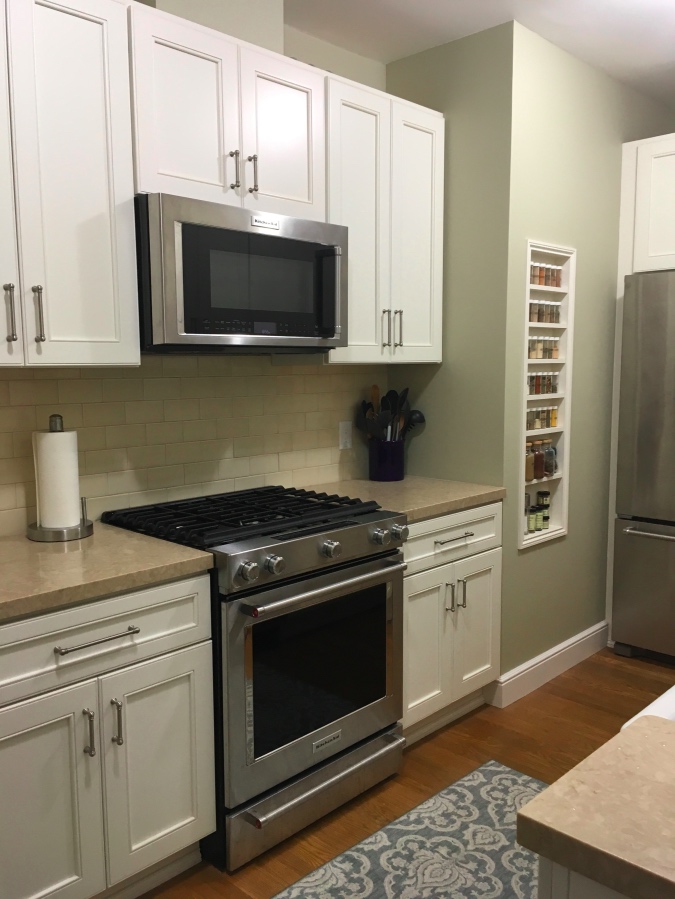
(Okay, okay, *I* didn’t redo the kitchen. Geoff did most of the work. But I picked out everything that went in it!)
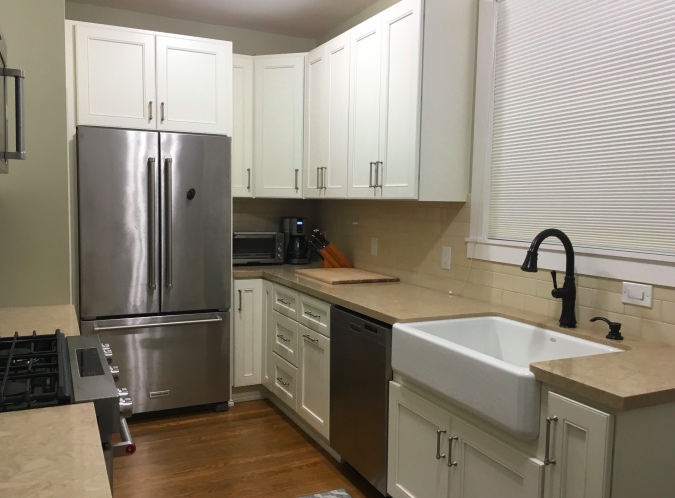
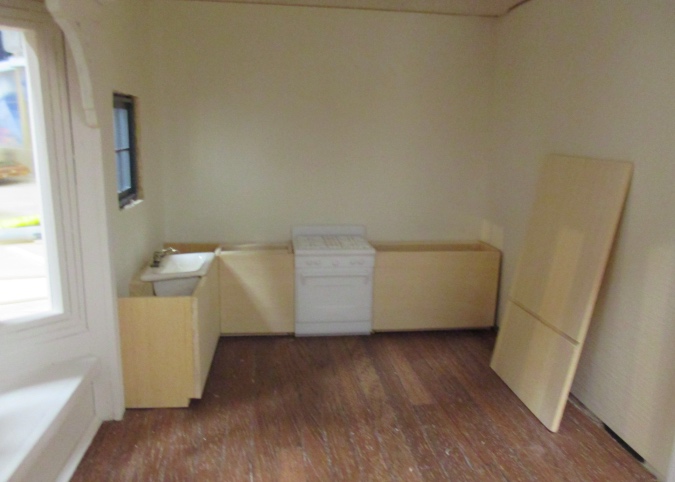
Now that I’ve been through that process in real life, the kitchen I’d planned for the Victorianna doesn’t look as good to me as it did before. For one thing, the upper cabinets are tiny — this kitchen has the equivalent of 10′ ceilings, but the cabinets are only 30″. (In my real kitchen, which has 9′ ceilings, we used 40″ cabinets.)
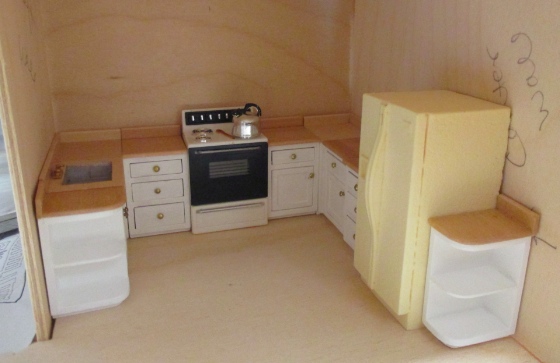
I also regretted my choice of white appliances. I’d tried chrome paint for “stainless” appliances in the Rosedale and wasn’t thrilled with how those turned out, so I thought using white here would help me avoid some angst, but they don’t pop the way stainless steel does with white cabinets. Also, while I like the stove (made from a Mini Etchers kit), the paint I used, which was supposedly “glossy white”, came out yellowish and dingy.
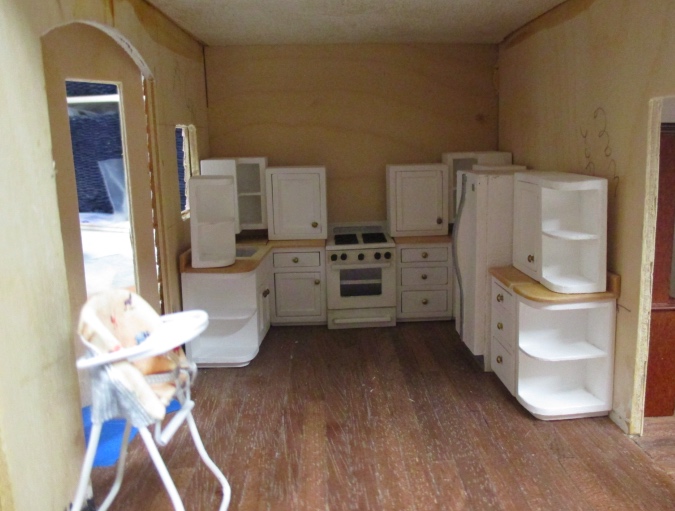
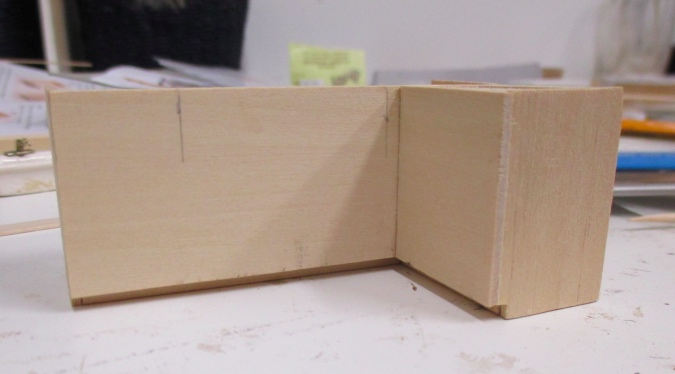
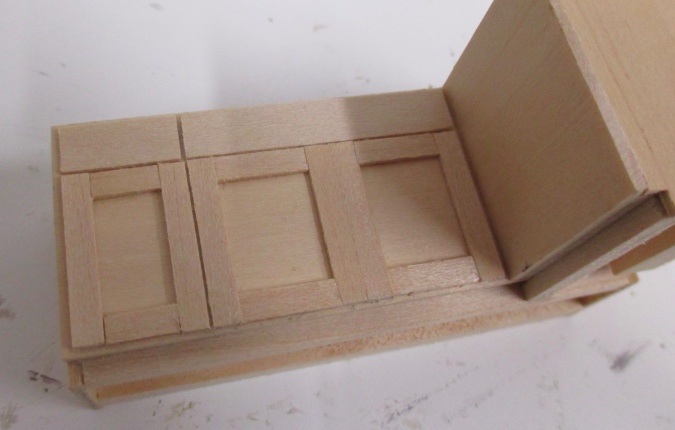
Long story short: I decided to put all of these pieces aside for some other house and scratch build the Victorianna’s kitchen cabinets instead.
Continue reading
 Emily is a freelance writer, miniaturist, and adventure game enthusiast.

