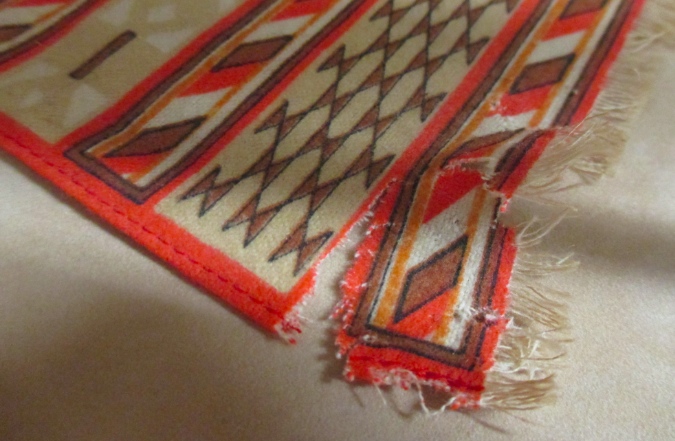
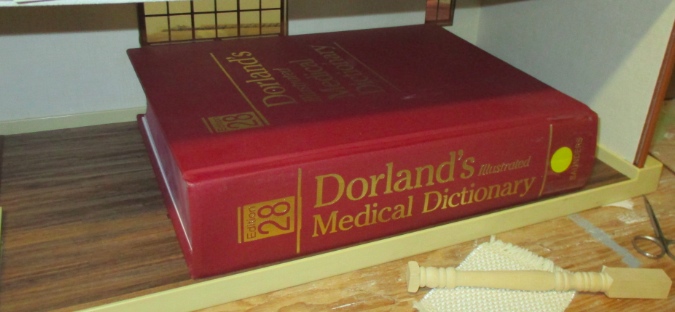
Last summer I discovered a mouse had been squatting in my Tomy Smaller Homes dollhouse. I didn’t catch it in action (thankfully!), but my first clue was the chewed-up rug.
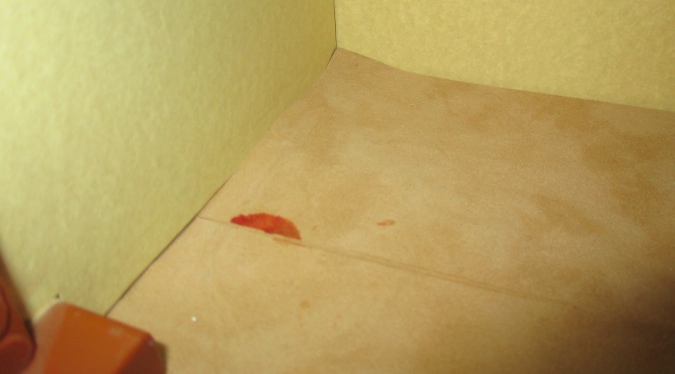
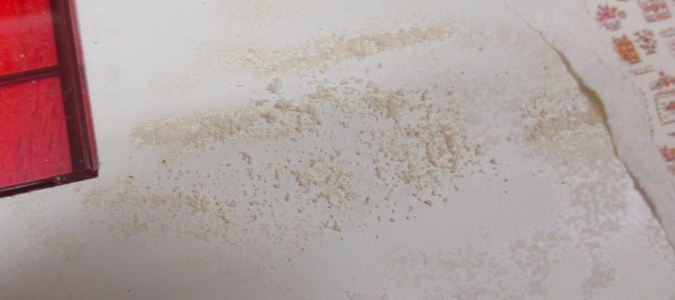
Then I noticed this suspicious stain. Mouse pee? It seems too symmetrical for that, but this is right against a seam where two carpet pieces meet, so that could explain the straight edge. (Also, ew!)
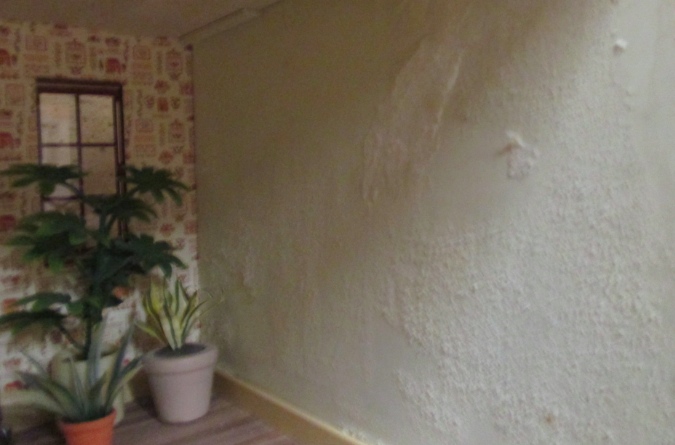
Also two loose wallpaper corners in the kitchen had been nibbled at. I tore off the damaged wallpaper intending to replace it.
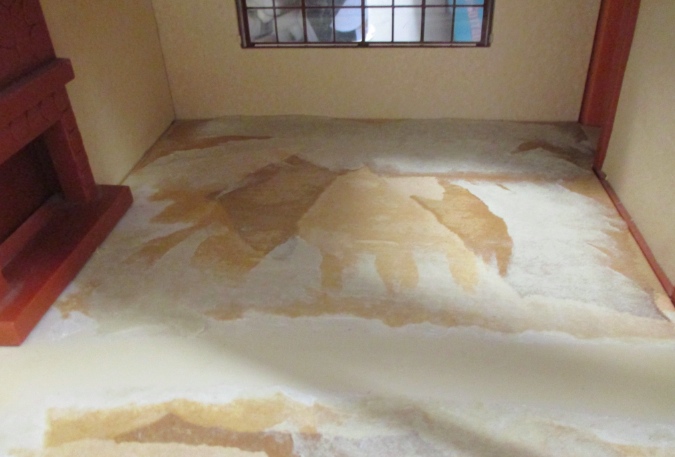
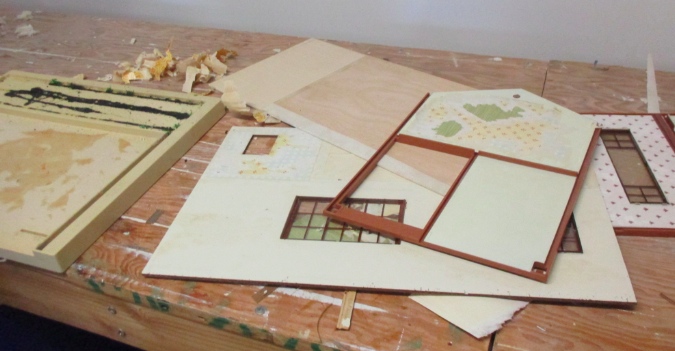
After letting it sit in disrepair for almost a year, last week I decided to fix the damaged carpet and wallpaper. Not surprisingly, this turned into something bigger. It started with the living room carpet. I was able to get up this much of it before I decided I needed to take off the walls to really get it off.
This is two layers of paper backing — the suede scrapbook paper I used when I redid the house six years ago, and the remnants of the original carpet underneath that I hadn’t completely removed.
A lot of the wallpaper had bubbled and had mysterious glue crumb residue behind it. I used either Yes or Grandmother Stovers glue on this house.

I’ve had the crumb issue on other houses where I used the same glue, but in the case of the Tomy house, glue not wanting to adhere to plastic might have had something to do with it.
Somehow, what started as replacing one carpet and re-papering two walls turned into this.
Geoff pulled out a razor blade and joined the fun. The first time I redid the house I didn’t bother removing most of the old wallpaper — just papered on top of it. So there were multiple layers to scrape through, and interestingly the original wallpaper (which seemed similar to contact paper) was still incredibly sticky even after 30+ years. With razor blade plus Goo Gone we were able to remove most of it.
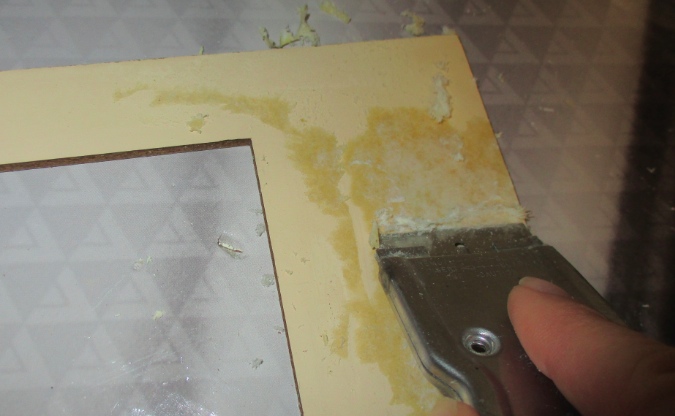
After using the Goo Gone to get rid of lingering stick, we used lacquer thinner to get rid of the Goo Gone’s oily residue. The Tomy house base and side walls are made of plastic, and the other walls are particleboard. The Goo Gone didn’t damage either, but it did take the paint off the particleboard. That didn’t matter since I planned to cover it back up with new wallpaper, but for those playing along at home, be careful not to get any on the front of the house or you might damage it.
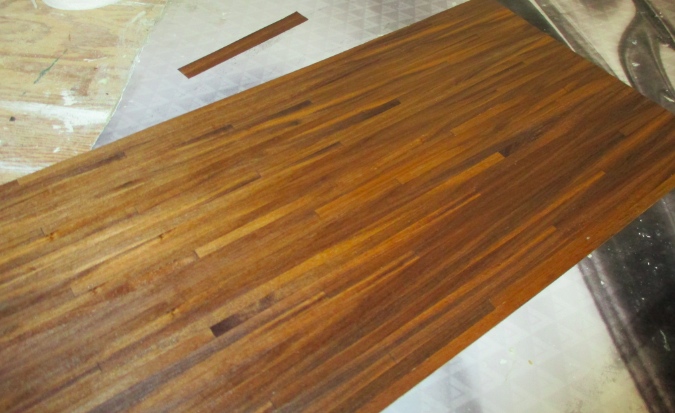
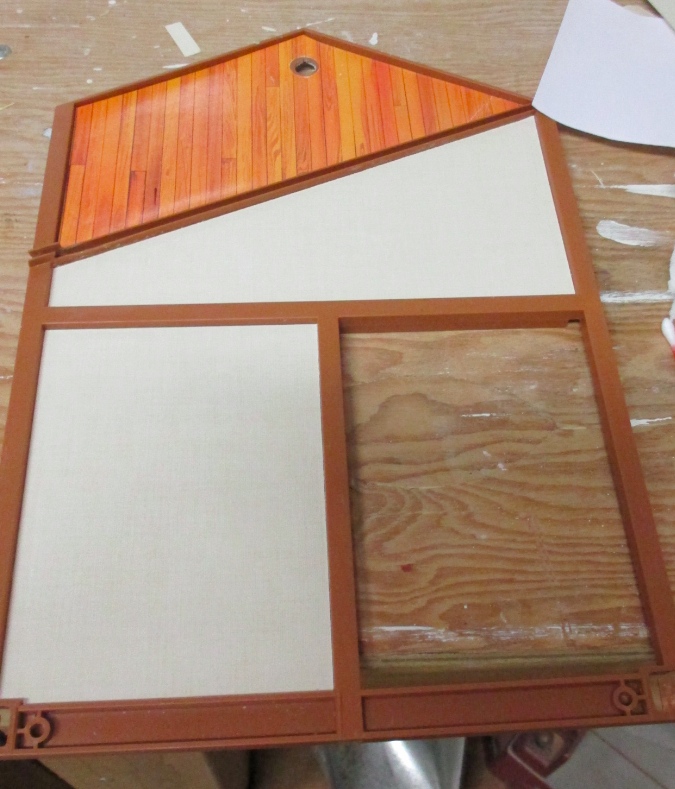
For some reason I never glued down the hardwood floor in the kitchen. Here’s how it looked — kind of dingy. (This is a Houseworks hardwood flooring sheet I added, not the dollhouse’s original kitchen floor.)
I applied Minwax Natural to bring out the colors of the wood.
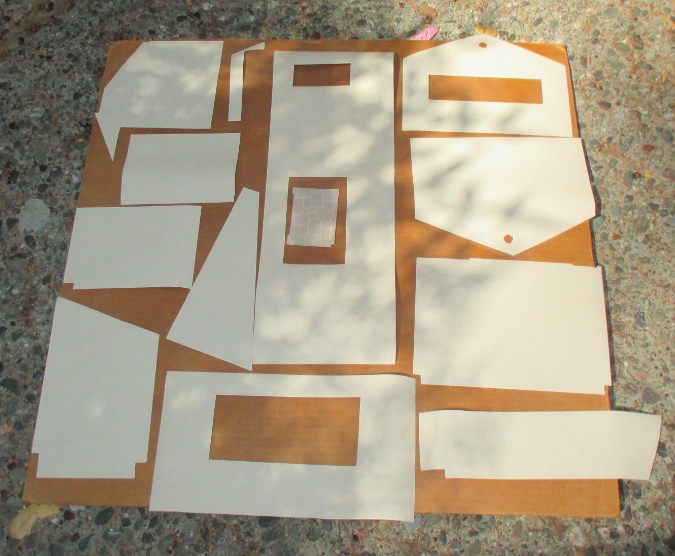
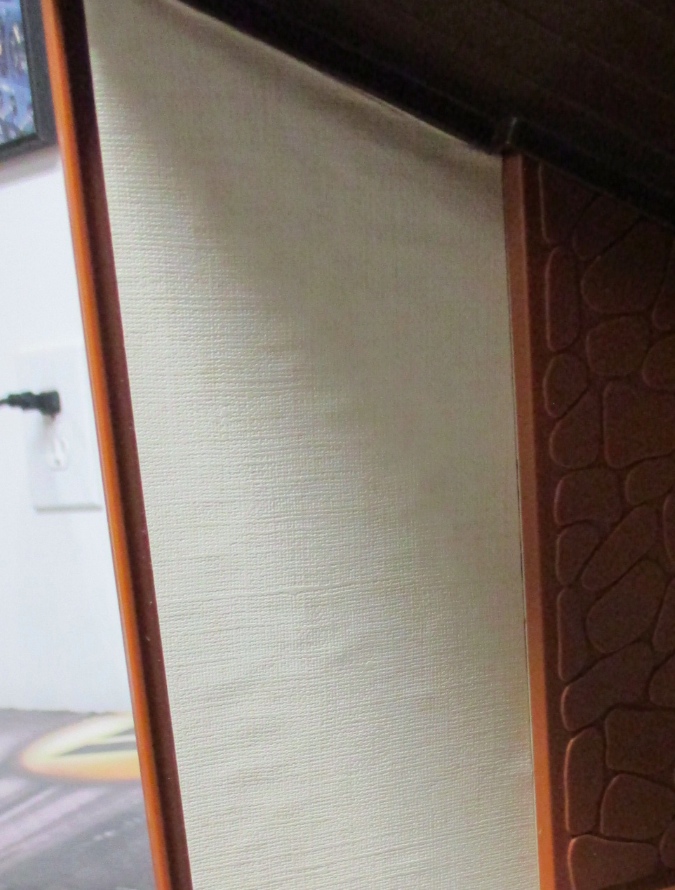
Next I cut out the wallpaper. This is a beige, textured dollhouse wallpaper that I also used in the Christmas breadbox. In my last reno I used patterened wallpaper, but decided this time to go with a more neutral look.
Measuring out the paper was relatively simple with the house disassembled, but it still took hours. Before applying, I took the wallpaper outside and sprayed it with Krylon matte sealer.
Then I glued it on with Minigraphics wallpaper mucilage.
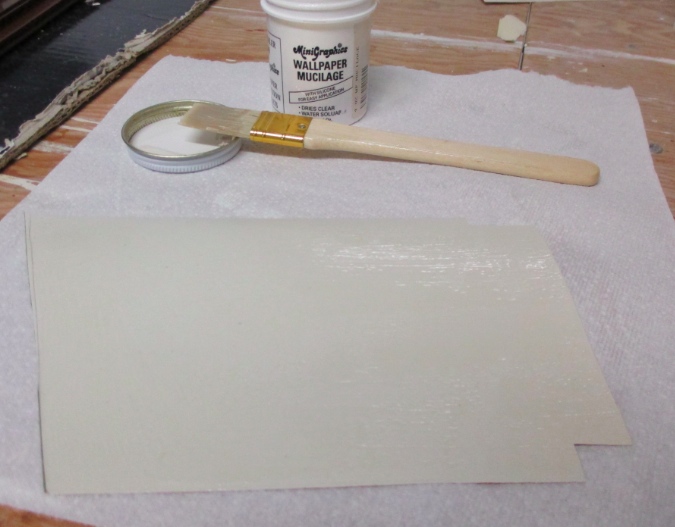
This is my wallpaper glue of choice these days, but I don’t know if it’s the right thing for the Tomy house, especially the plastic walls. Time will tell.
I did the bathroom wall in two pieces, because I was running out of paper and didn’t have any left that would cover the whole thing. The seams aren’t super obvious.
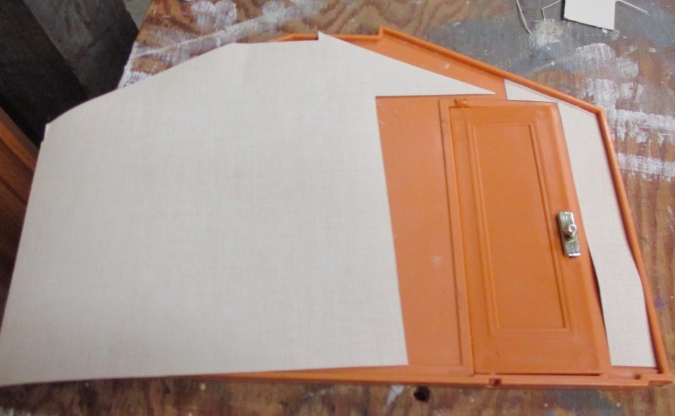
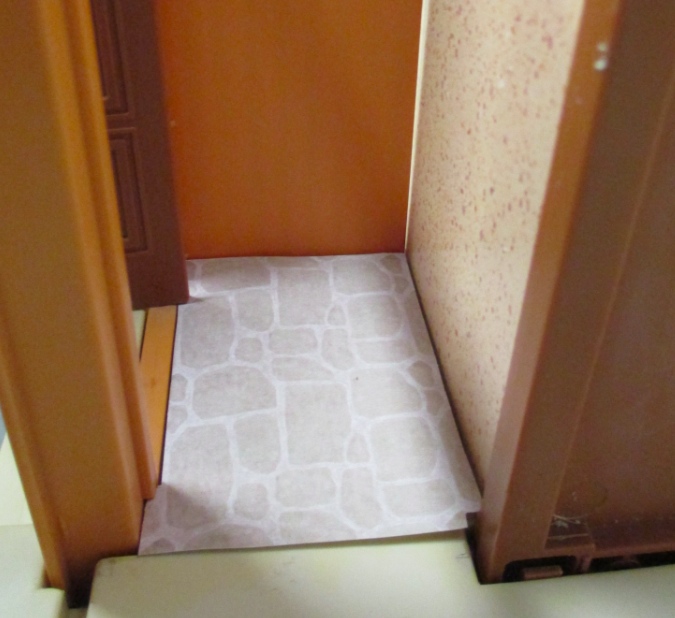
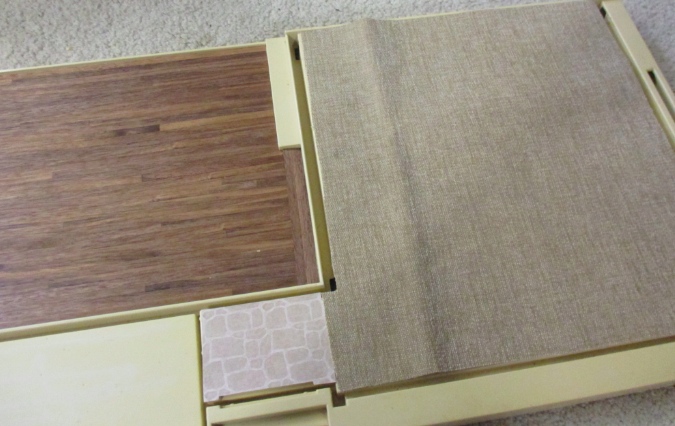
In the entryway I used a stone wallpaper from Itsy Bitsy Mini. I actually bought this for the kitchen without first measuring the dimensions of the kitchen, and it turned out to be too small.
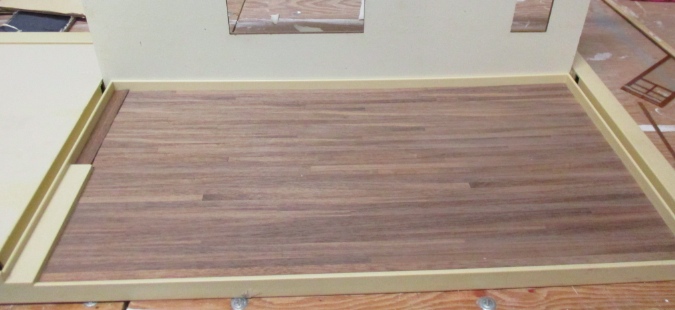
I glued in the hardwood floor, also with wallpaper mucilage, and weighted it down to prevent ripples.
It looks better than it did before. Just like refinishing a real life hardwood floor!
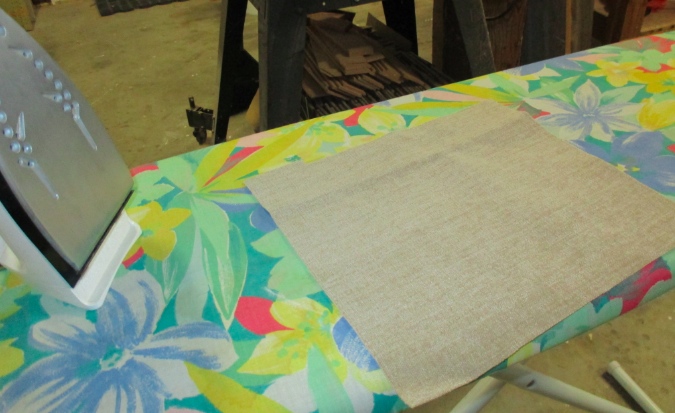
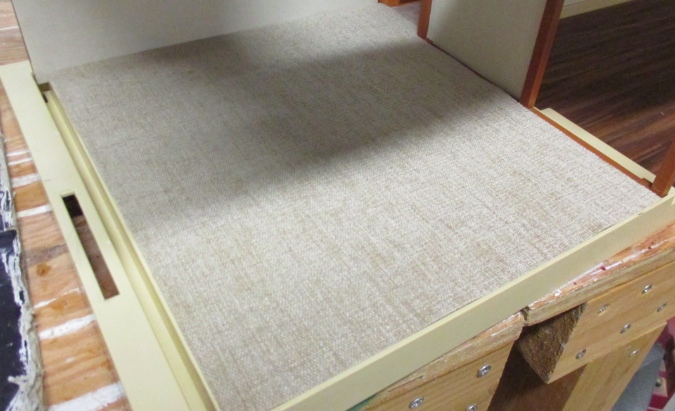
For the living room carpet, I cut out an upholstery fabric sample I got on clearance for $2 from Joanns Fabrics. It had a crease in it from how it was packaged.
I ironed this out before gluing the carpet down.
I also used wallpaper mucilage on the carpet, applied directly to the floor. I added Tacky Glue around the edge of the carpet so it won’t be tempted to pop up at the edges.

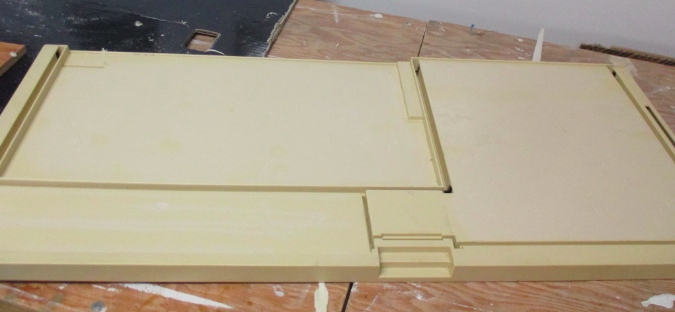
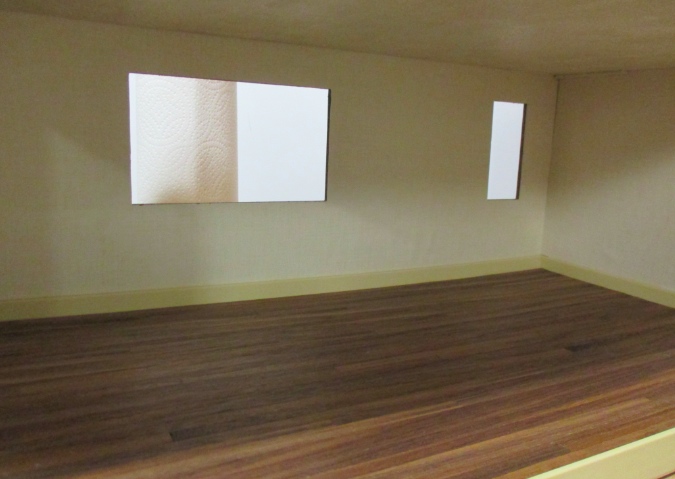
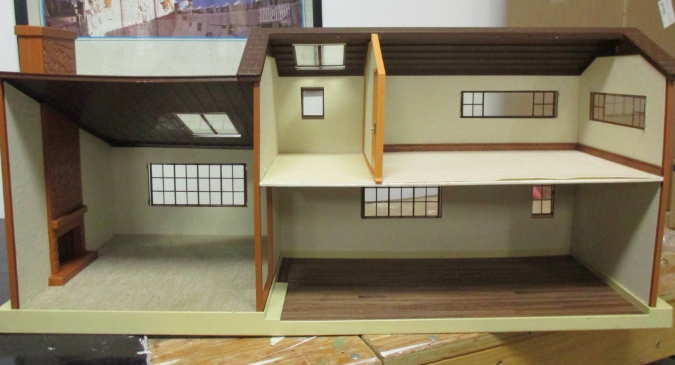
The house so far. I pulled up the bedroom carpet, too. It was a velveteen-like dollhouse carpet and it’s now full of little dents from where the furniture has been sitting, so I’m going to replace it as well. (That floor is a replacement I made from plywood when I originally redid the house, not the original floor.)
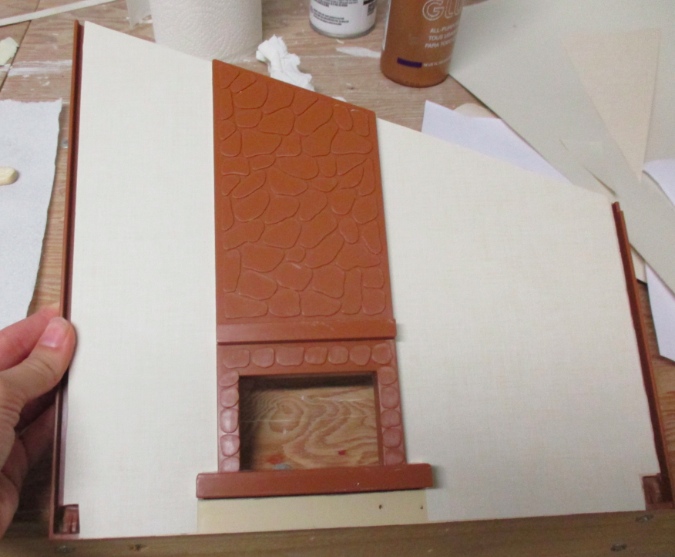
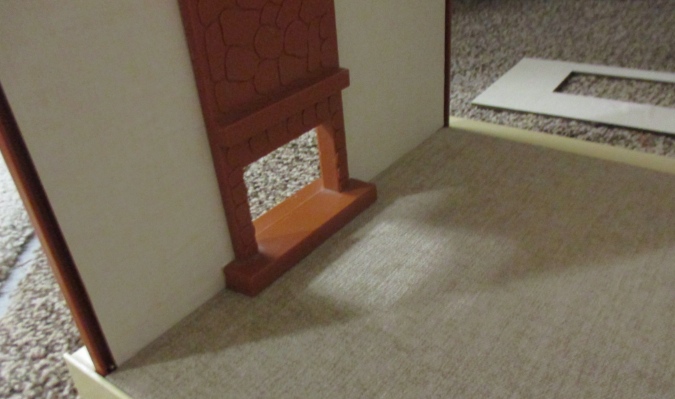
Here’s where things got a little messed up. I wanted to put the wall with the fireplace back in before the carpet dried, to make sure it would fit on top of the carpet. It does.
But when I slid the chimney into place, the roof and wall fit together in such a way that the wallpaper at the top adds too much bulk. The wallpaper was still wet and the roof kept shoving it down when I tried to fit the pieces together. I attempted to cut the paper right at the seam where the roof and wall meet, so there woudln’t be any wallpaper under the roof slot, and ended up with this.

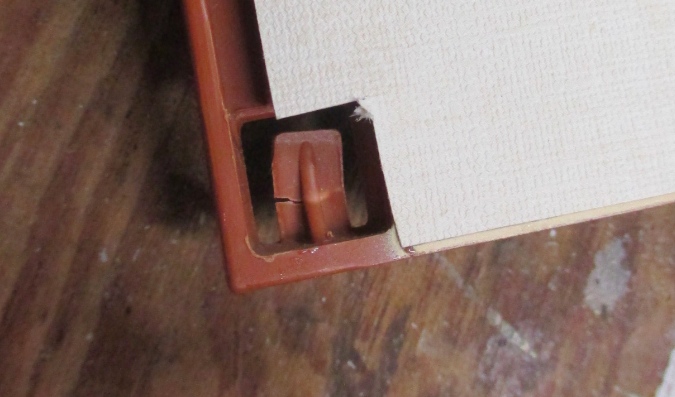
I removed the wall and redid that piece of wallpaper. While doing this, I noticed the tab on this side is mangled. This part of the house was damaged when I first glued it. This is actually a replacement wall; the original wall was super glued in place and also had a big crack in it. I don’t know if the mangled tab is contributing to the stress where the roof and wall meet that’s impacting the wallpaper, but it makes me think I shouldn’t pull this wall out too many more times.
I glued on a new piece of wallpaper, this time trying to create a neat crease where the roof slot shoves the paper out of the way. I’m not really happy with it, especially because the paper dried with a bunch of bubbles in it. (This actually happened on most of the walls — an indication that wallpaper mucilage might not have been the right choice for gluing to this material — but it’s most obvious on this wall, I don’t mind it as much elsewhere.) So I might redo this section of the wall *again* before all’s said and done.
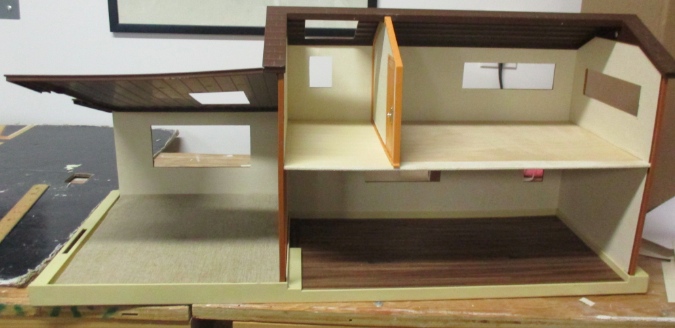
Until then, though, here’s the spruced up house. For now I laid the old bedroom carpet and baseboards in there but they’re not glued in. I have some plans for new decor in each of the rooms and will post more pics as I get to them.
 Emily is a freelance writer, miniaturist, and adventure game enthusiast.


Leave a Reply