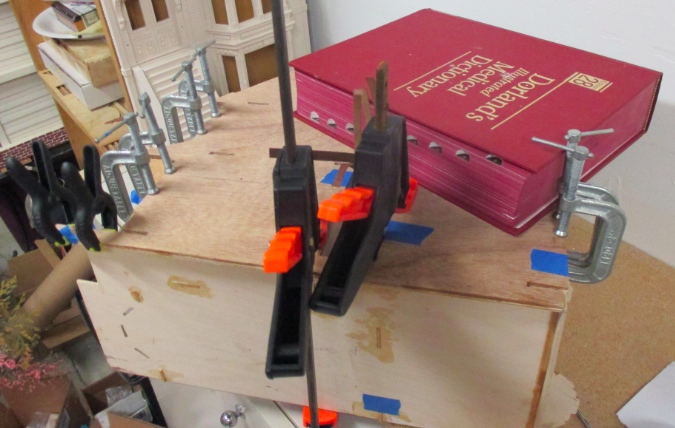
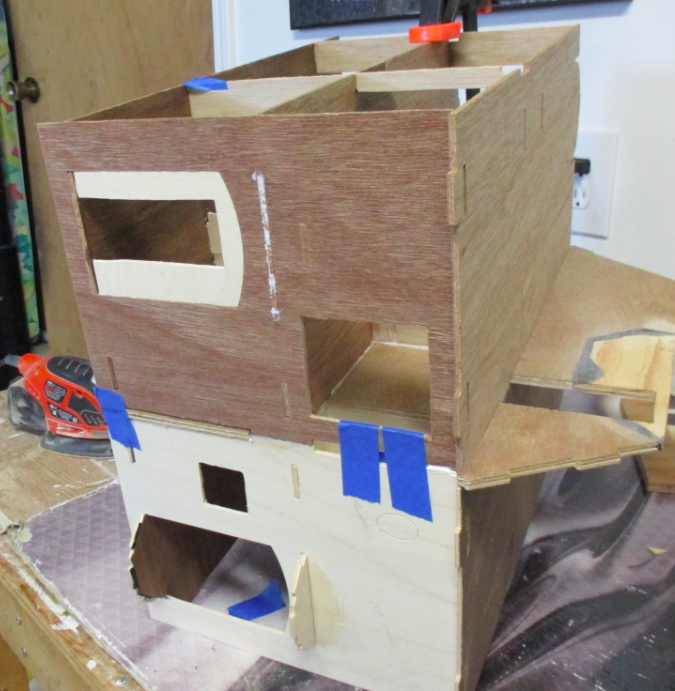
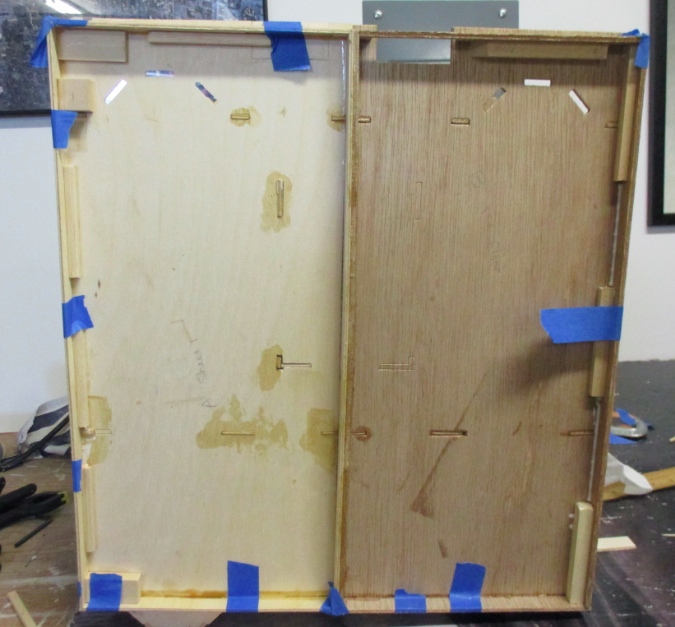
Moving on to the second half of the Victorianna, here’s the back side of the part I built first, ready to get the back wall glued on.
The back wall was a bit warped so I used lots of clamps. I had previously glued together the back walls from the two Victorianna kits, so this piece is double thickness. I had to be careful not to get too much glue in the slots that would dry into glops and interfere with the tabs for the remaining walls and floors.
Here’s the half I’ve been working on, with the back attached.

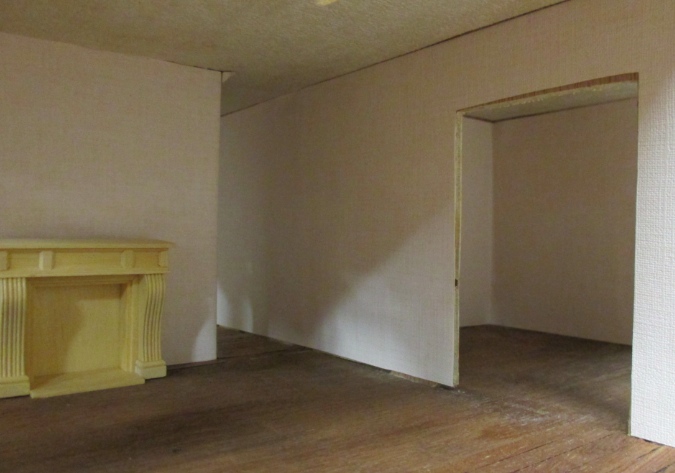
Before gluing in walls and floors on the other side, I added a piece of wallpaper to the living room wall that wraps around above the fake closet door. I wanted to deal with this before the other walls were glued in, so I wouldn’t have to reach my hands in.
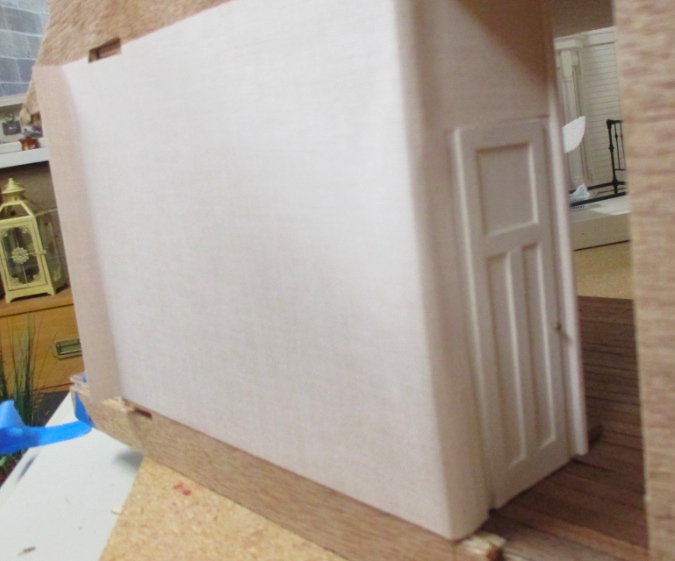
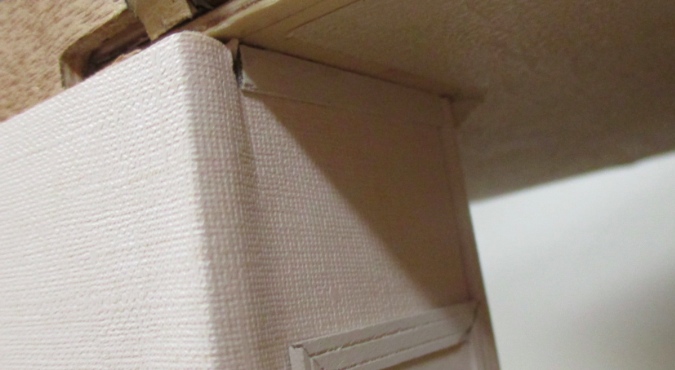
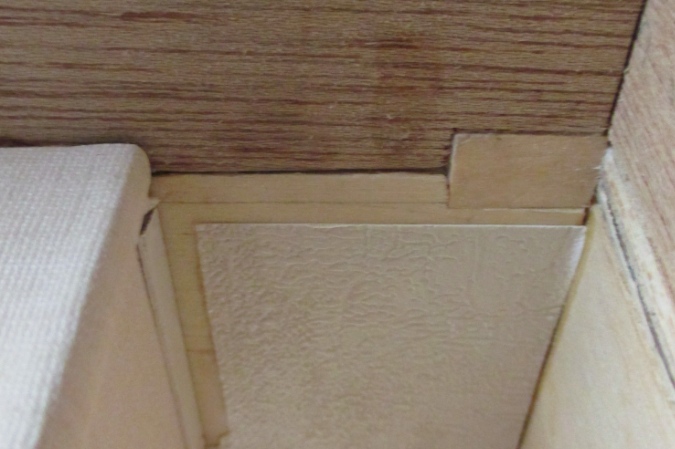
The wall the closet door is on isn’t quite flush with the walls perpendicular to it. I’m not sure if it was supposed to be this way but by the time I realized it, it was kind of too late to fix. I added a piece of basswood to add enough depth for the crown molding to attach. Then I cut and painted the crown, but didn’t glue it on yet since the ceiling paper from the other side of the house will overlap here.
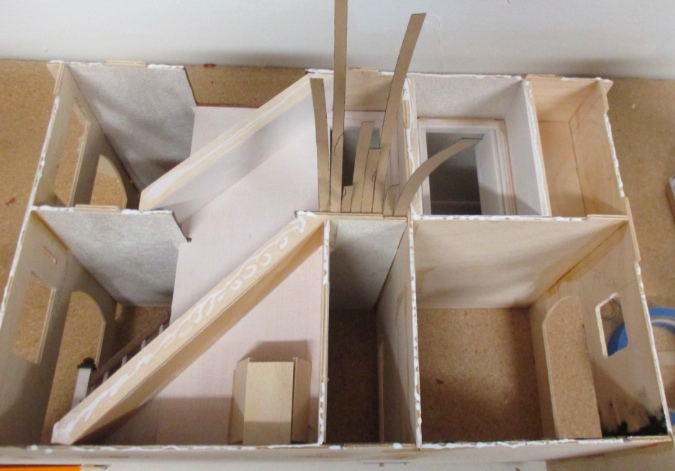
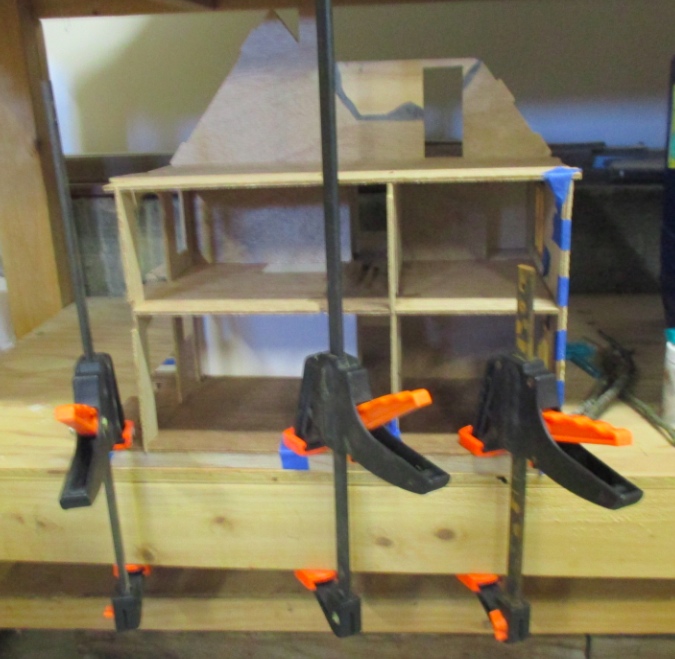
Next I glued in the walls and first and second floor. During gluing I put the third floor in for stability, but didn’t glue it yet to make wallpapering the hallway and bedrooms easier.
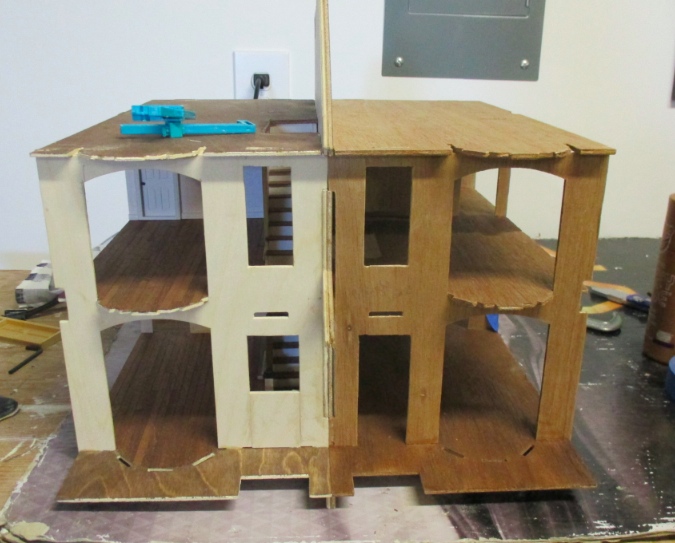
Ta da – a double-wide house!
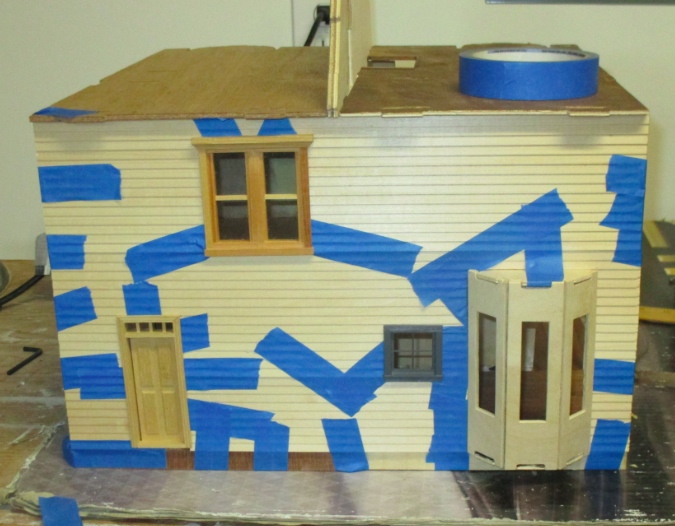
Next I put siding on the back. Since the house is about 16″ wide I needed to use a couple of the 24″ sheets to avoid seams. Luckily my local shop, Dollhouses Trains and More, sells these individually so I didn’t have to spend $55 for a whole pack. I haven’t figured out exactly how I’m going to deal with the bay windows on the front yet, so I’ll hold off on siding that for now.
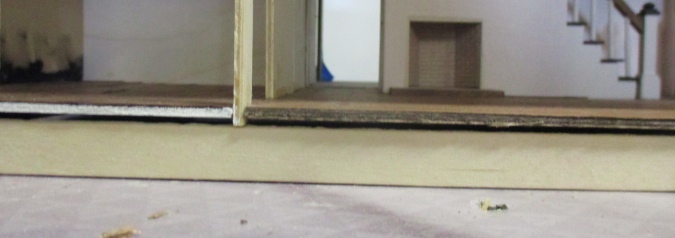
When I went to add the foundation pieces, I found that some of my walls protruded past my floors. I flipped the house over and sanded these down.
I had to fill in the gap on one of the foundation pieces where the staircase goes.
And I had to do the same on the porch.
I attached pieces of scrap wood to the back of the foundation to help hold it on.
The shelf under the workbench was the perfect place to clamp the house while the foundation dried.
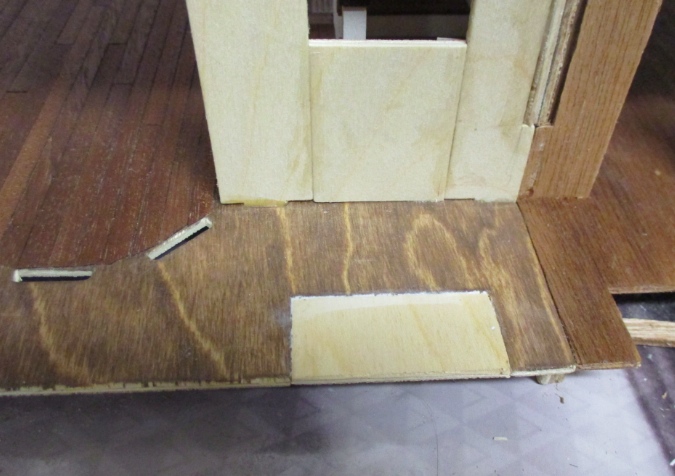
Next there were some holes inside that needed filling, where slots met up with no tabs to go inside them. This is where the first floor ceilings meet next to the fake closet; the tabs that are supposed to go there were casualties of the pass-through hole I cut into the back wall.

Nothing a scrap of wood can’t fix!
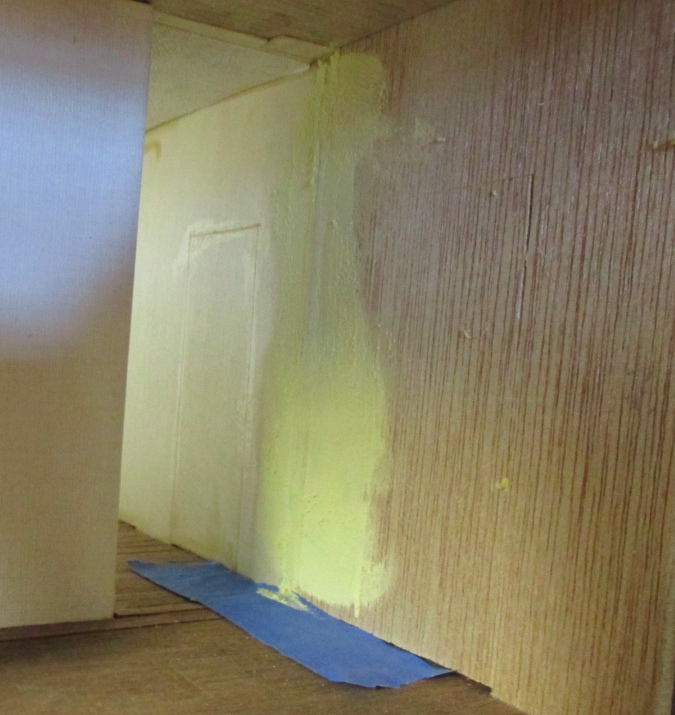
Here’s another gaping hole, where tabs were lost when I cut out the opening for the bedroom closet (next to the laundry closet). The siding reinforces the bond between the two walls but I couldn’t wallpaper over this big gap.
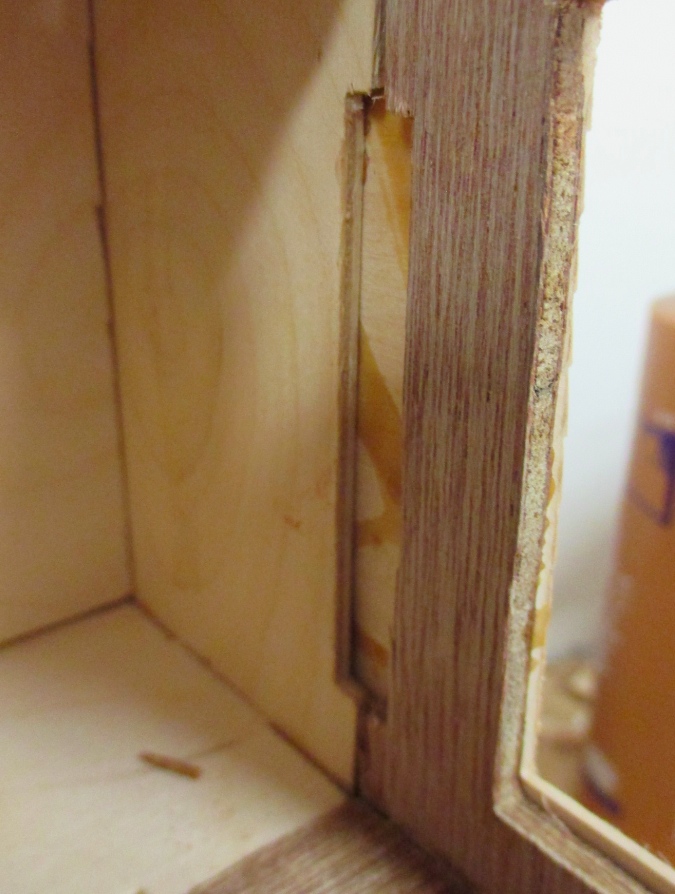
I used a scrap of plywood from the kit.
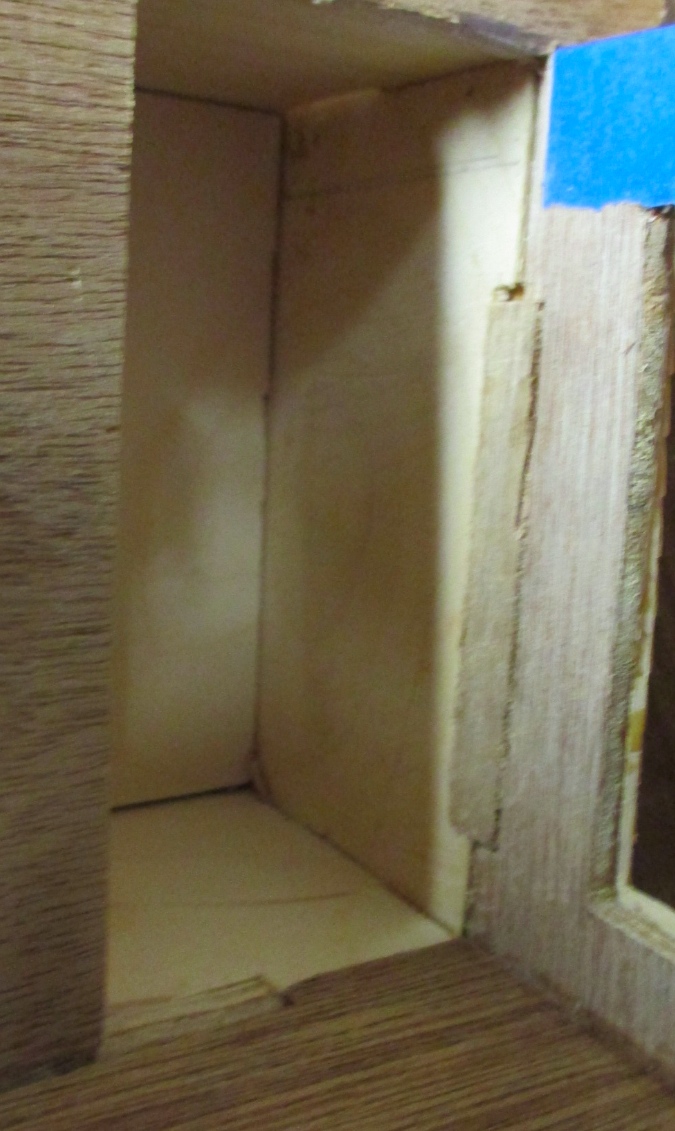
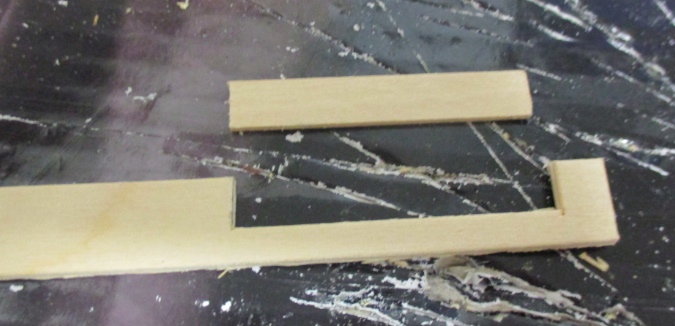
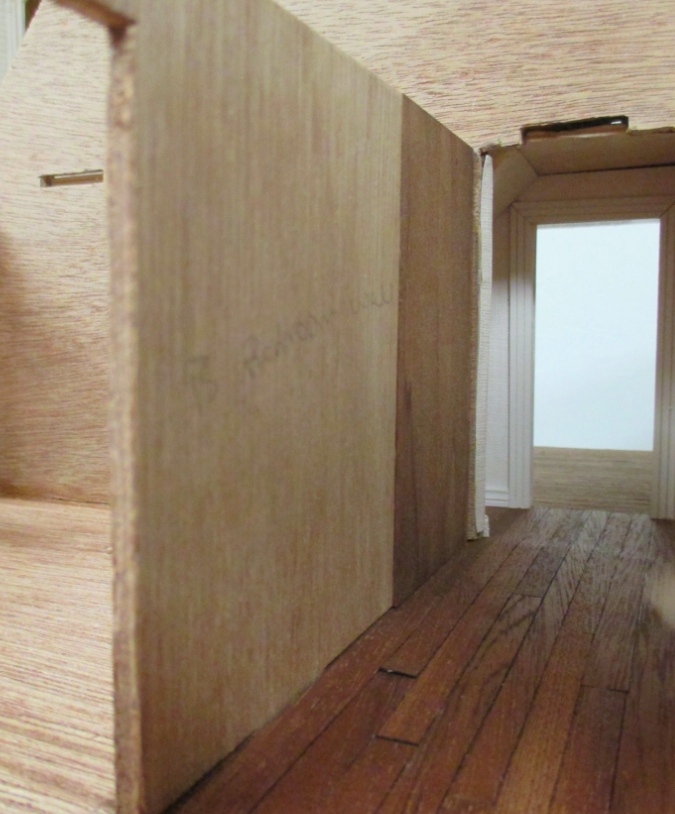
The wall between the front bedroom and hallway presents a problem. This is supposed to be the staircase area, so the wall doesn’t reach all the way across. This photo is taken from the bedroom; the gap looks into the hallway.

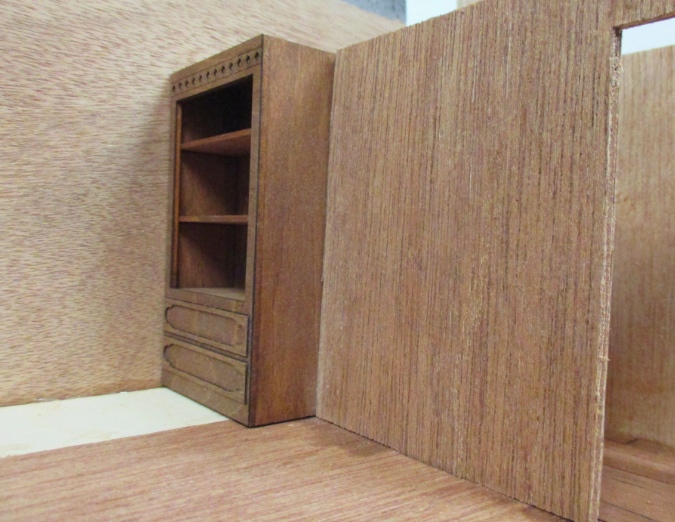
Geoff wasn’t around to help me cut a new piece so I got creative. This is an SDK Miniatures Gothic Wardrobe that I started assembling for the Queen Anne Rowhouse then set aside when I realized how big it was. Without its top piece (which I never glued on) it’s exactly the right height for this room. On the bedroom side, it will be a built-in shelf to hold toys.
On the hallway side it’ll be flush with the wall, and I’ll wallpaper over this so you won’t even know there are two pieces. I had to cut the existing wall down to make the hole big enough for the wardrobe to fit, which I did by cutting it slightly outside the line with a utility knife, then sanding down the edge with the disc sander until it was exactly the right width.
I went over the seams where wall pieces meet with wood filler. I wasn’t able to get them totally smooth but filled in and lumpy is better than not filled in at all.
Finally, I started wallpapering, flooring, and ceilinging(?) the new parts of the house.
The upstairs hallway was a real challenge to finish but this post is long already so I’ll save that for next time…
 Emily is a freelance writer, miniaturist, and adventure game enthusiast.


Your “toys” link doesn’t work – don’t keep us in suspense! ;)
Oops! Fixed, thanks. :)
Great project! I’m looking forward to your next instalment. Your progress is inspiring me to get my Victorianna shell out of the garage!