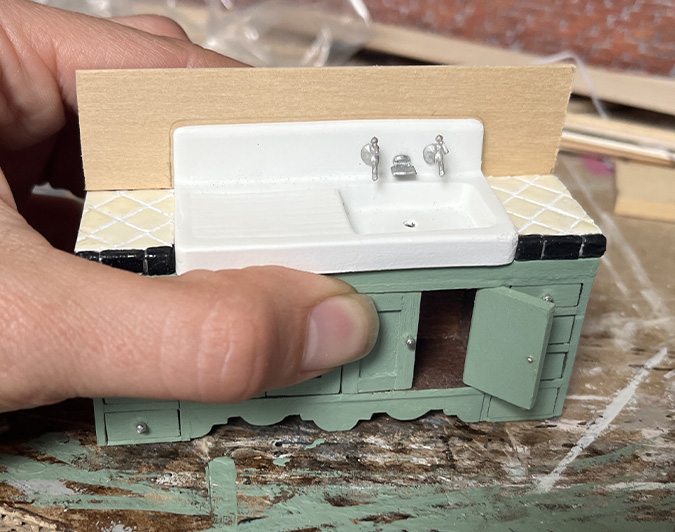
Back in August, I thought building a cabinet for the Mansard Victorian’s kitchen sink would be a quick diversion before I dove into finishing the nursery. Little did I know it would take me the rest of 2025 to finish. Daisy’s gift to me was spending three hours calm in her crate today while I (mostly) finished the project — it’s a Christmas miracle!
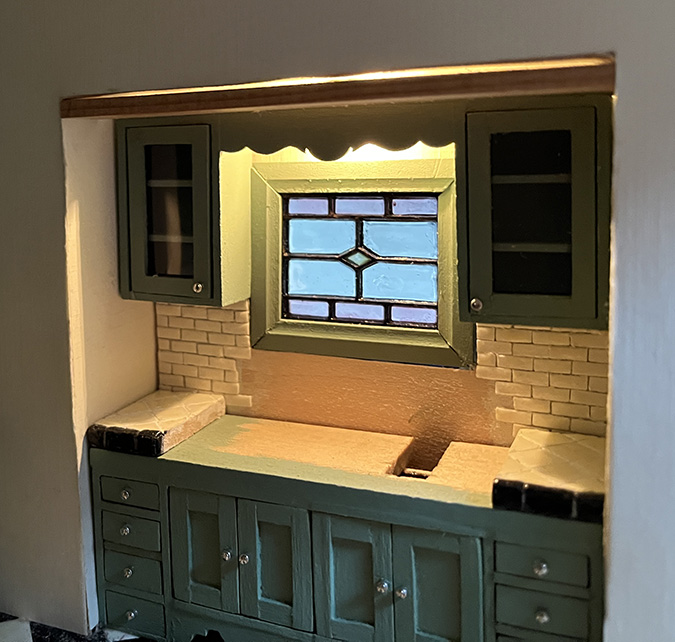
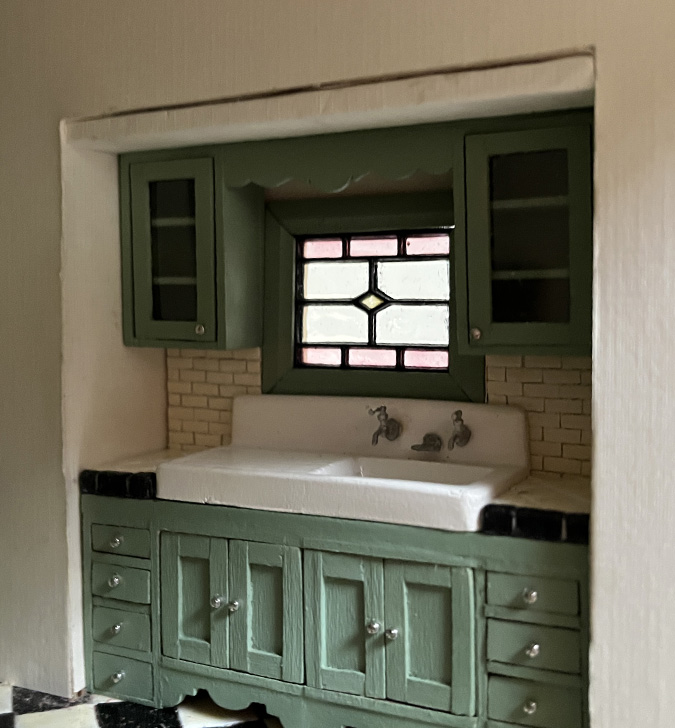
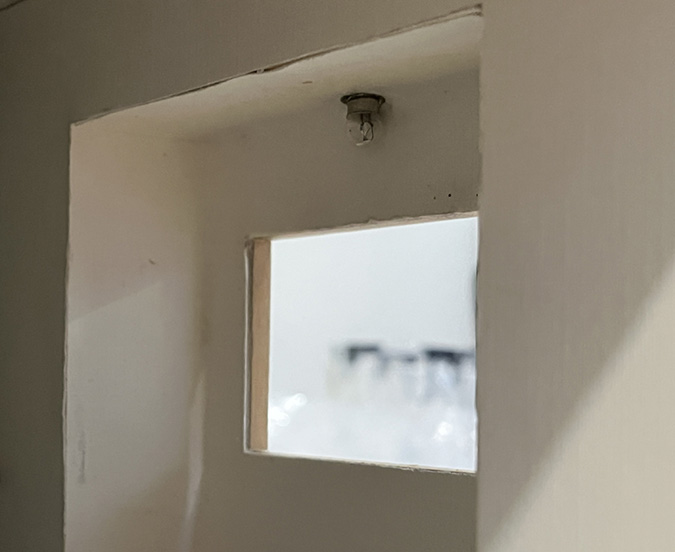
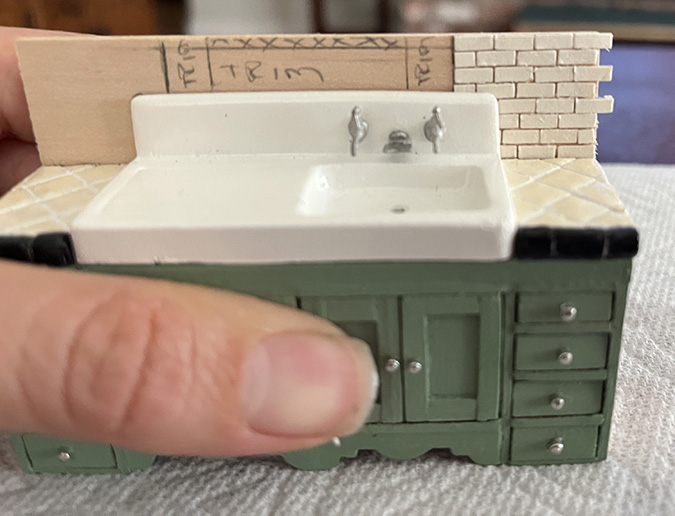
The first task on the to-do list was to hide the cracks of light showing above the upper cabinets.
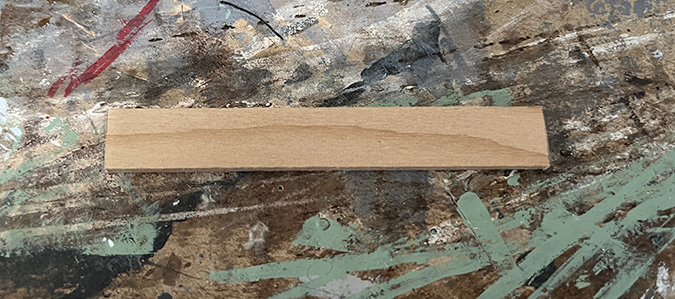
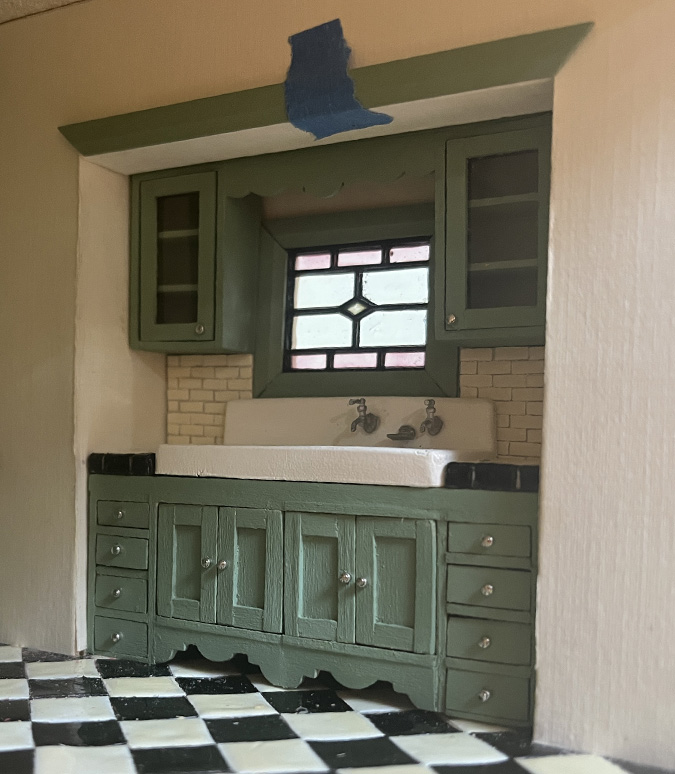
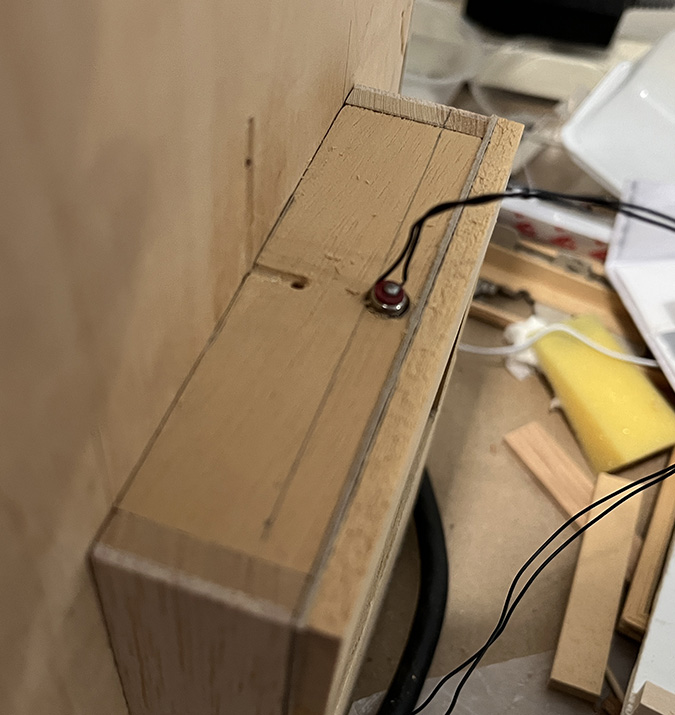
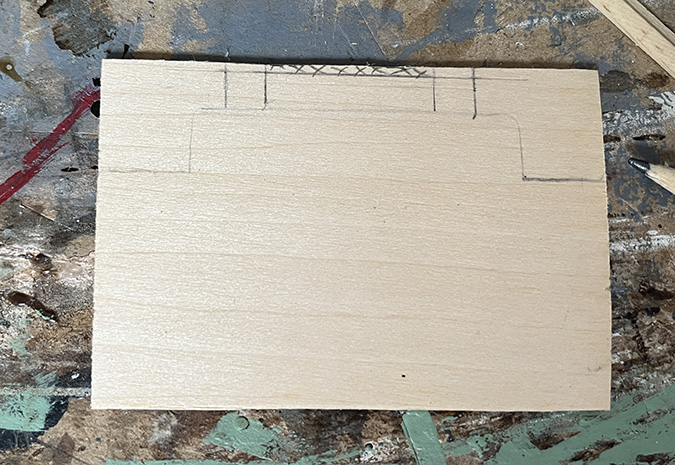
Since covering the top of the cabinet with crown molding hadn’t worked, I decided instead to build a fake ceiling in front of the cabinet. I found a piece of wood thick enough to cover the crack.
Like with the crown molding, you can see light over this. The opening isn’t square and because of how the bump-out is situated, I just couldn’t figure out why the wood wouldn’t fit flush with the ceiling.
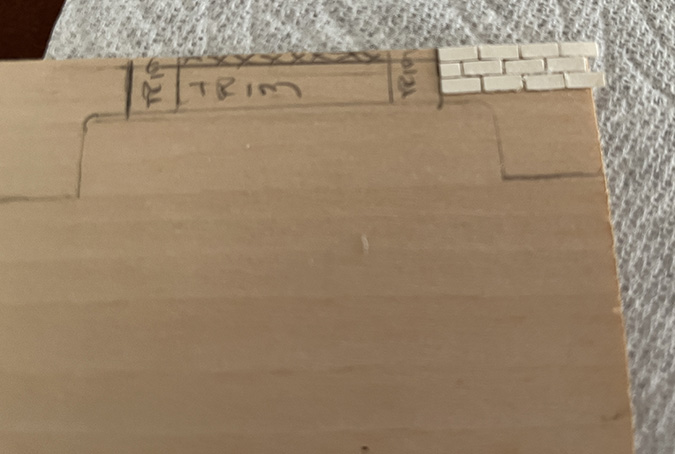
But that’s okay, because now the crack will be hidden by the trim.
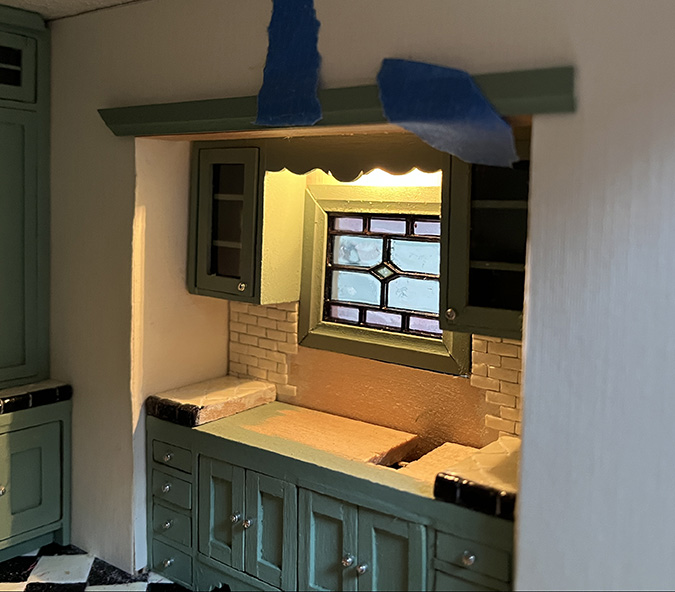
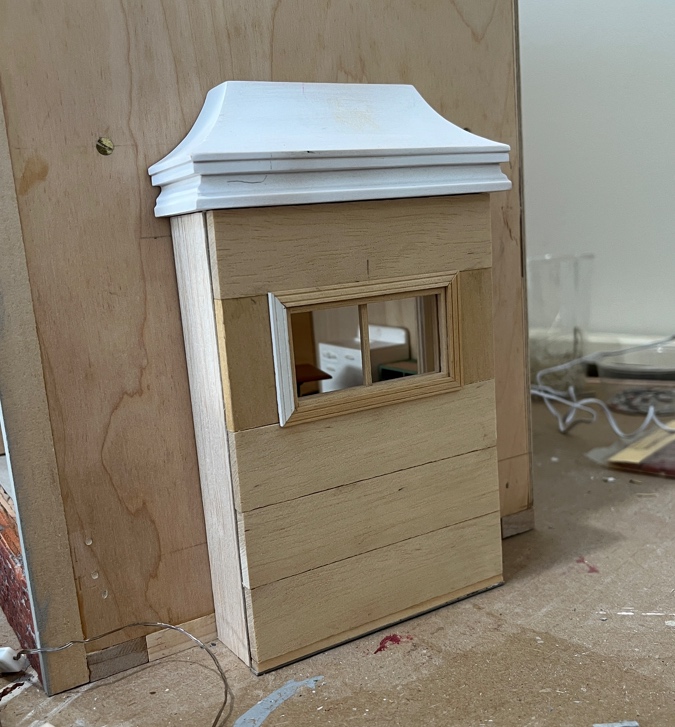
I covered the wood with a piece of the scrapbook paper I used on the walls, wrapping it around the end to make sure no bare wood would be visible.
The edge is a bit sloppy, but it’ll be covered up.


 Emily is a freelance writer, miniaturist, and adventure game enthusiast.

